Live More With Less: Week 5 (Kitchen)
We’re back with more organizing fun today! We just finished Week 5 of the Live More With Less: 7 Weeks to a Clean and Declutered Home challenge that Emily is graciously hosting over at Imperfect.
So far I’ve thoroughly enjoyed this kick-in-the-butt to get my home in gear — although it’s definitely been more work than I expected!
So far I’ve organized:
I think I was originally scheduled to show you the basement this week, but we’re in the middle of some major painting (yessss!) and decorating, so I’m hoping that it will be done by the final week of this challenge.
In the meantime, let’s take a peek at how I’ve been making a few organizational upgrades to our main level — well, really just our kitchen and the hutch in our dining room.
Here’s how it looked before I got started …
 |
| Hello, living room. (Still to come: curtains to go with the sheers, a rug, and a coffee table — and upgrading to a black leather sofa at some point) |
 |
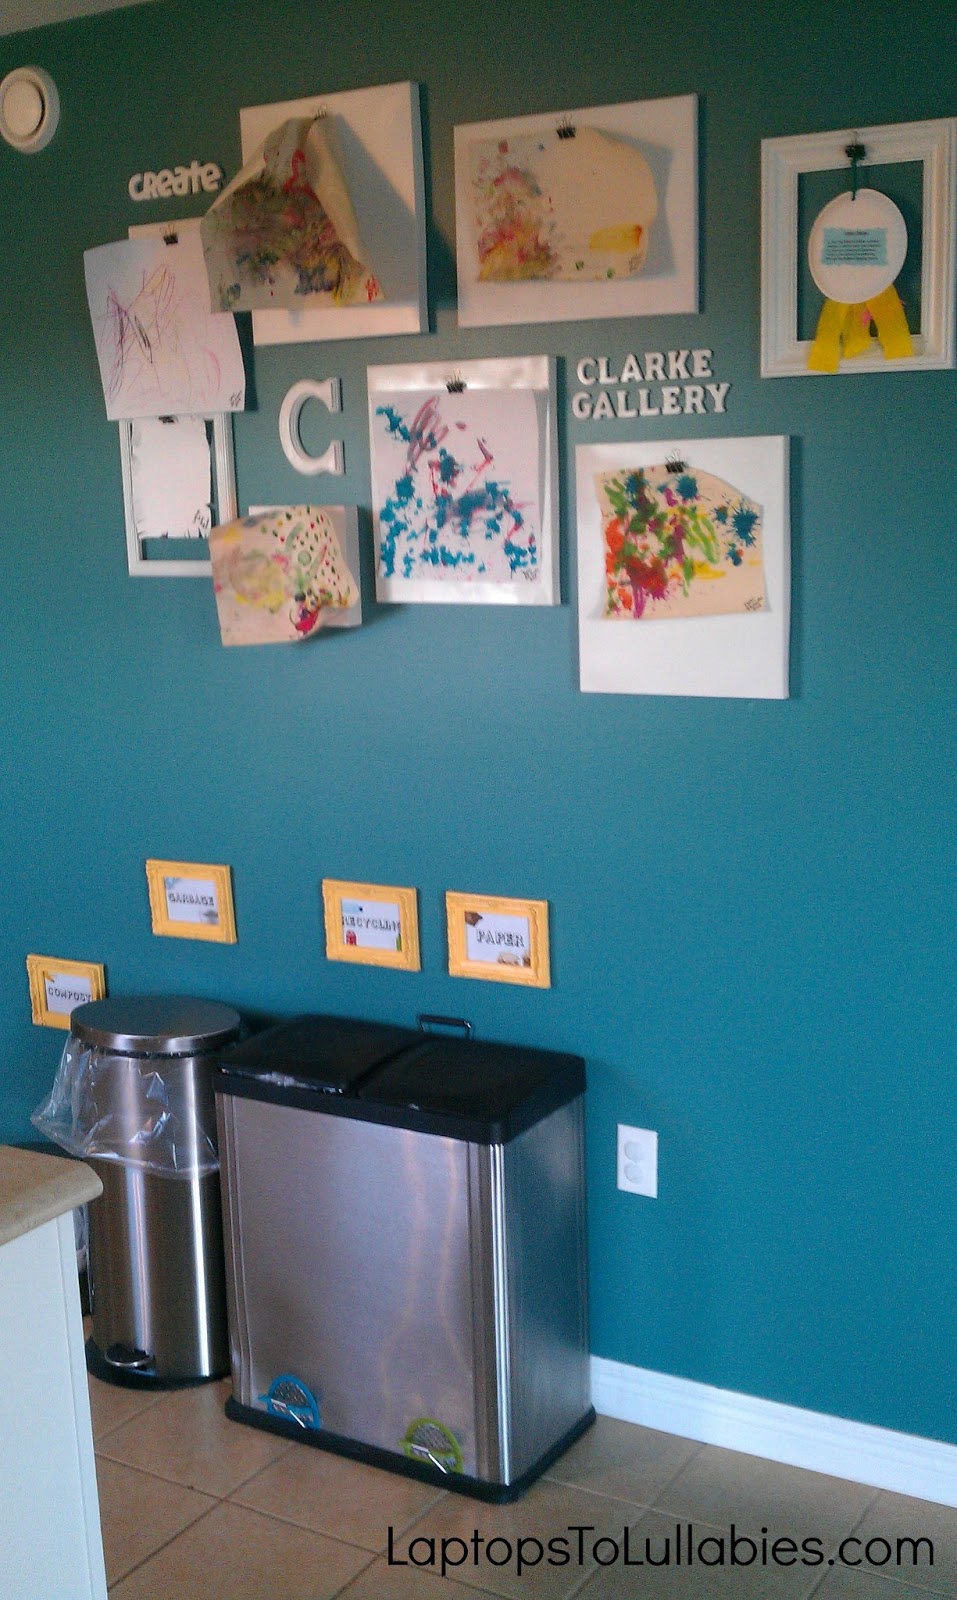
| How much do I adore gallery walls? |
 |
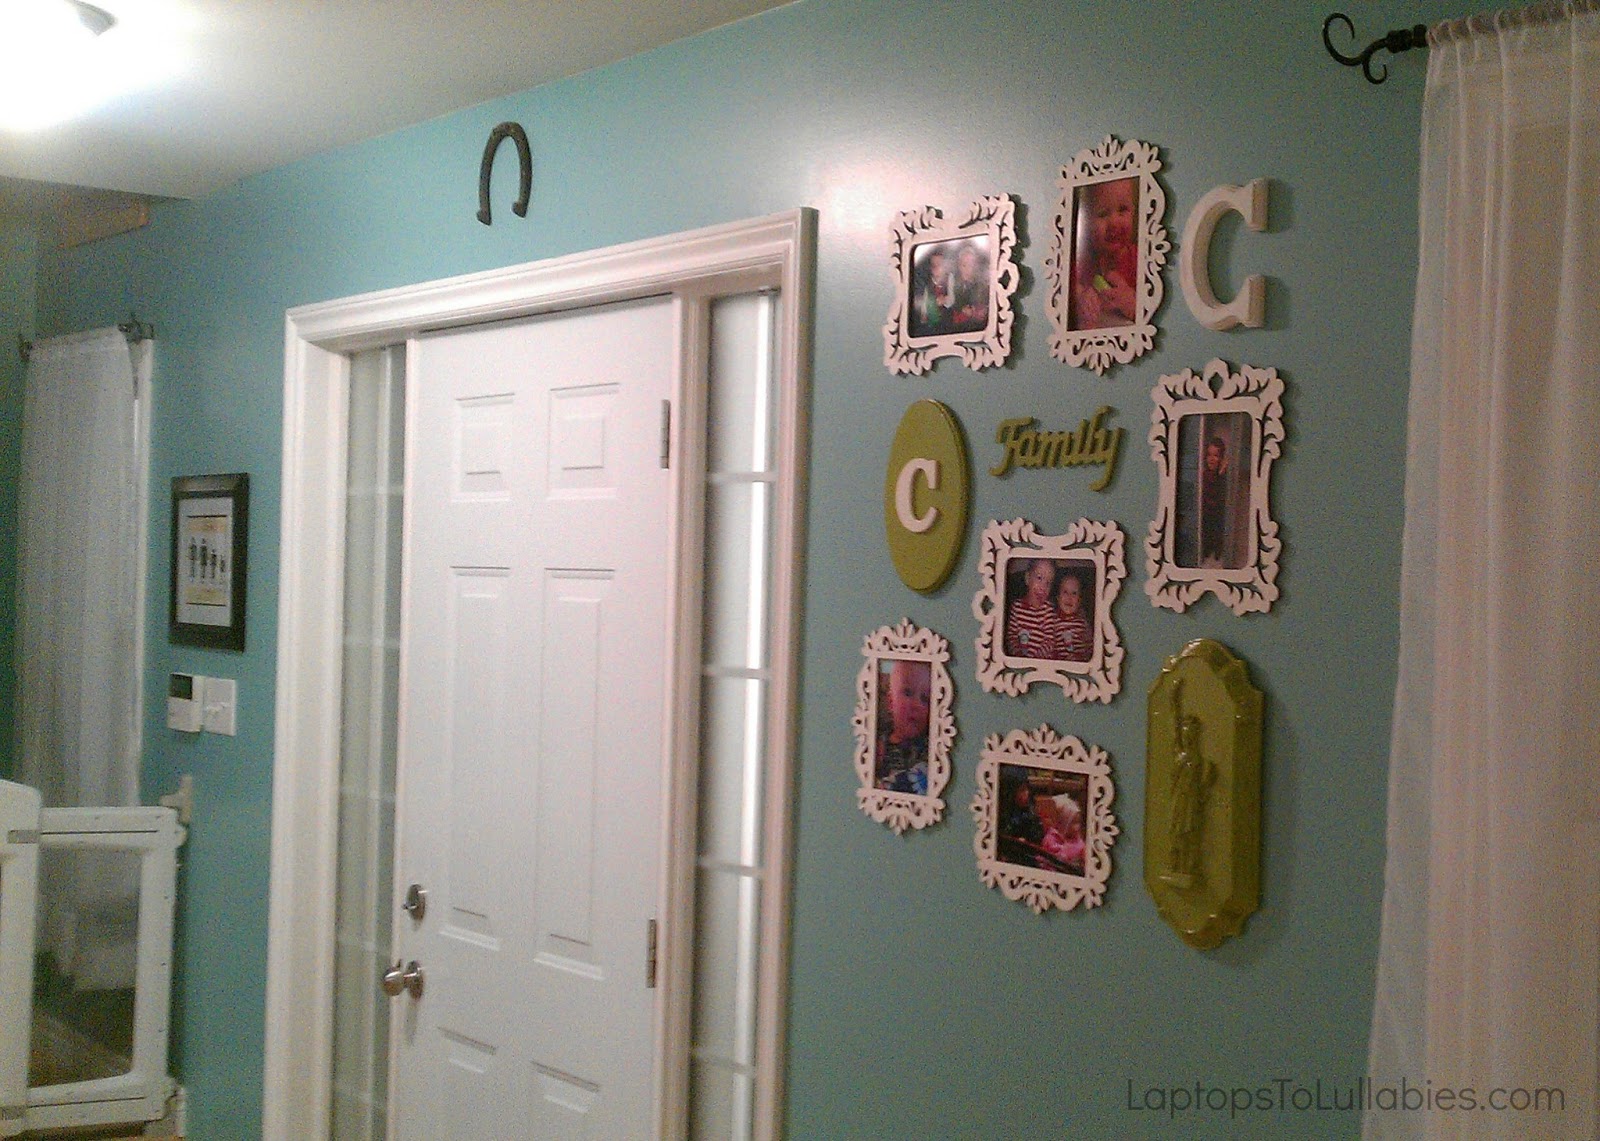
| Front hall leading to the kitchen |
 |
| D is a voracious painter, so we’re always adding to our gallery. |
 |
| Yet another gallery wall (I’m addicted) and a very meaningful horseshoe above the door (it was from Darling Husband’s grandfather’s garage). |
 |
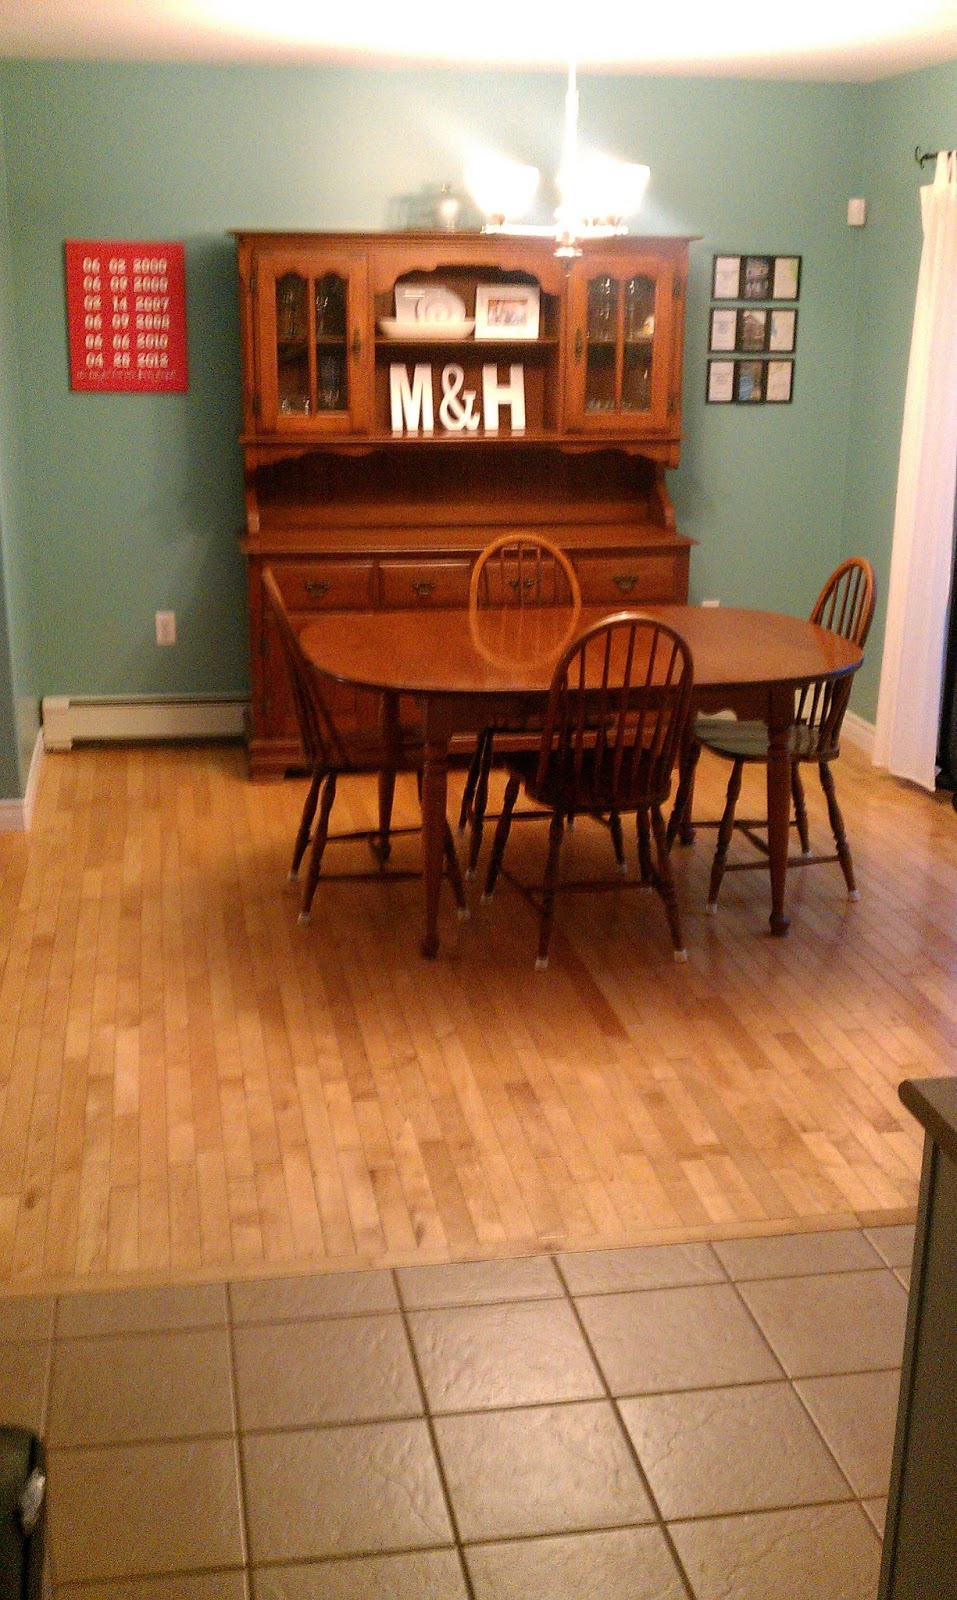
| Here’s an old shot of the dining room (minus the high chair) |
OK, so that was the main level. Looked pretty clean and organized from the OUTSIDE, but the mess was lurking inside drawers and cabinets, so that’s what I focused on.
Let’s start with the hutch …
 |
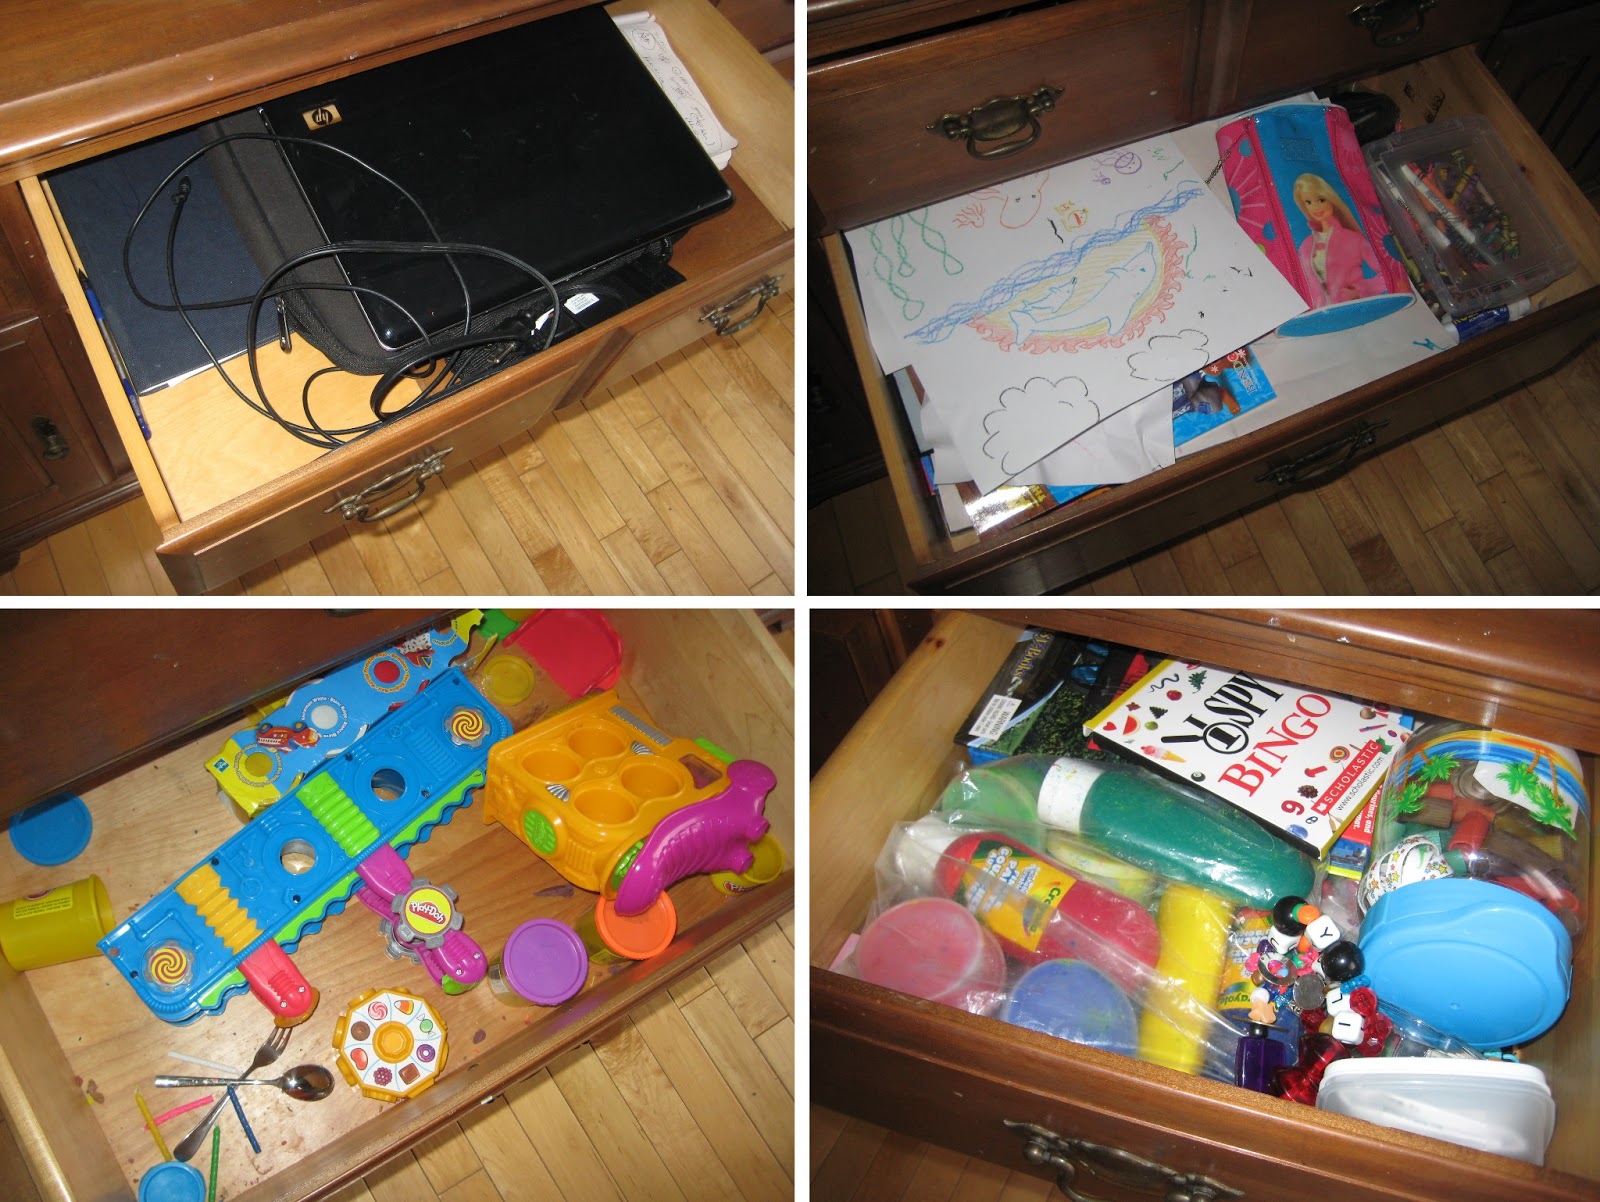
| Some people store dishes in their hutch. Ours is mostly the laptop, art supplies, Play-Doh, and “big-boy activities” like paints, bead sets, games, flashcards, etc. |
 |
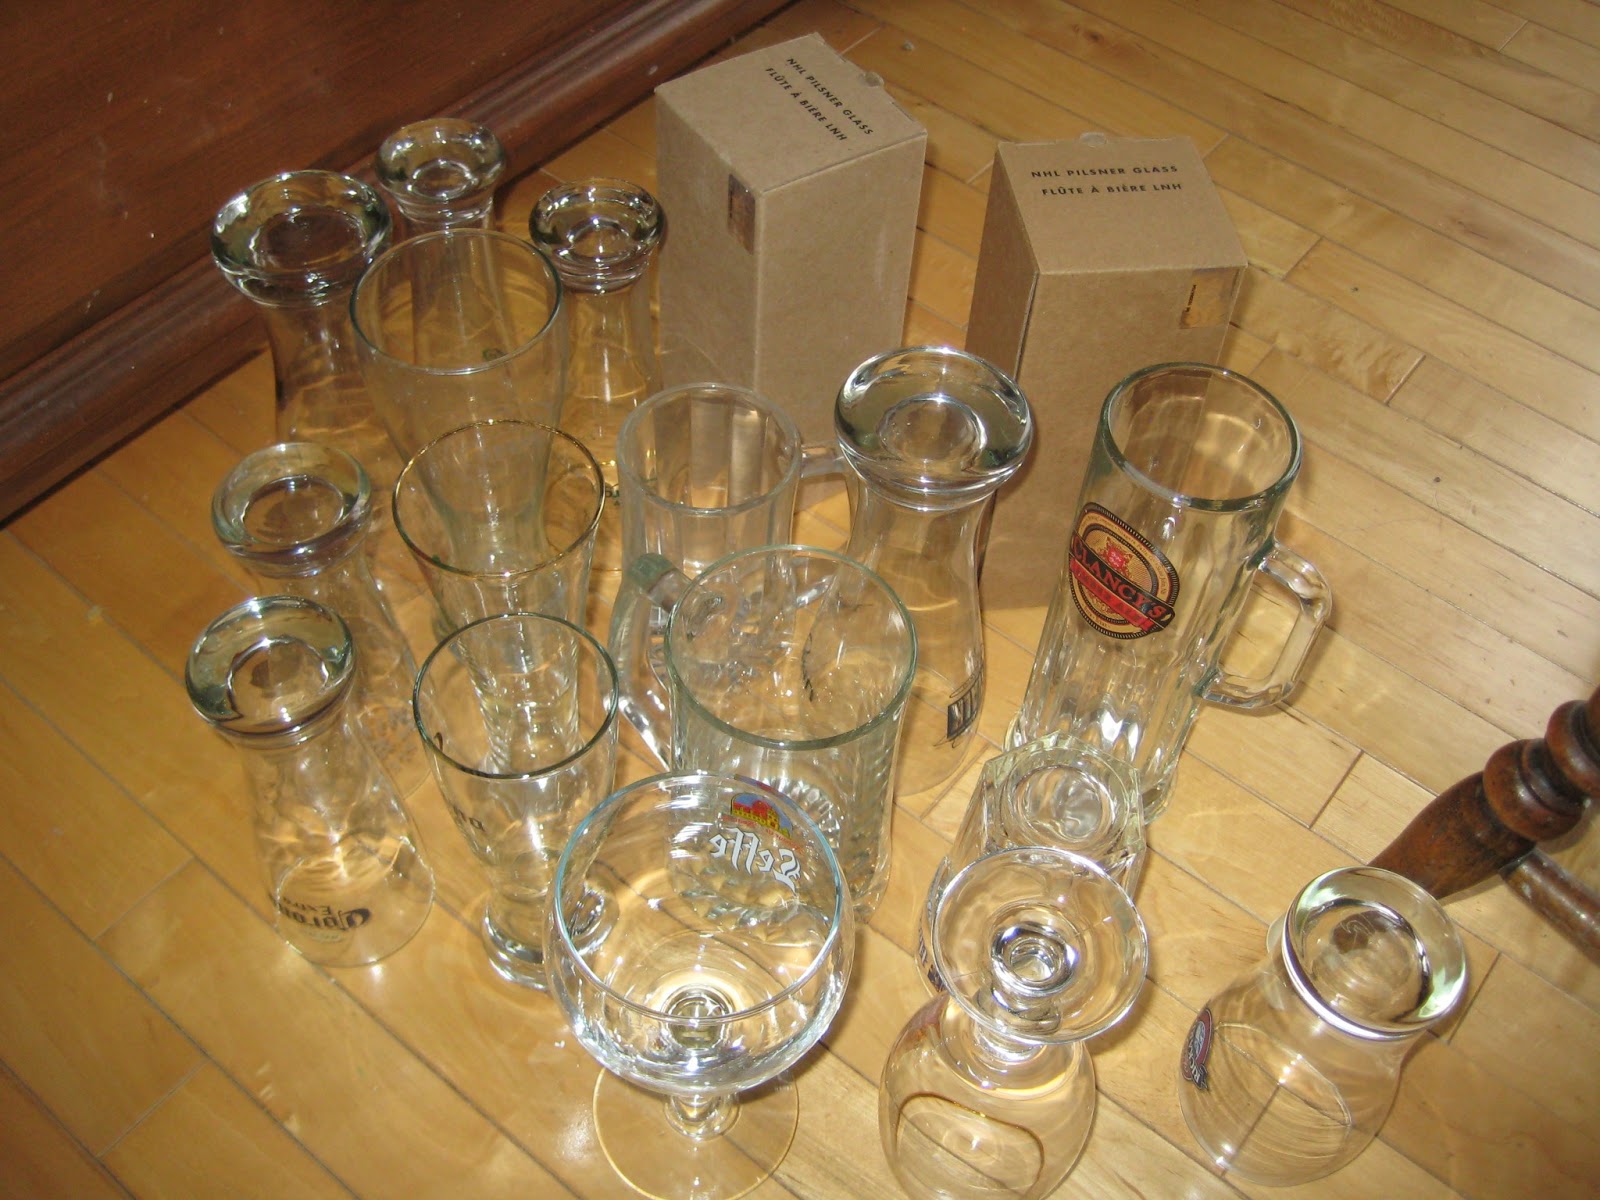
| I was wasting a whole cupboard on “rarely-used entertaining stuff,” and Baby C was constantly getting into it and tipping over the cup of disposable forks. Time for a change! |
 |
| I dug out all of Darling Husband’s beer glasses and relocated them to the basement, by the beer fridge — um, that makes sense! |
 |
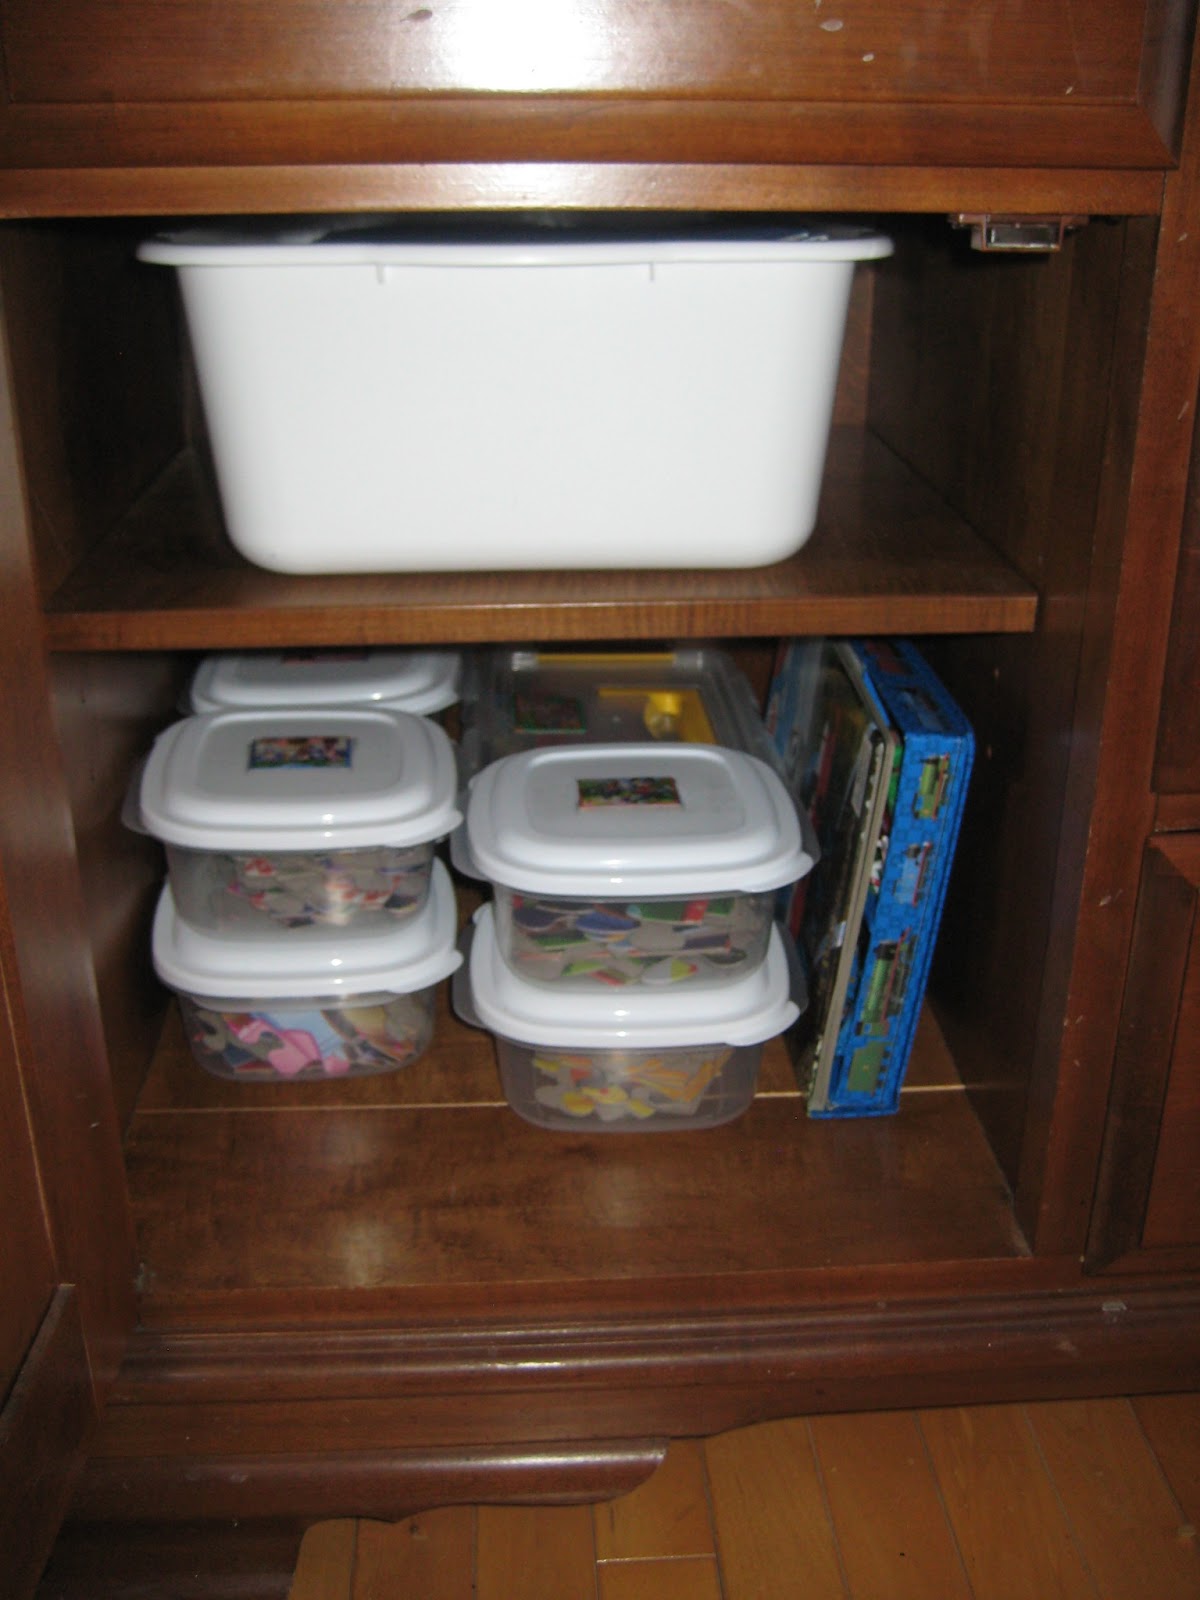
| Nice empty cupboard |
 |
| It’s now the perfect spot for all of D’s puzzles! Most of them are in sandwich containers for easy storage, and a few are still in baggies (in the big white bin). It’s so easy for him to get one out. |
 |
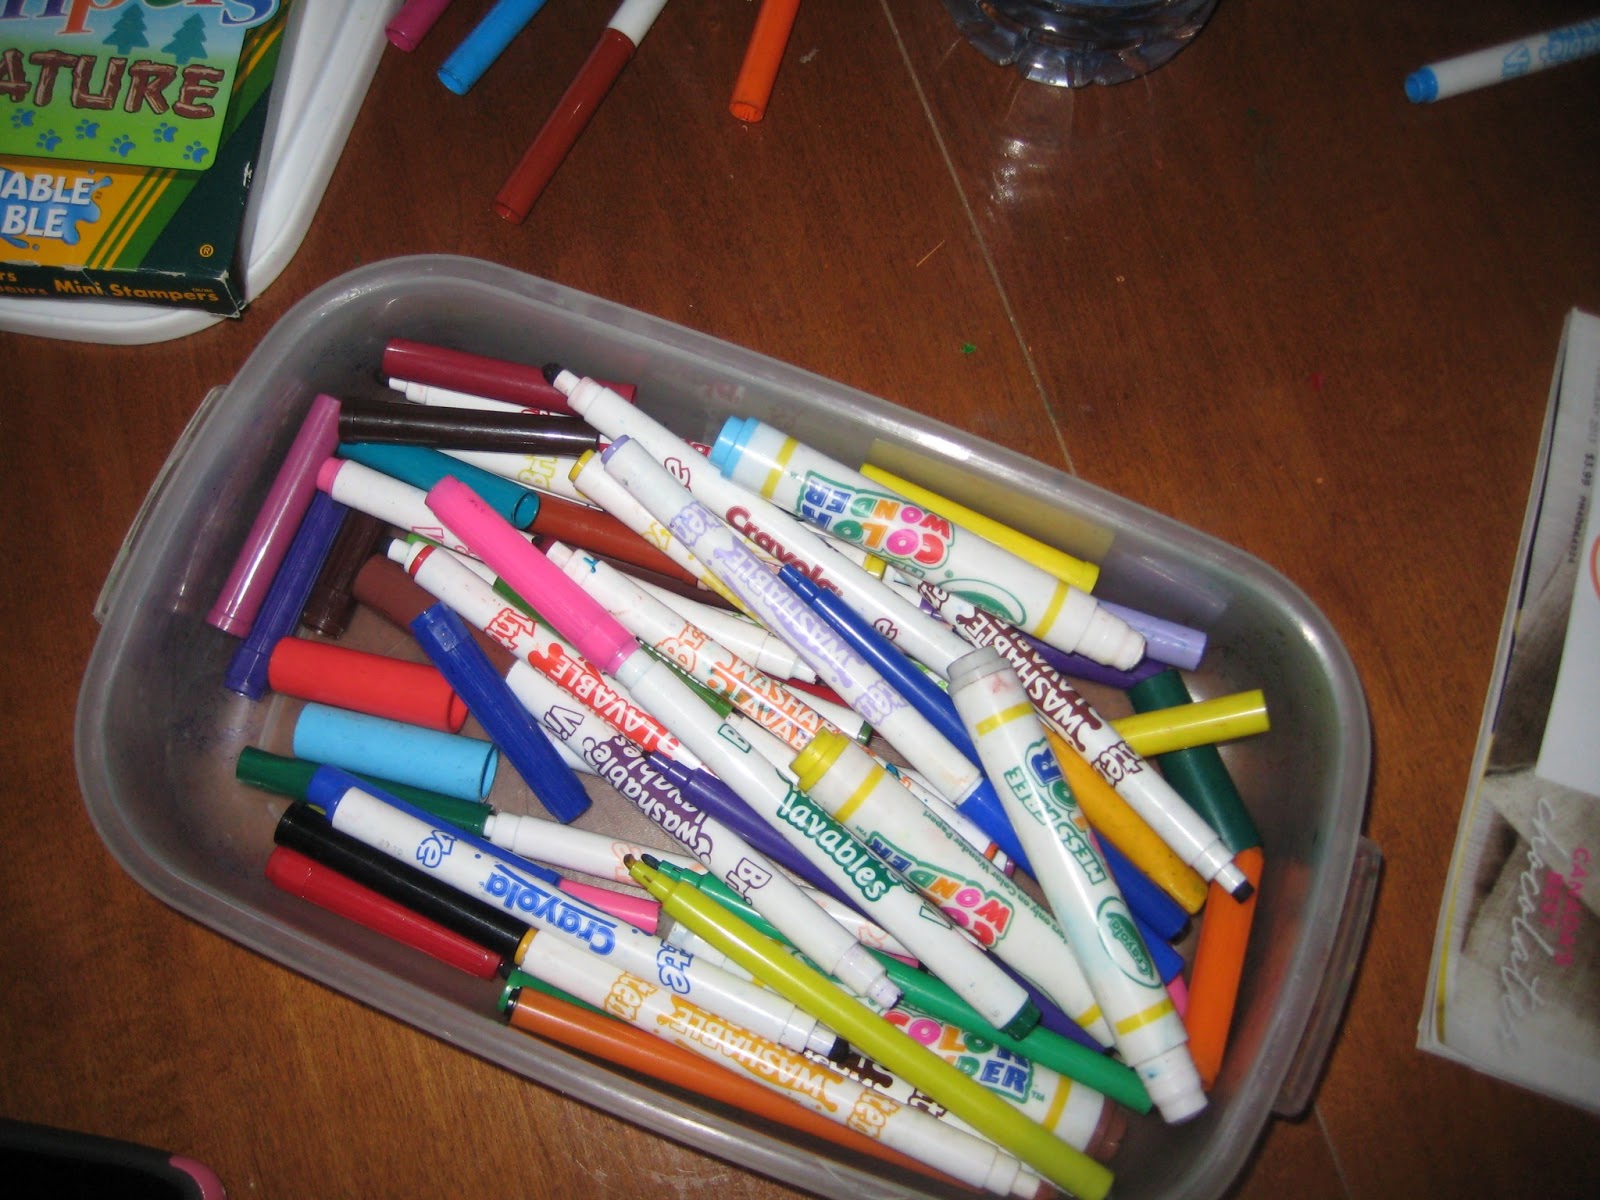
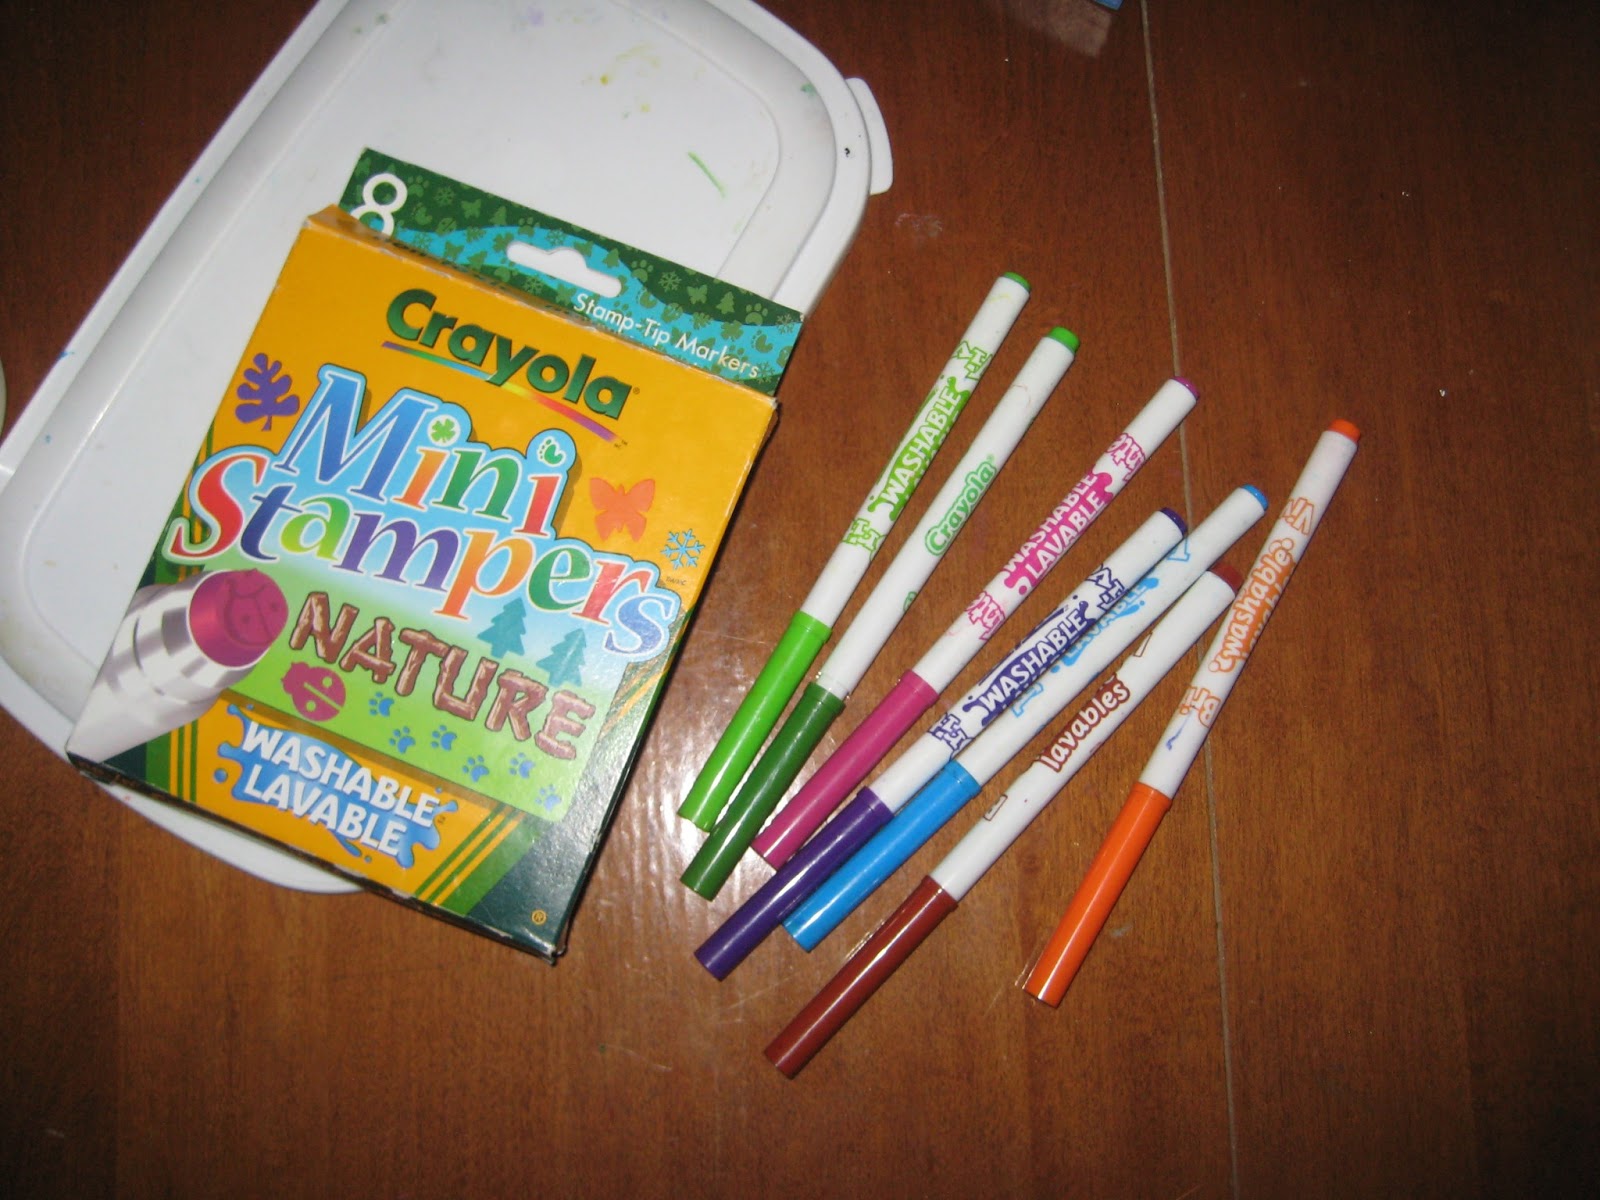
| Out-of-control marker storage was next on my list … |
 |
| I tried each and every marker, and these were the only ones not dried up. Lesson learned — toddlers DO NOT need a million markers. |
 |
| I added a few labels, and now his art drawer is much neater. He has an easier time putting everything away, too. |
 |
| I dug out all the dried-up clumps of Play-Doh and threw away the half-empty dried-up cans. I also added a container of plastic cookie cutters, which thrilled D to no end (and freed up room in my crowded baking cupboard, that you’ll see in a minute). |
 |
| Not much changed in the laptop drawer, except I decided to add the camera. We used to store it on top of the microwave (it’s really small), but now it’s out of sight — although still very accessible. |
 |
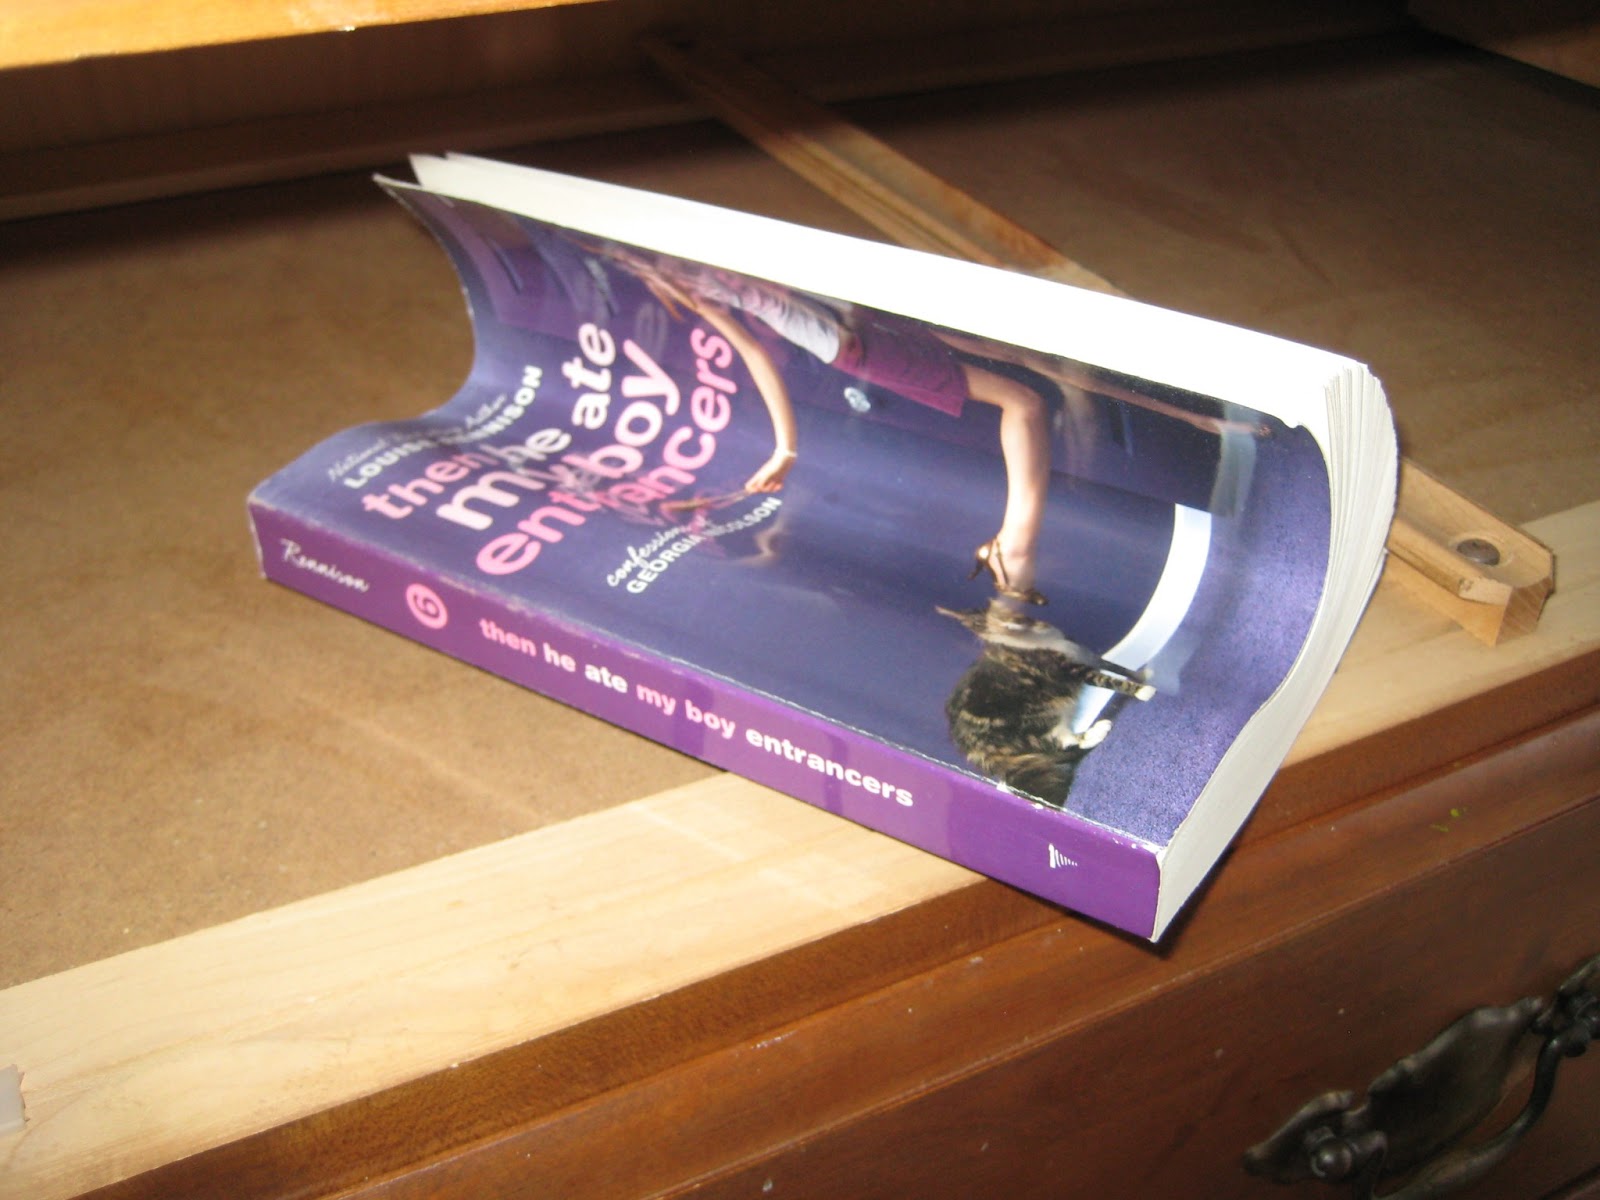
| But the drawer hadn’t been closing properly in a while, so I yanked the whole thing out to see what the problem was. Ahhhh … |
 |
| There’s my book! (Yes, I’m actually a 13-year-old girl. Don’t judge). |
 |
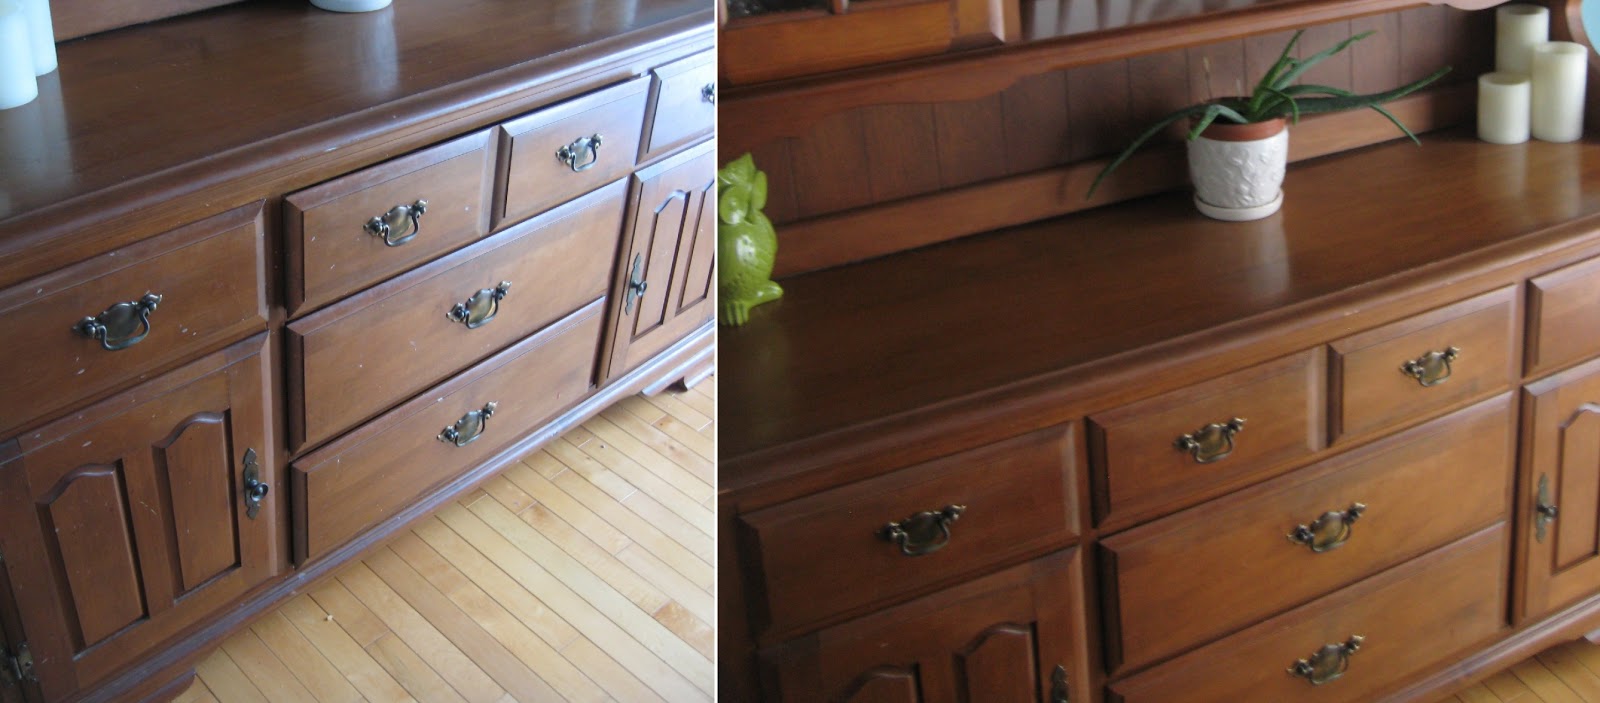
| I also polished up the hutch itself, to get off the flecks of paint that had seemed to take over. Hazard of being a large piece of furniture next to a toddler’s art area! |
 |
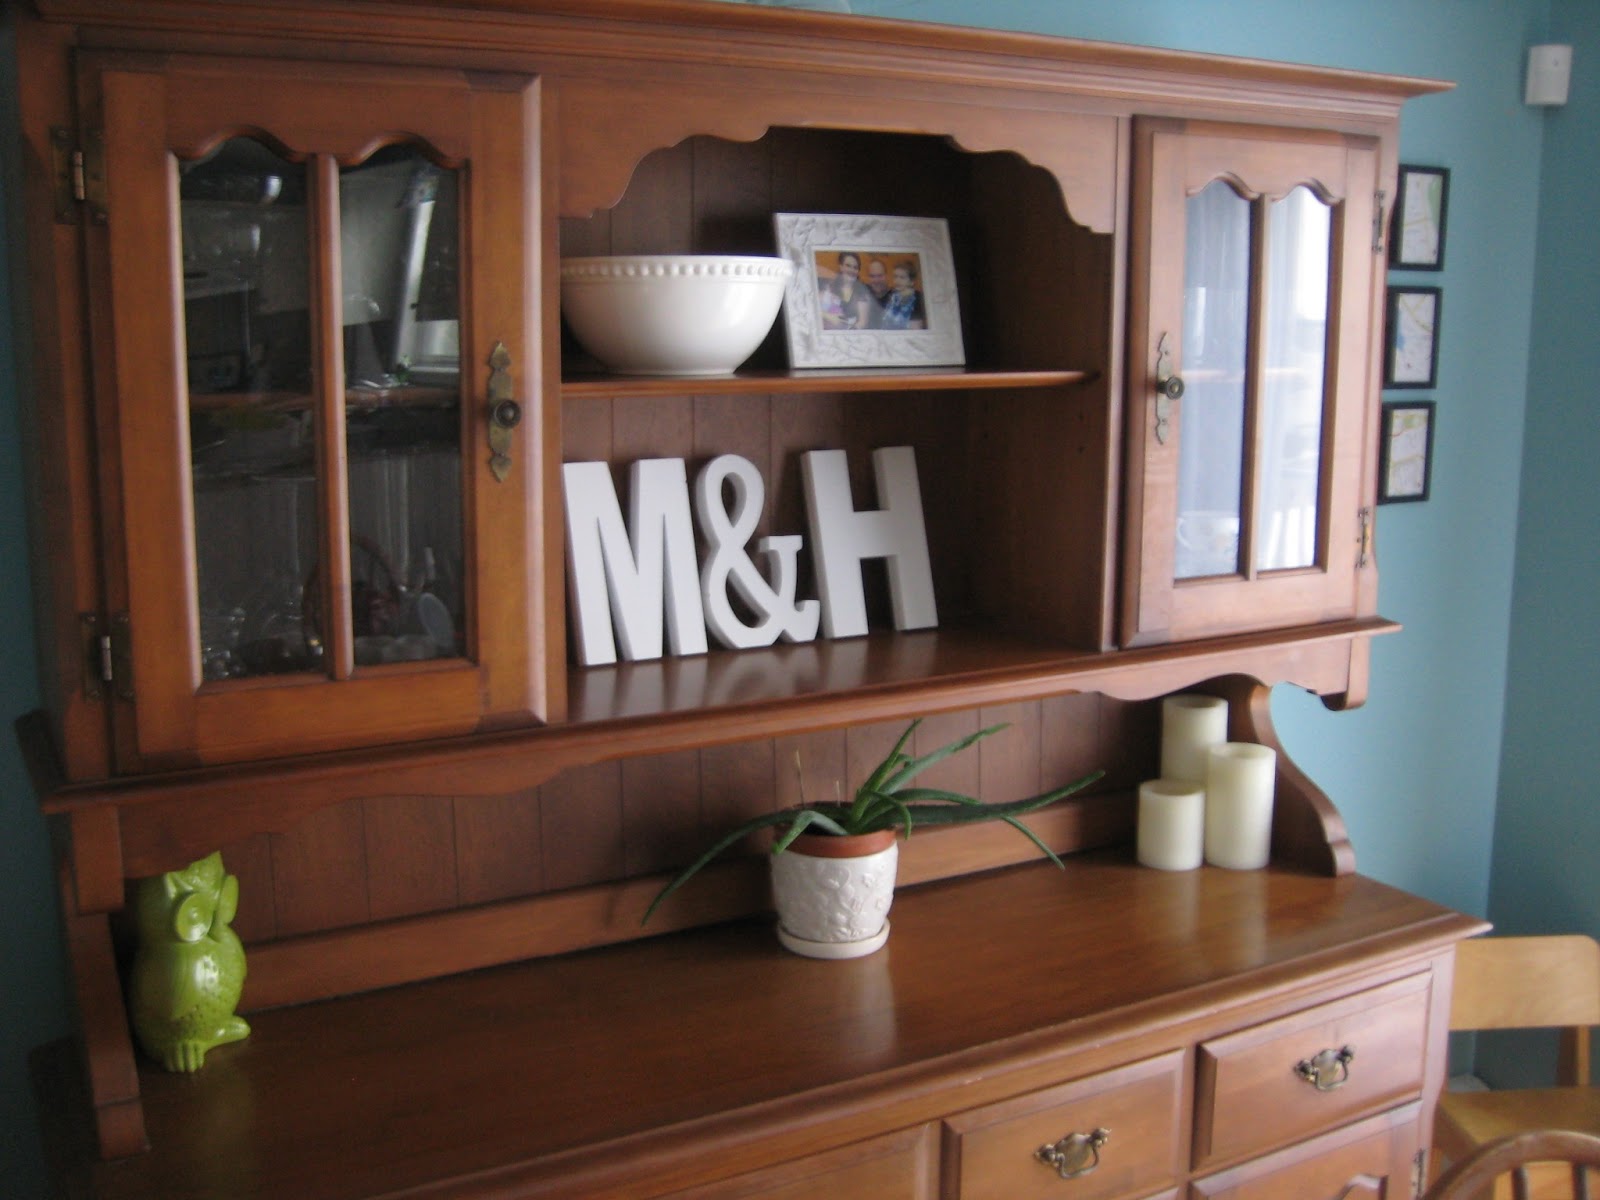
| Nicely-organized hutch! |
 |
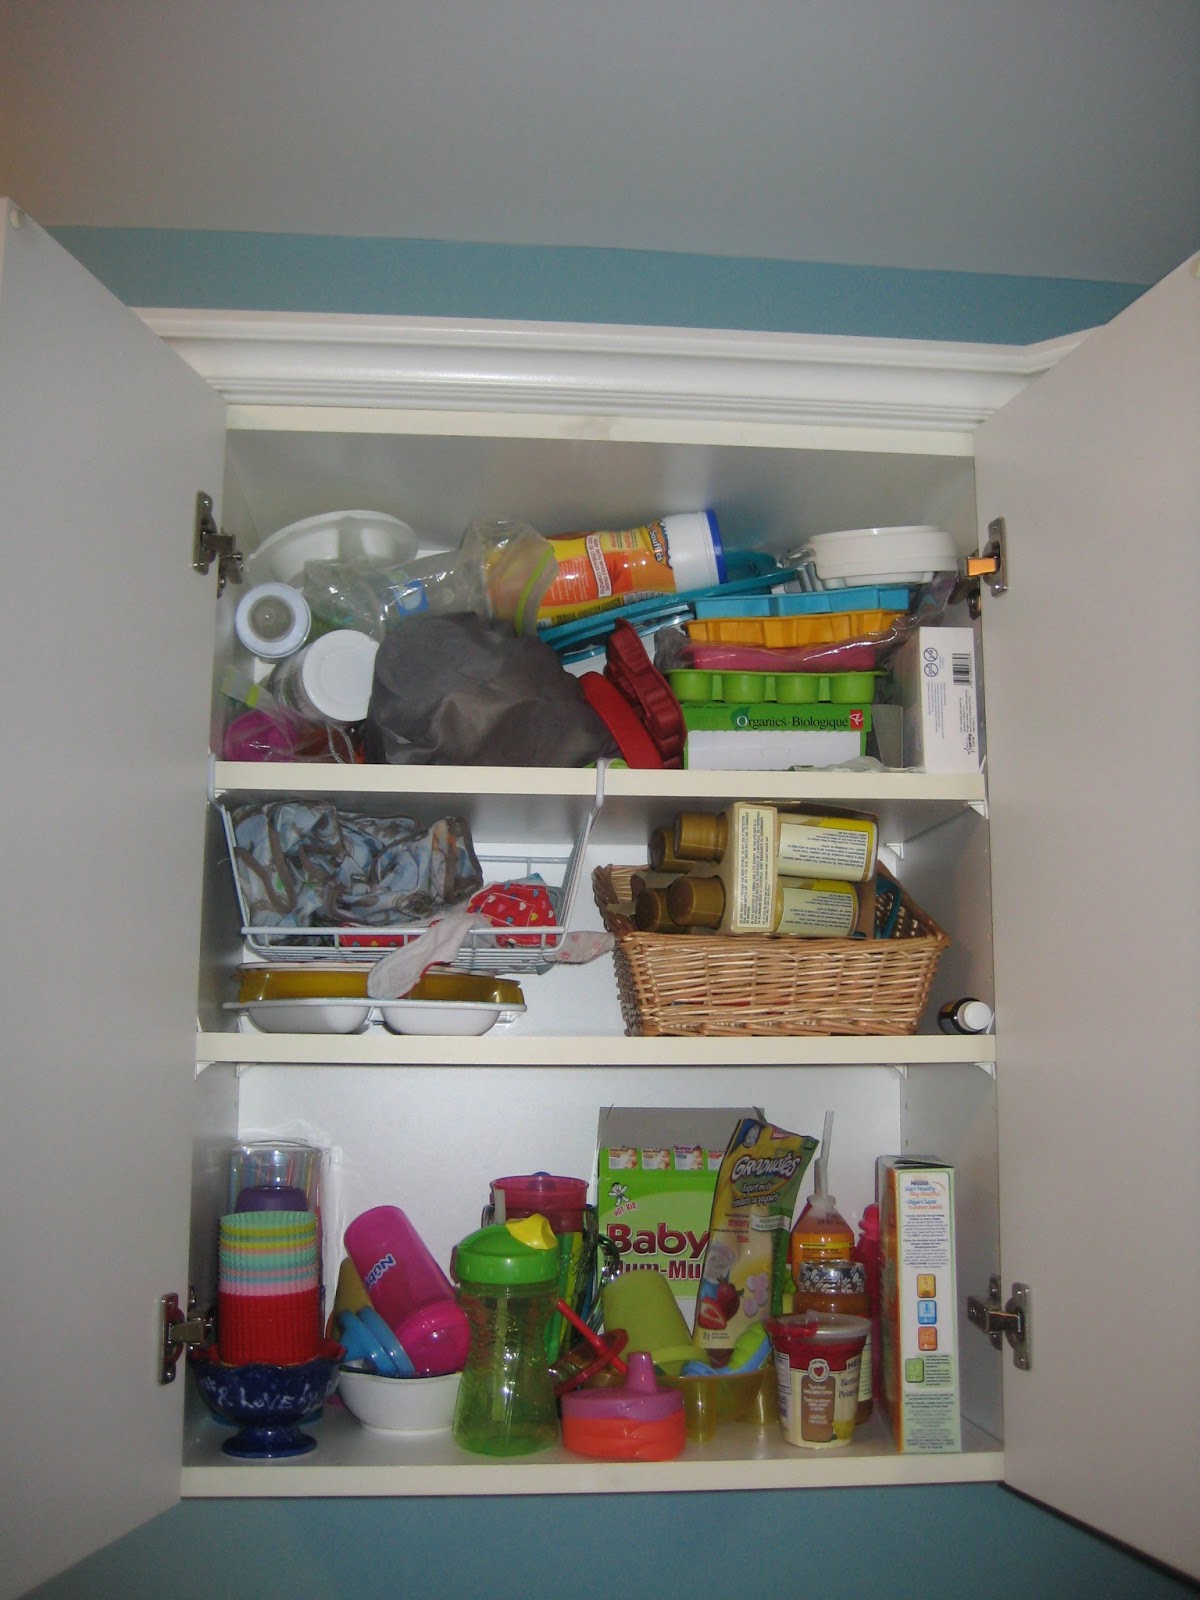
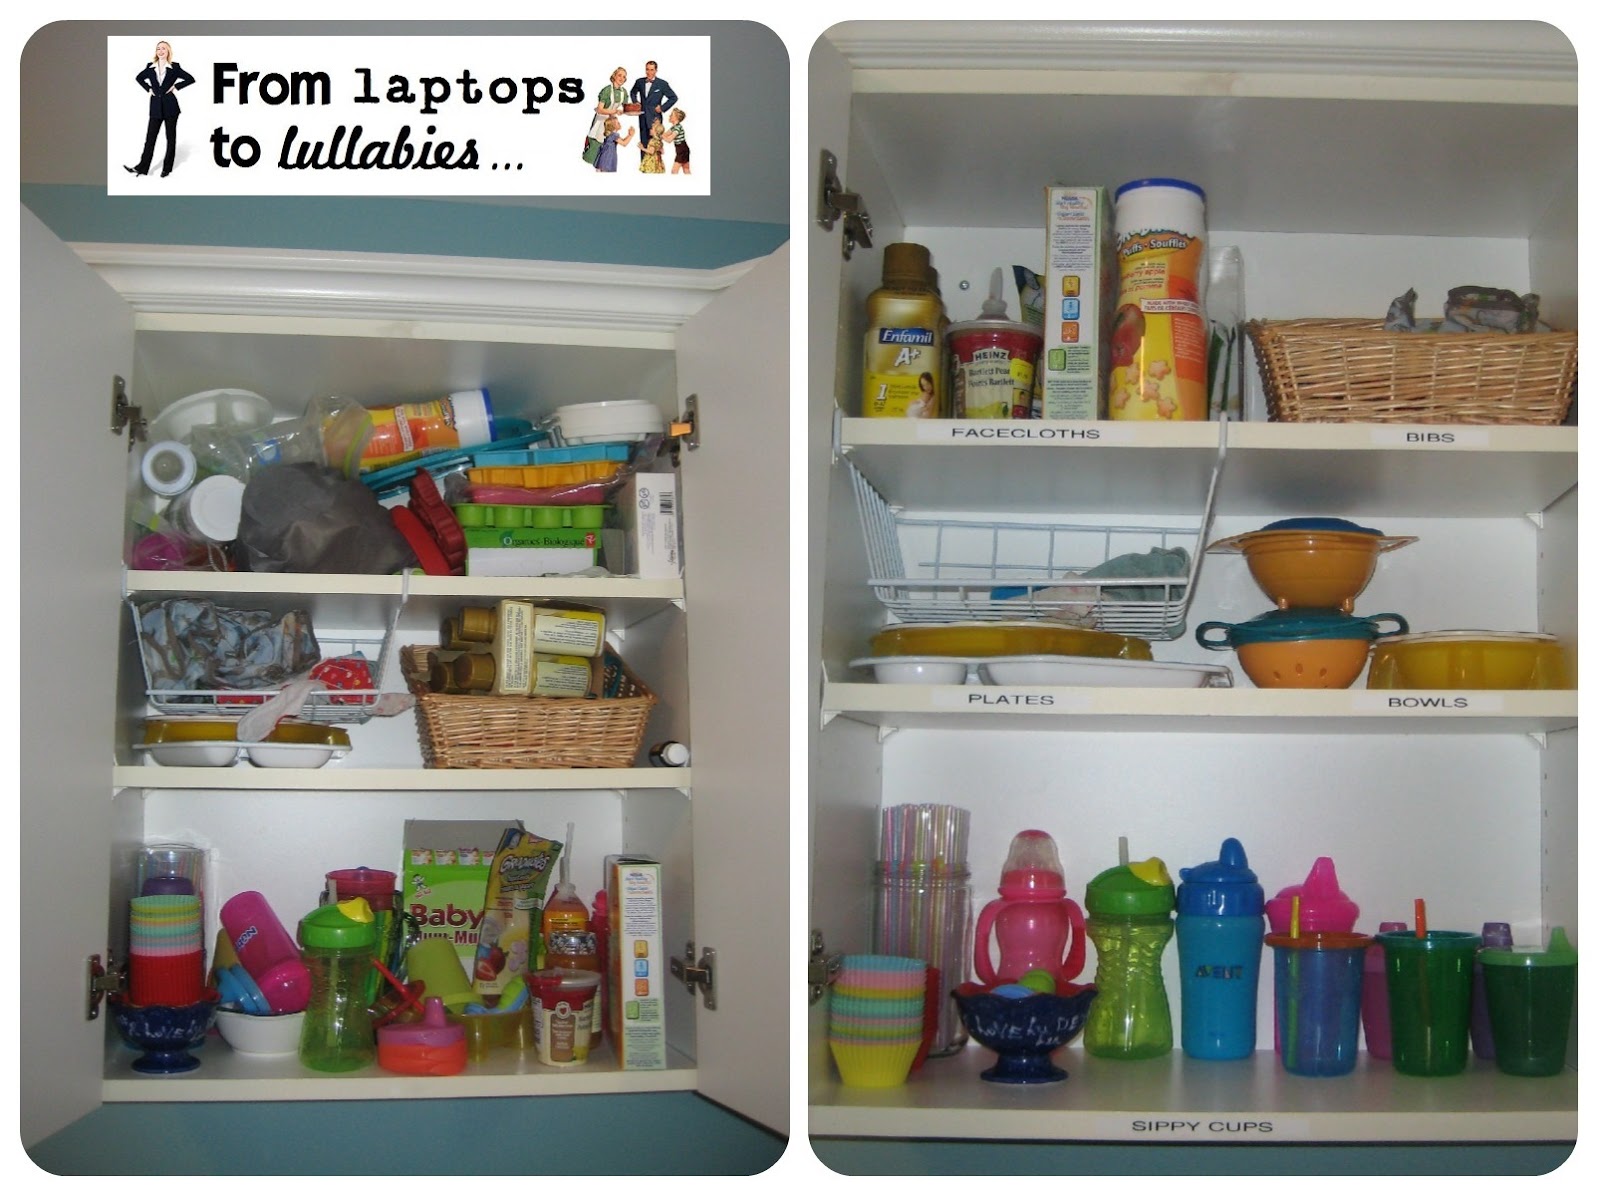
| Next on my list was the jam-packed “baby” cupboard. Now that C is 10 months old (!!!) I realized I could toss the burp cloths and baby bottles. I also packed away the silicone trays we use for making purees, because she’s really on mainly finger foods now. *tear* |
 |
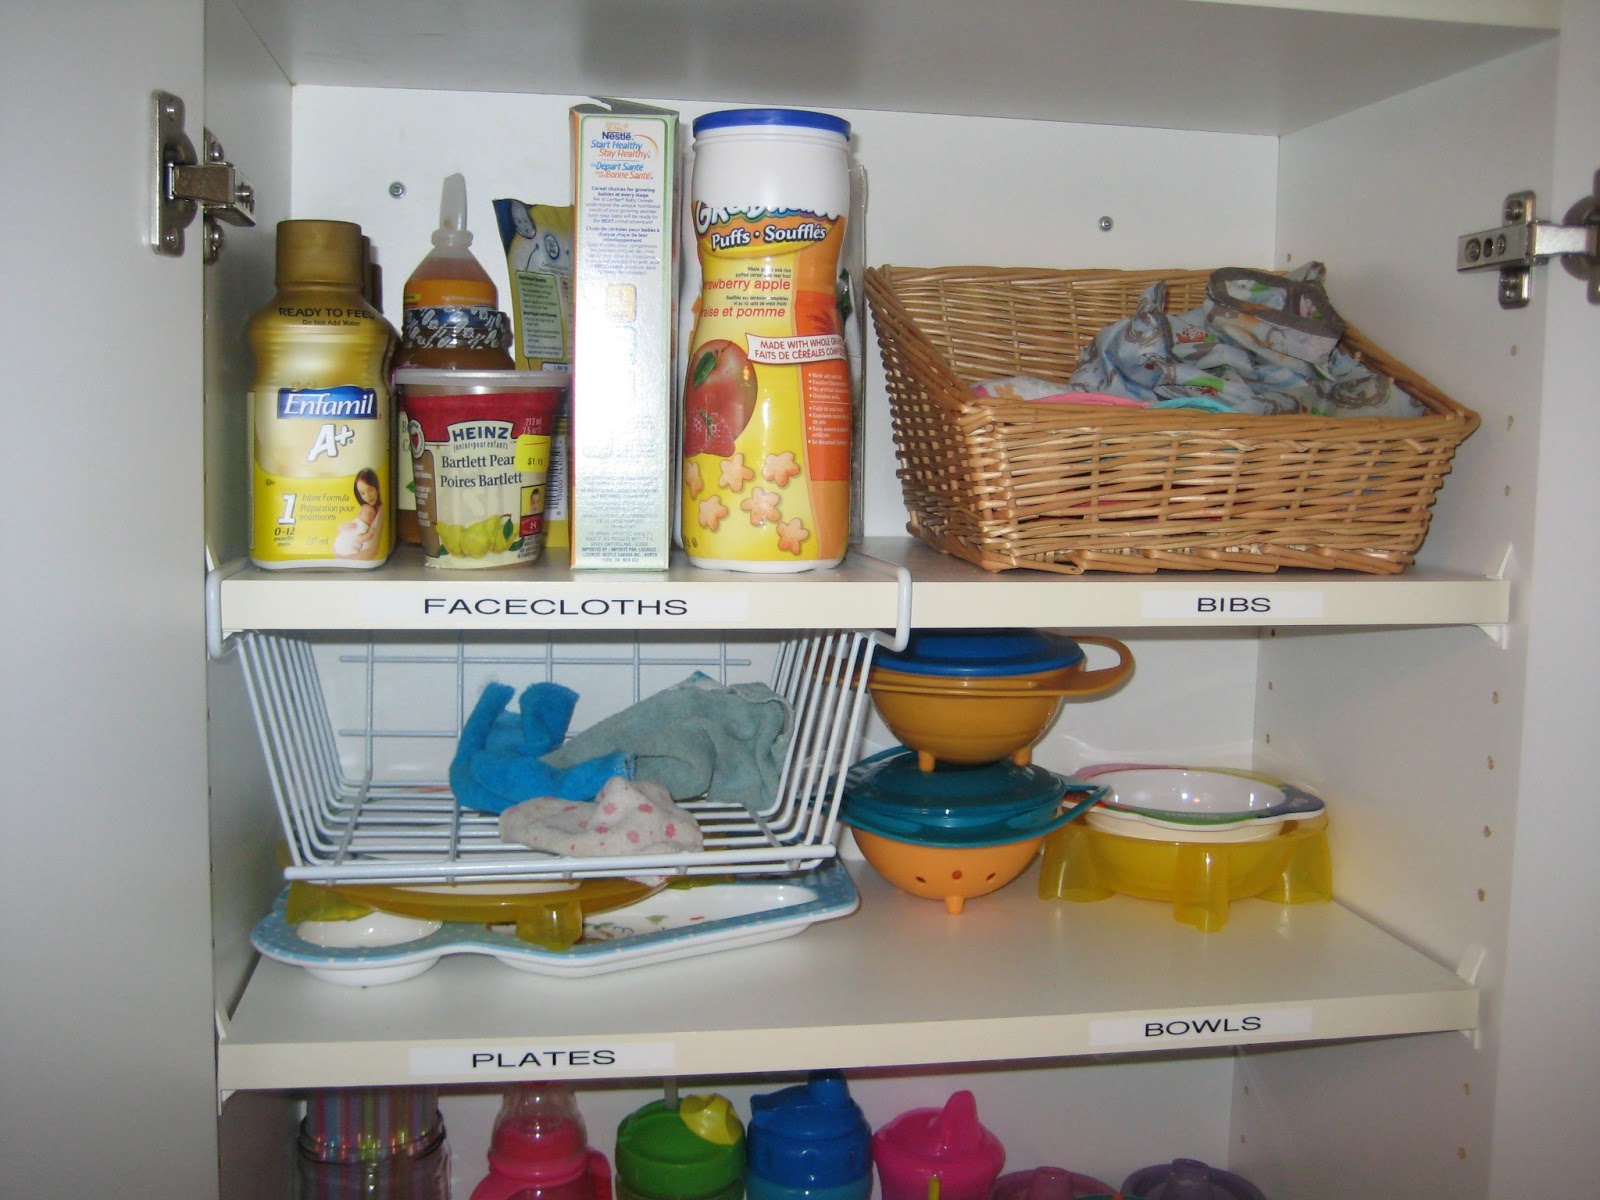
| Now this cupboard is a thing of beauty! (Which is a good thing, since we go into it about eighty-five times a day) |
 |
| Instead of stacking zillions of sippy-cups and having a pile of lids crash down every other day, I paired up a selection of cups and tossed the rest. We don’t NEED 500 sippy-cups, especially since D drinks out of real glasses at home. |
 |
| We still have a small selection of “baby” food on the top shelf (puffs, rice cereal for bedtime) as well as some free containers of formula for emergencies (C tried it once and hated it, just like D). But overall, the cupboard is MUCH easier to manage now. |
 |
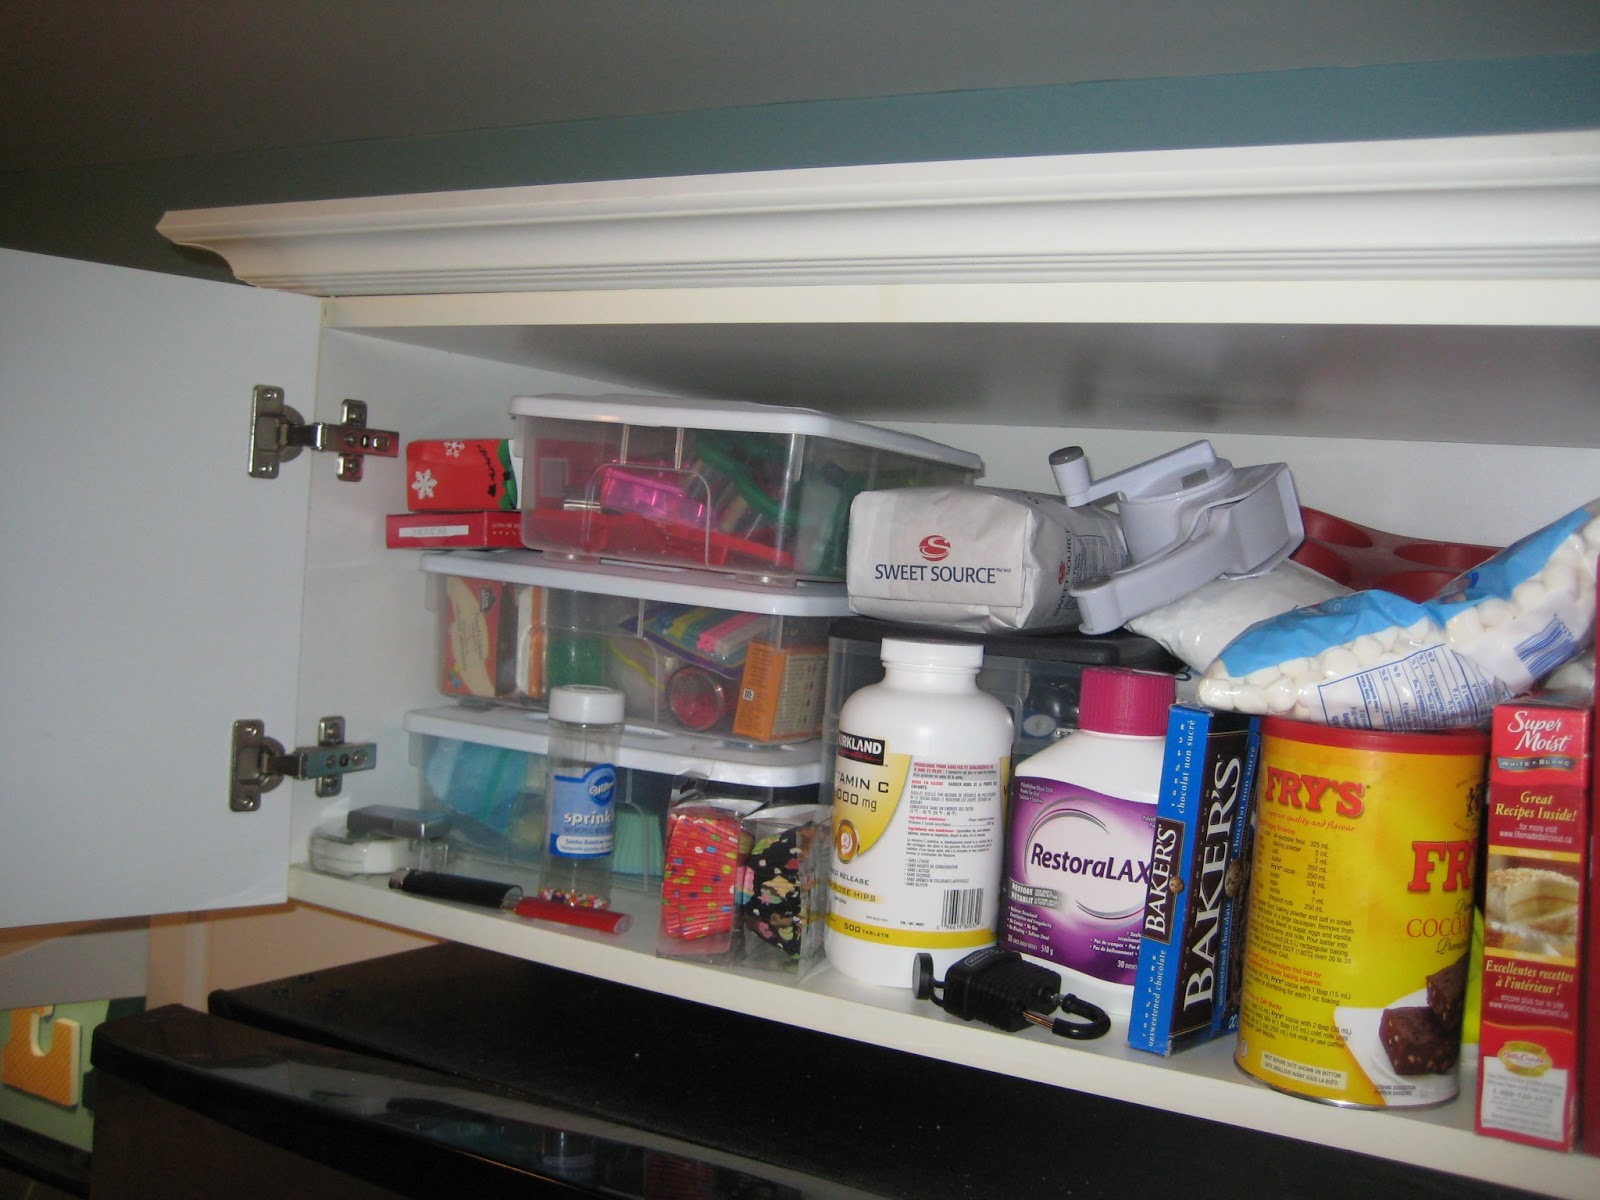
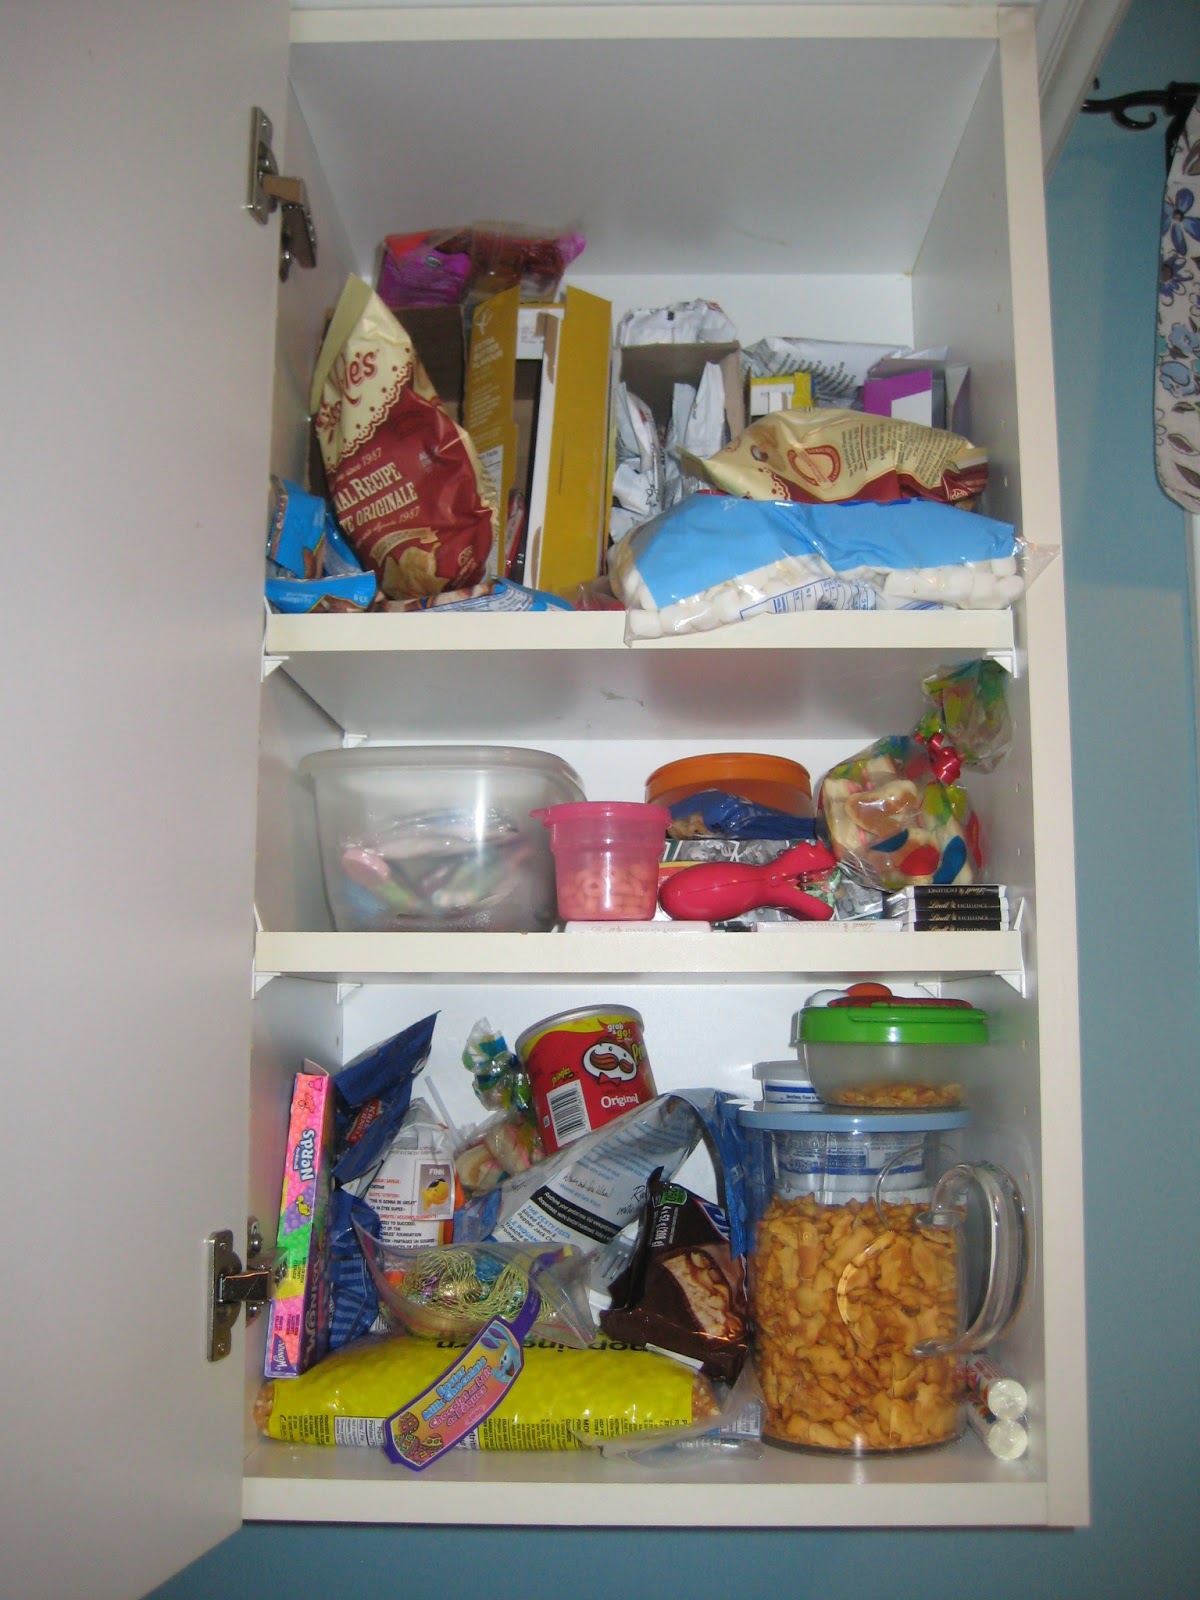
| This was DEFINITELY my biggest challenge. This cupboard above the fridge was supposed to be my baking cupboard, but — because it’s the only cupboard the kids can’t reach, since D can climb onto the counters — it had also become our equivalent of a junk drawer. Boo! |
 |
| Look at that hot mess. |
 |
| Once I took out all of the actual BAKING supplies, all of this OTHER crap was leftover! Does this look like baking stuff? |
 |
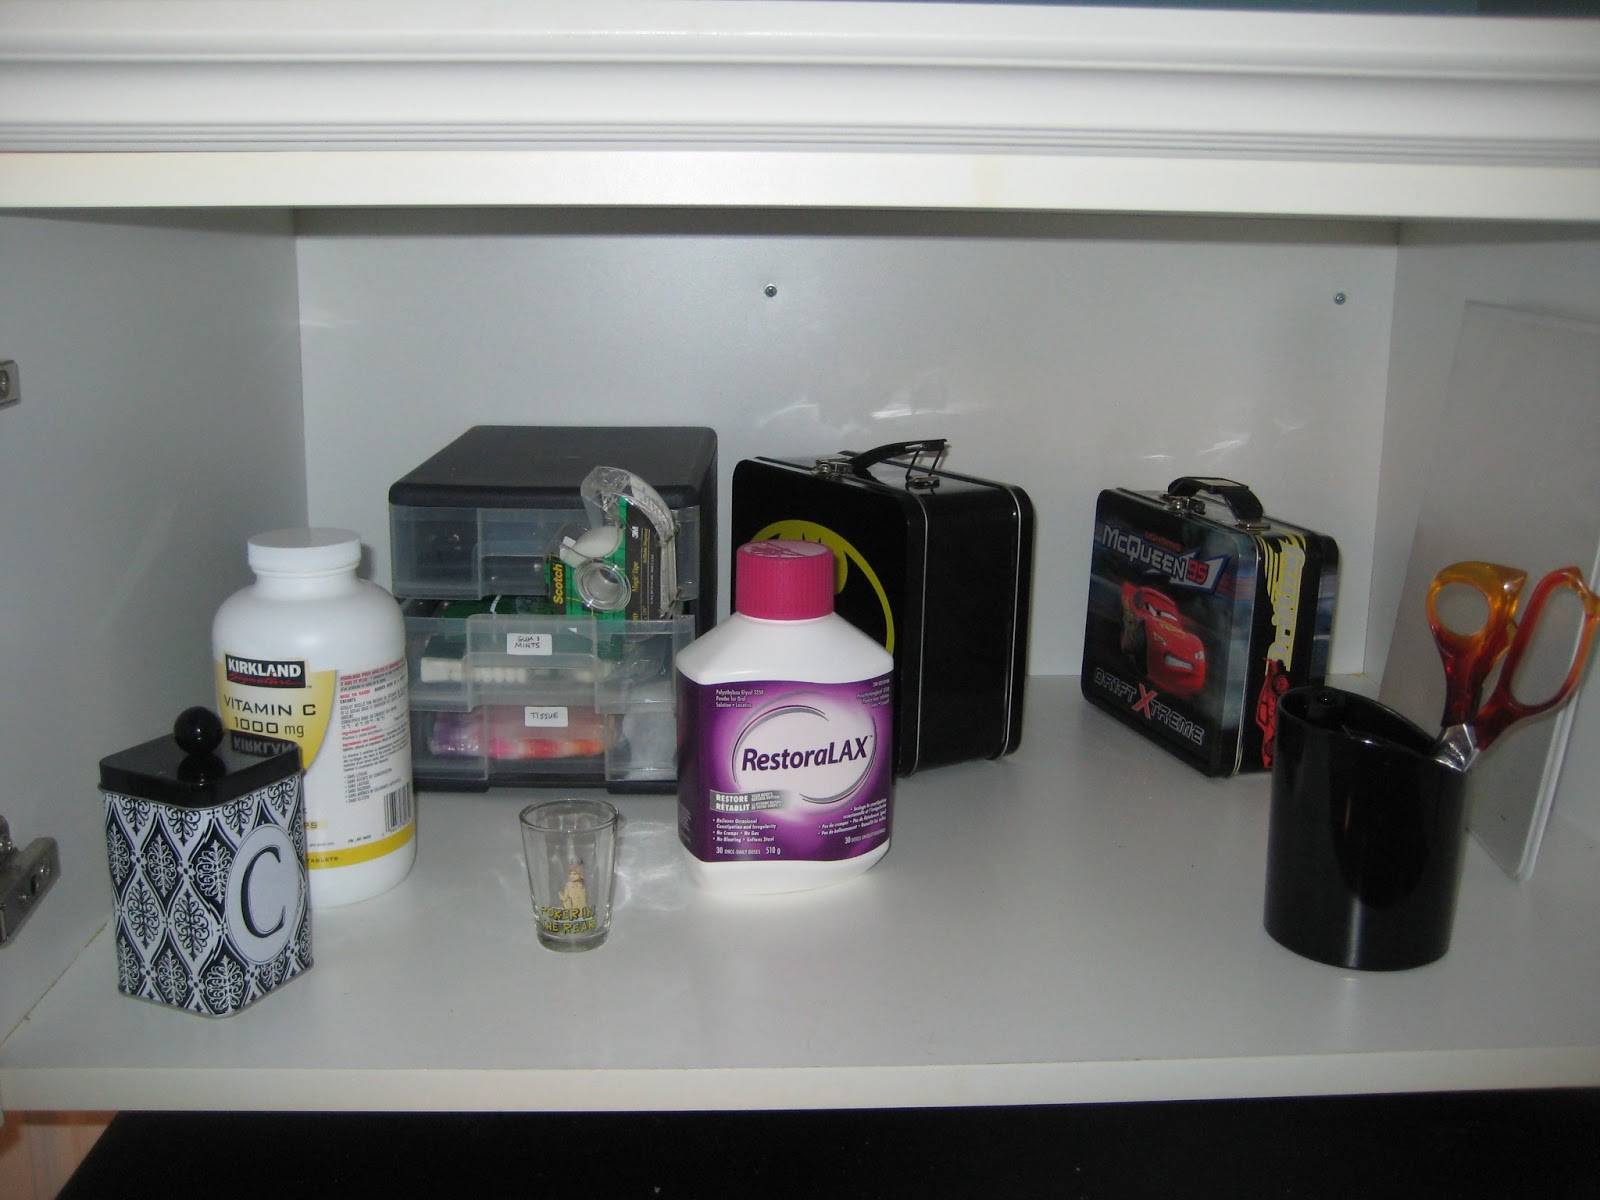
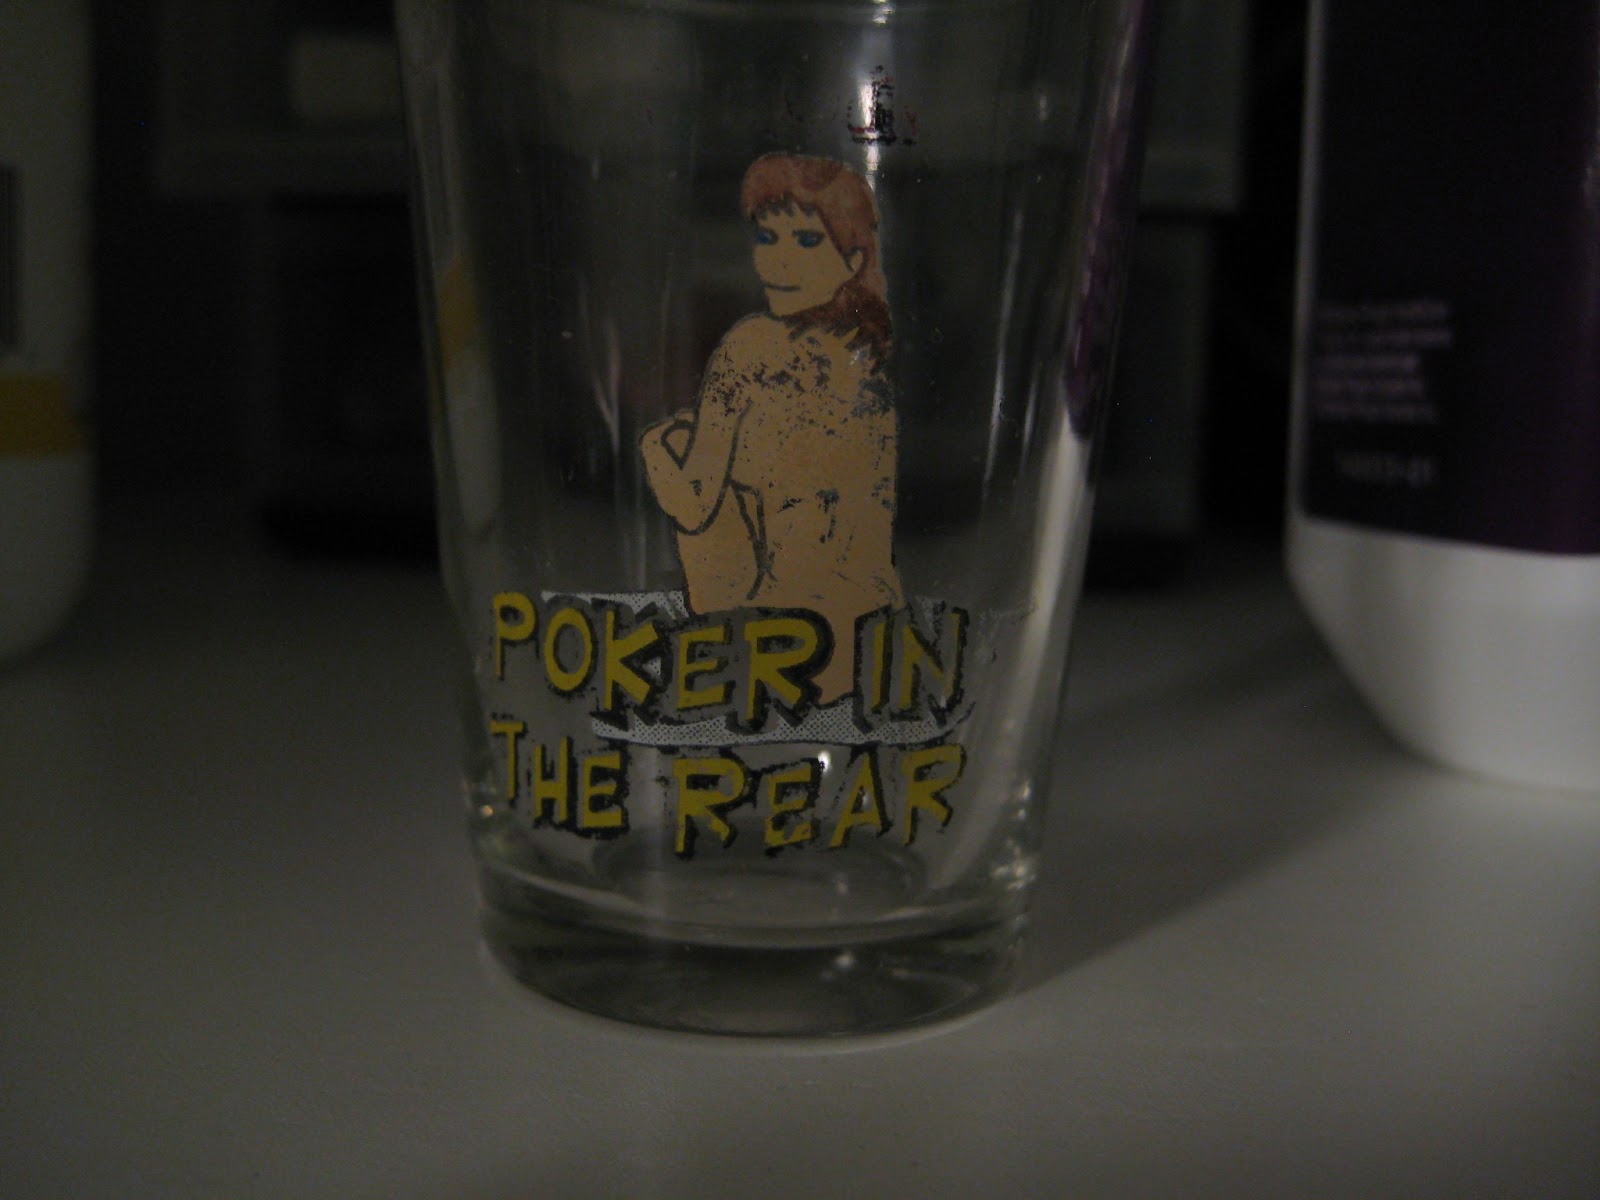
| Shoutout to a shotglass Darling Husband received as a gift about 10 years ago. The letters have worn off part of it, but it used to say “Liquor in the front, poke her in the rear.” *snicker* Yeah, this DEFINITELY did not belong in the baking cupboard! |
 |
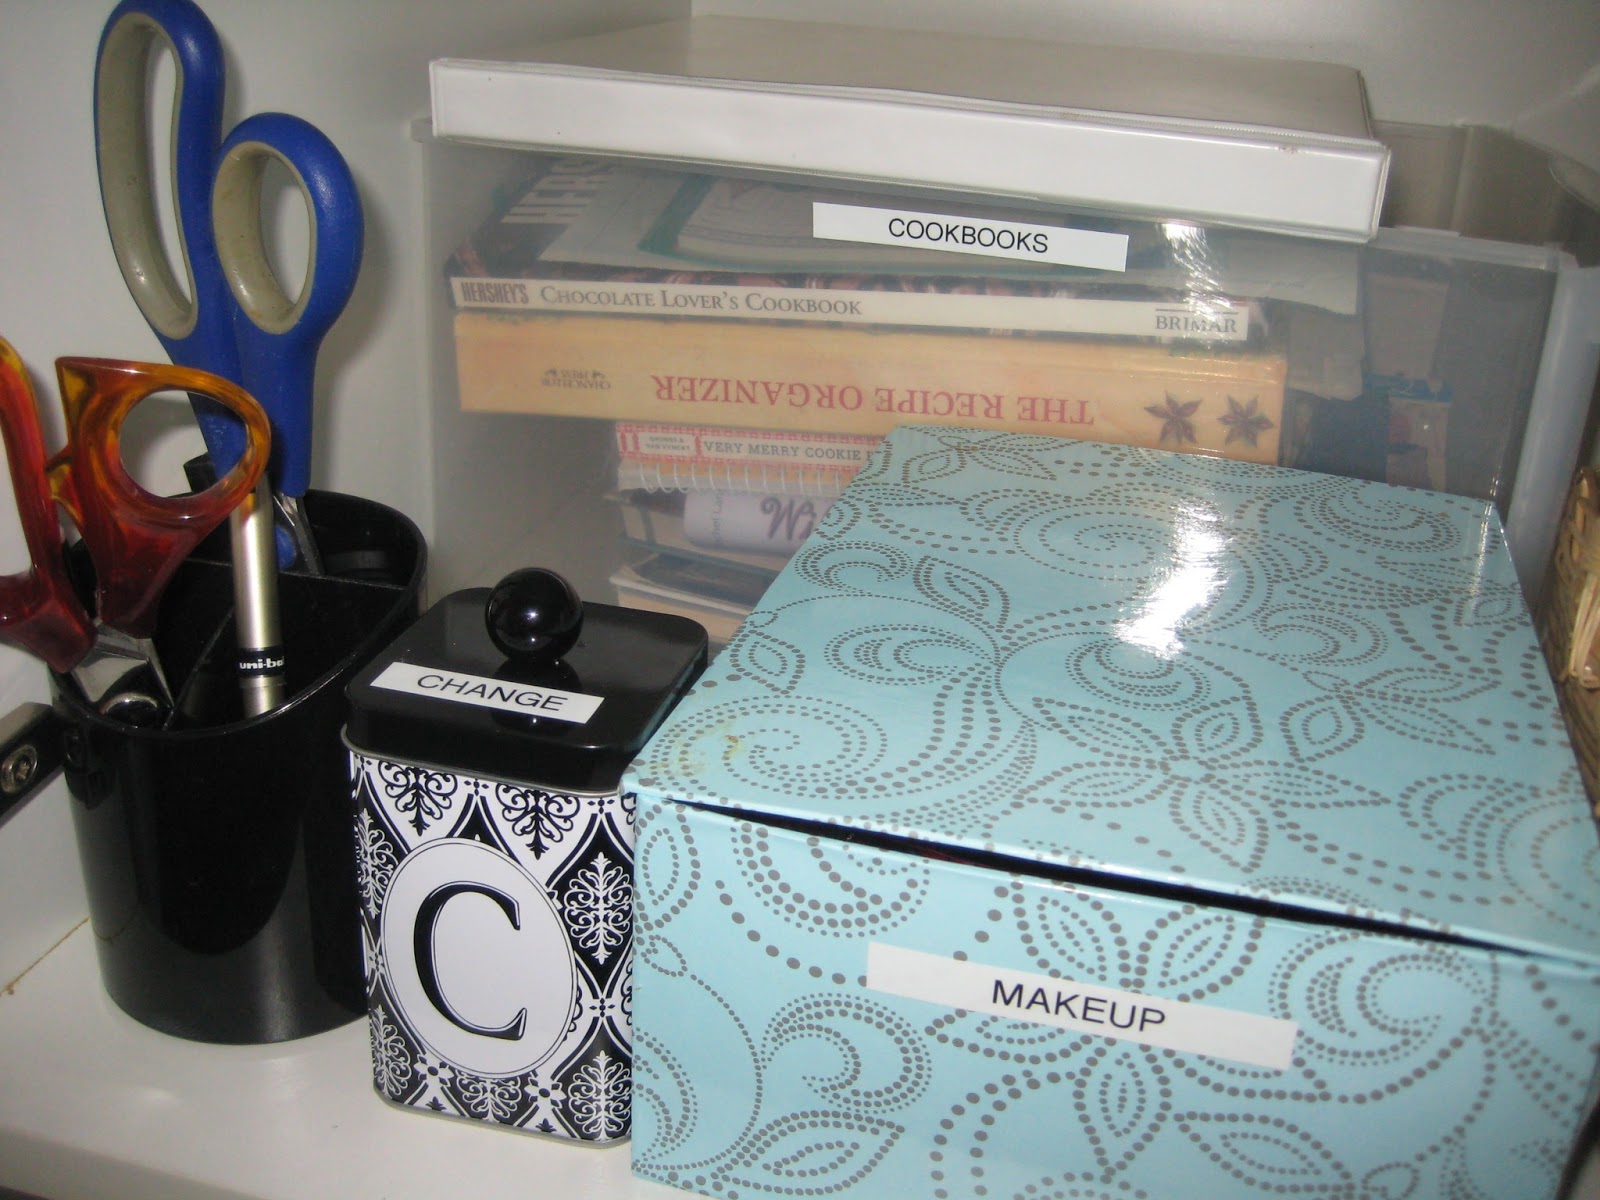
| I decided to make this cupboard into a “junk” cupboard, since that’s what it constantly ended up being anyway. But it needed more organization. I put my cookbooks in a clear plastic drawer at the back, so I can stand on a chair and grab the whole bin when I need one. I also found a pretty box for storing my makeup (which used to live on the microwave, since I always do my makeup in the kitchen while making/eating breakfast — is that weird?). |
 |
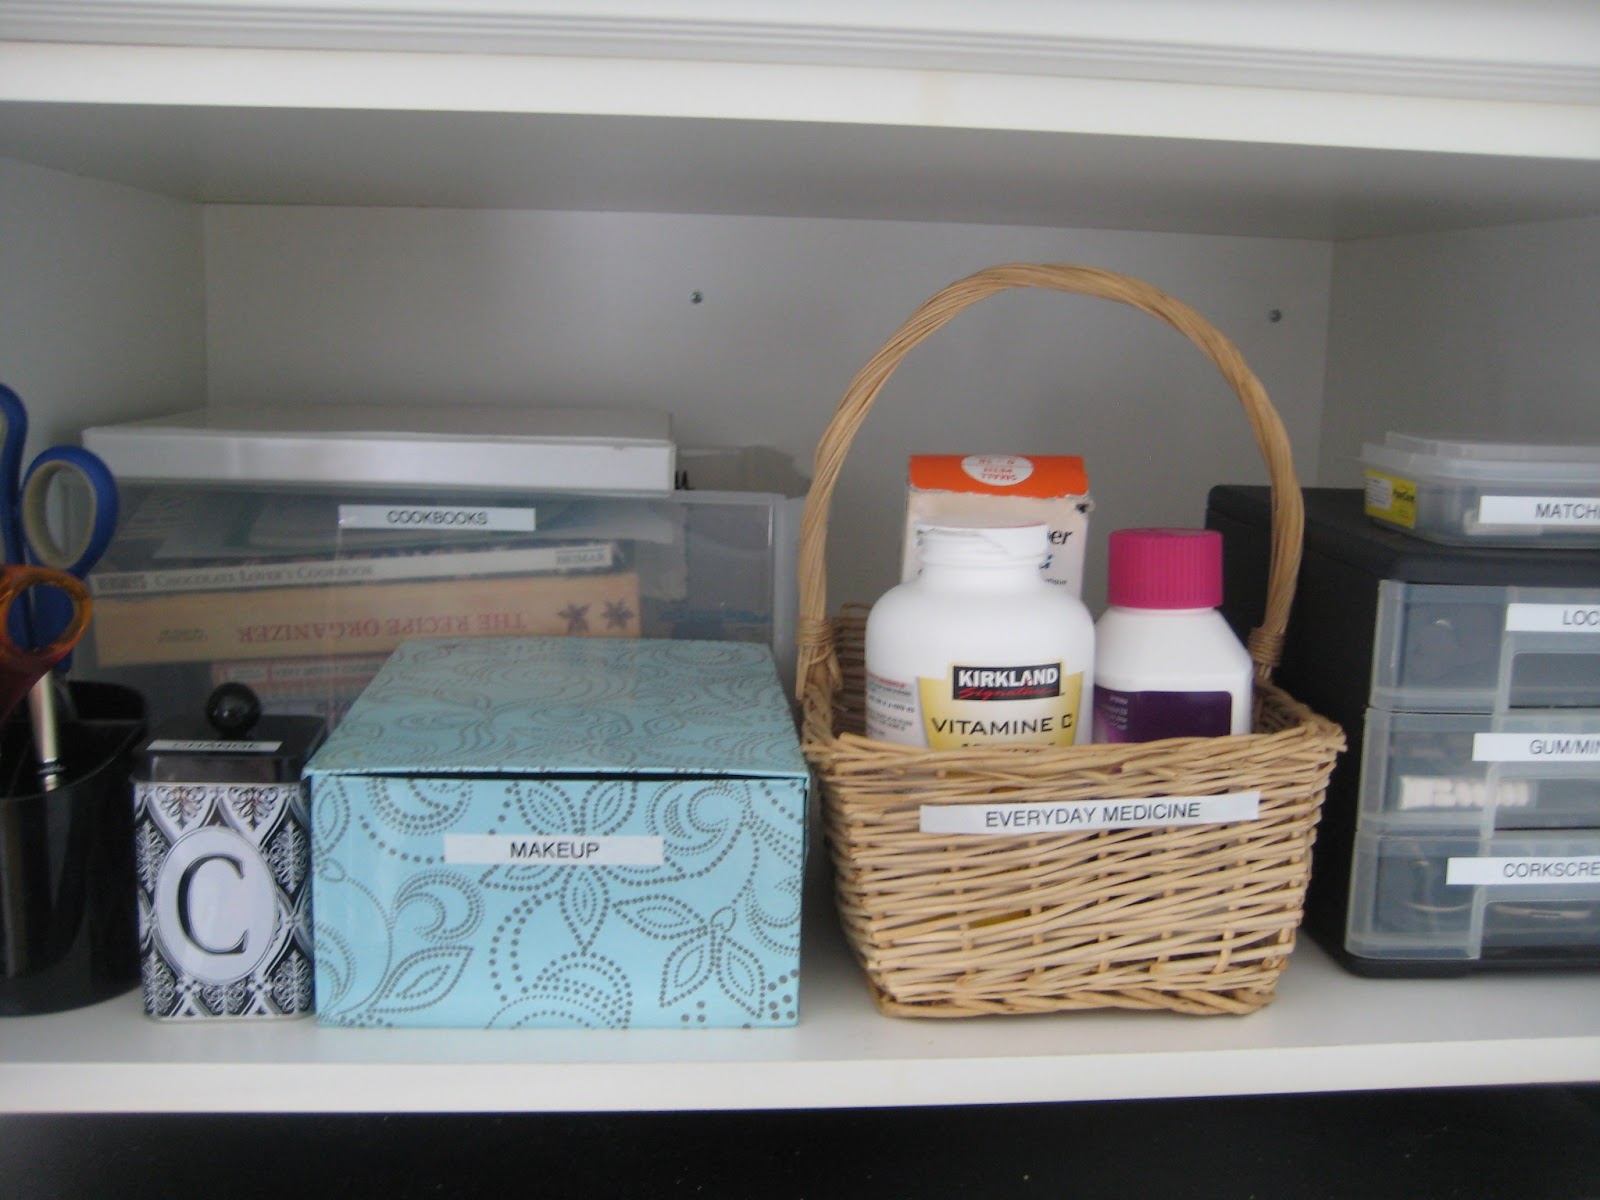
| Our “everyday” medicines go here, too, but the rest are kept in the powder room (which you’ll see next week). Those are kept locked up with a hard-to-manage babyproof lock, so it’s easier to keep the stuff we need all of the time here. |
 |
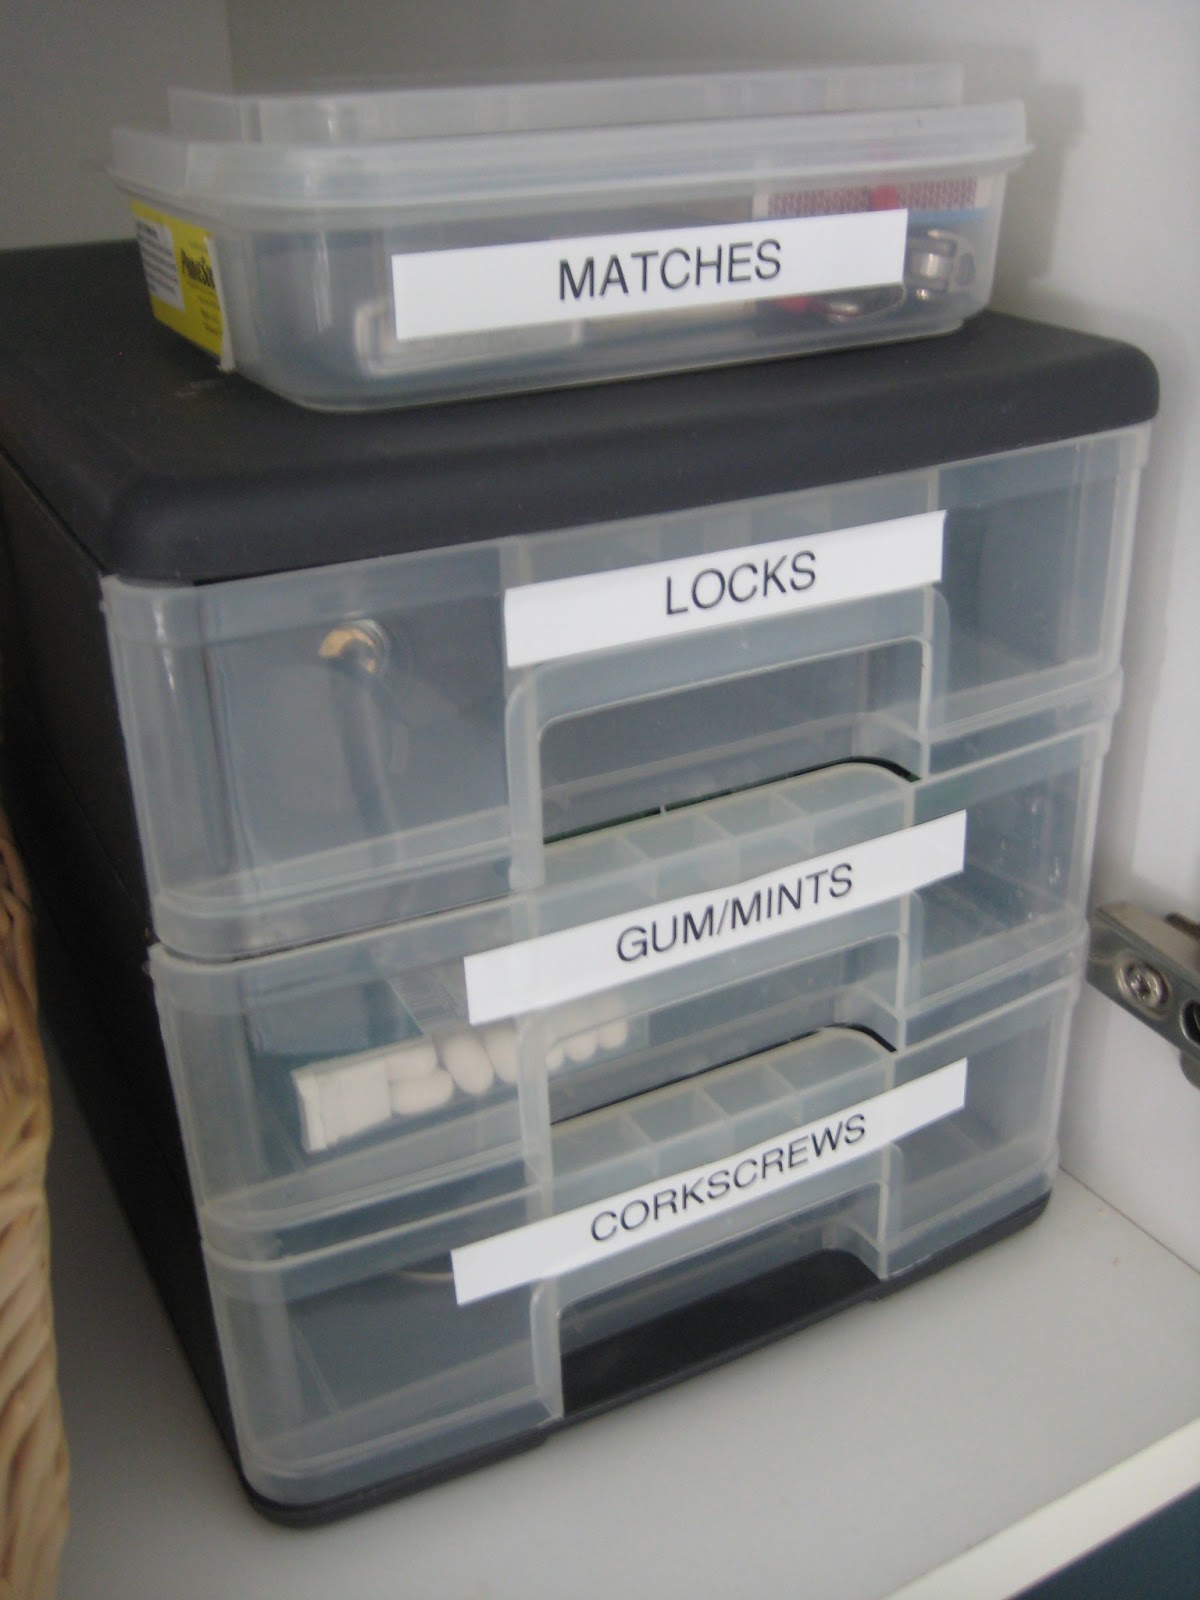
| I know these labels seem random, but there are things that are never easily located when we actually need them. I don’t know how many times I’ve been hissing at Darling Husband to find matches or a lighter while our guests are waiting for us to light birthday candles (well, maybe three times, but that’s enough). The locks are for when I take the kids swimming, or if Darling Husband needs an extra for a locker at work. And when my mom comes over, she used to always bug me about finding a corkscrew (Darling Husband and I don’t drink wine). |
 |
| It’s MUCH easier to find things in our “junk” cupboard now. Love it! |
 |
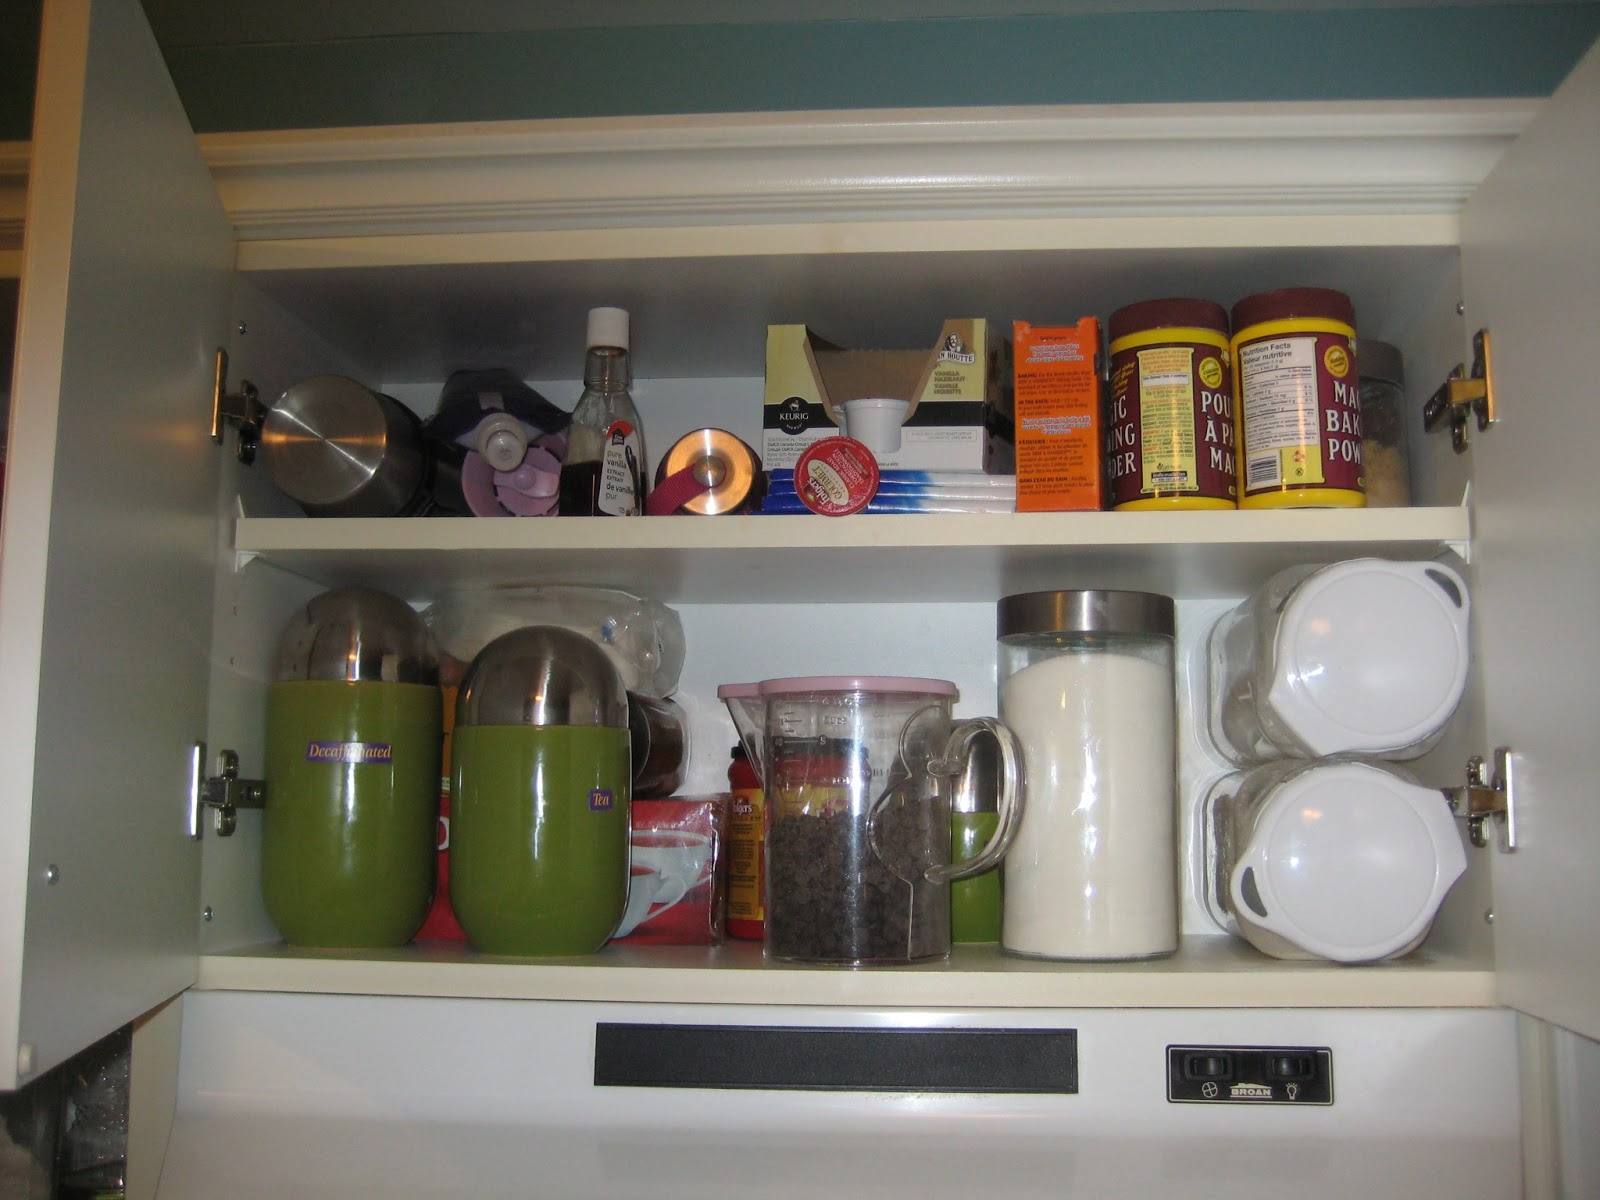
| This was the cupboard above the stove that held tea, coffee, travel mugs, and my “everyday” baking supplies (since most of them were stuck up in the aforementioned HORRIBLE CUPBOARD OF CRAP. |
 |
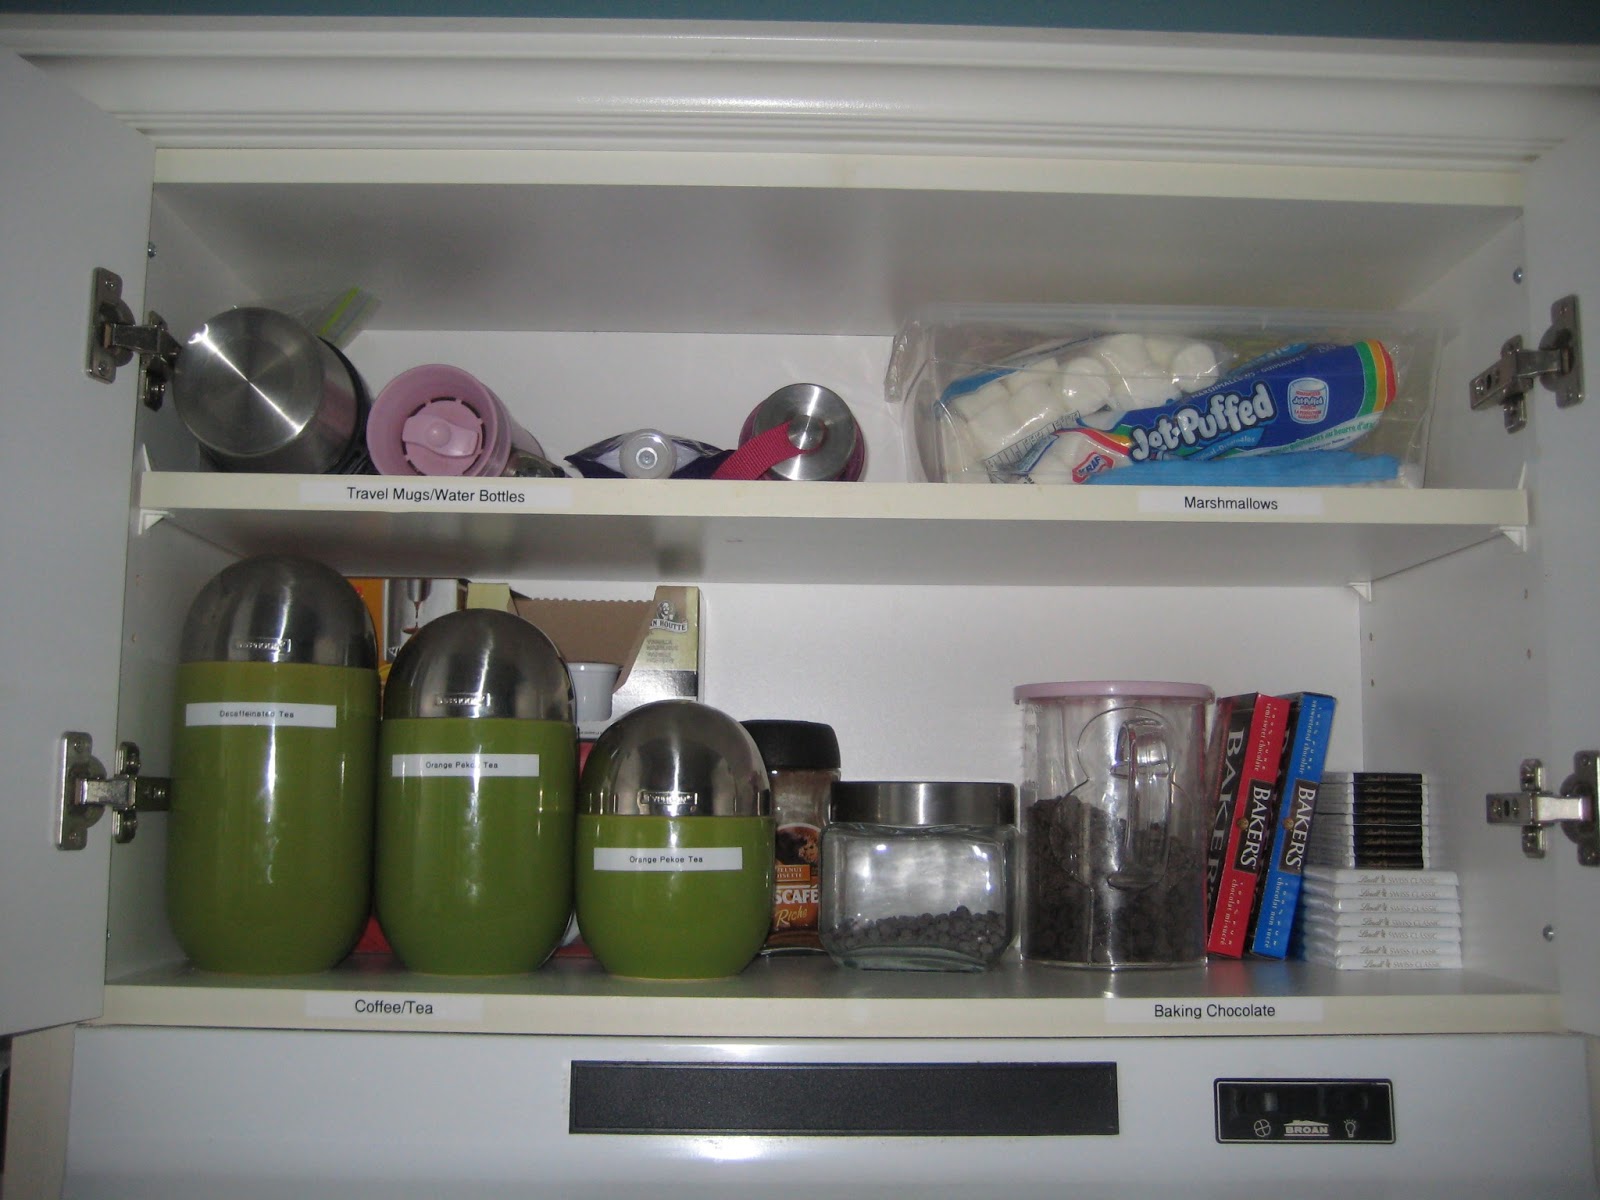
| I made a few labels and rearranged it a bit, and now it holds tea, coffee, travel mugs, and only two specific kinds of baking ingredients: chocolate and marshmallows. In a perfect world, I’d love to have everything all in ONE baking cupboard, but these guys just couldn’t fit — so at least they’re together. |
 |
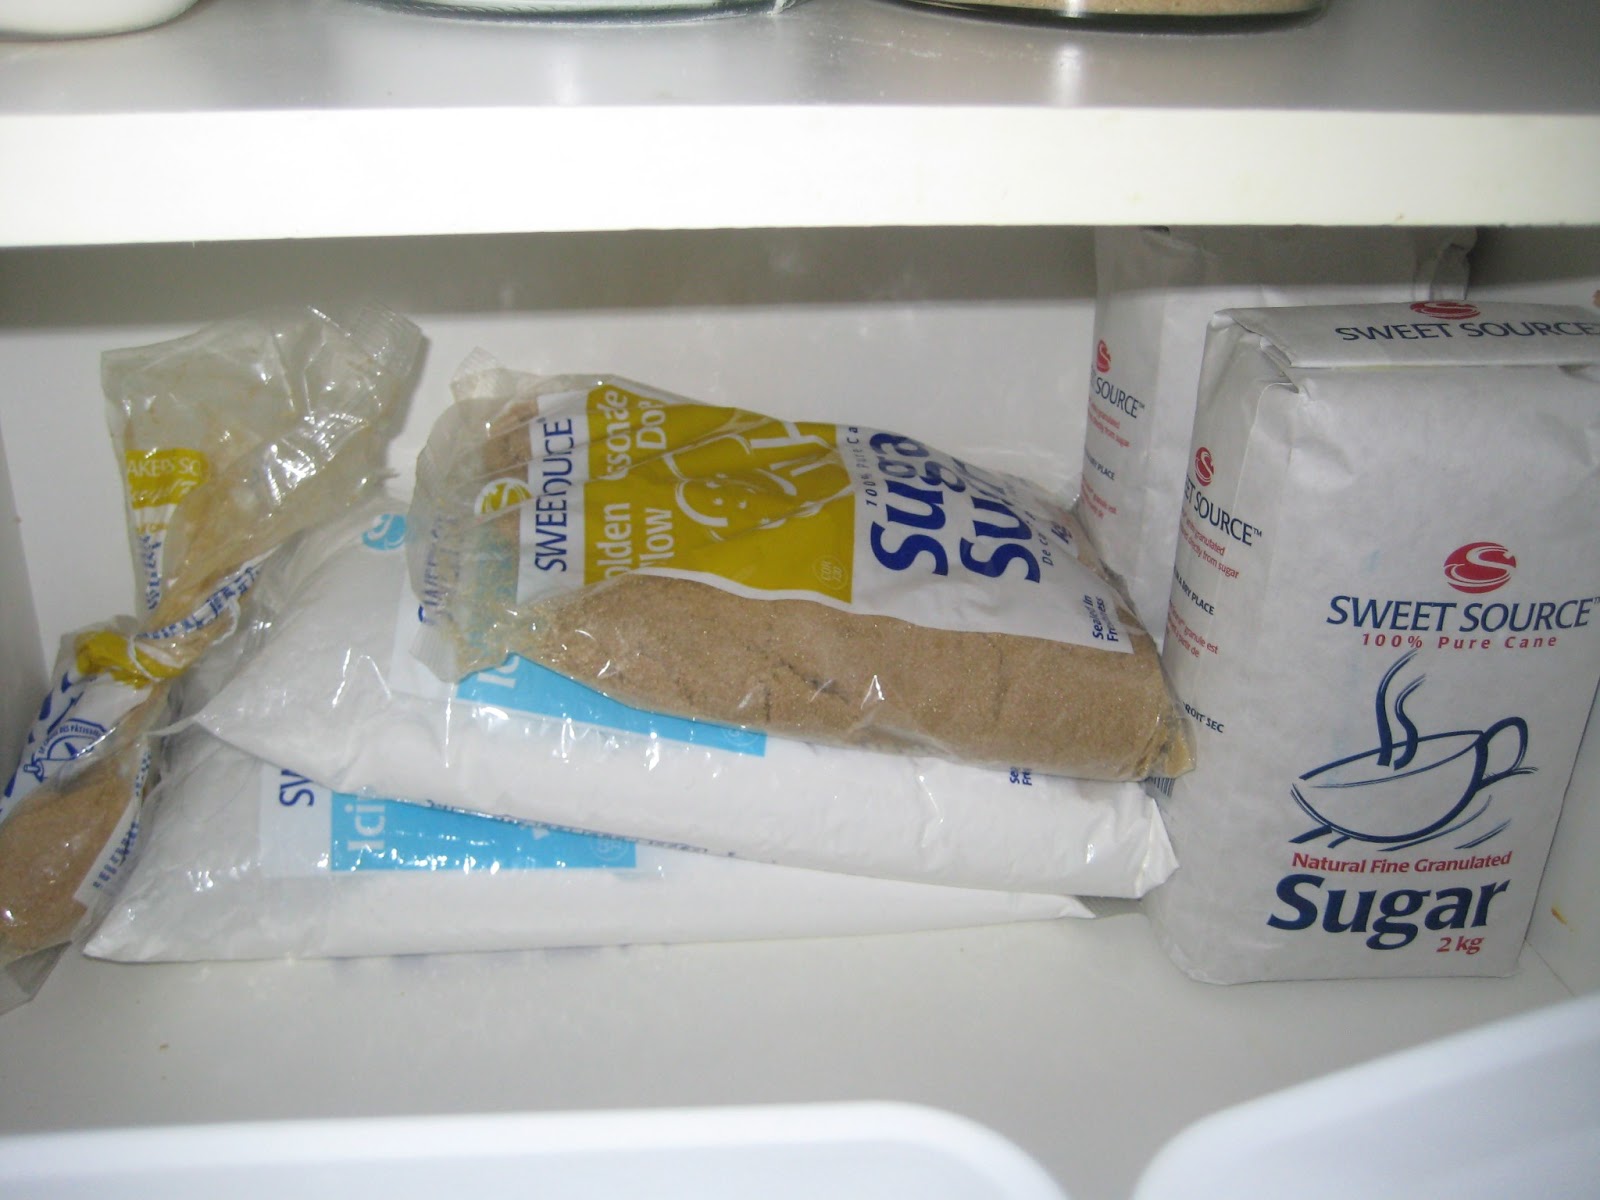
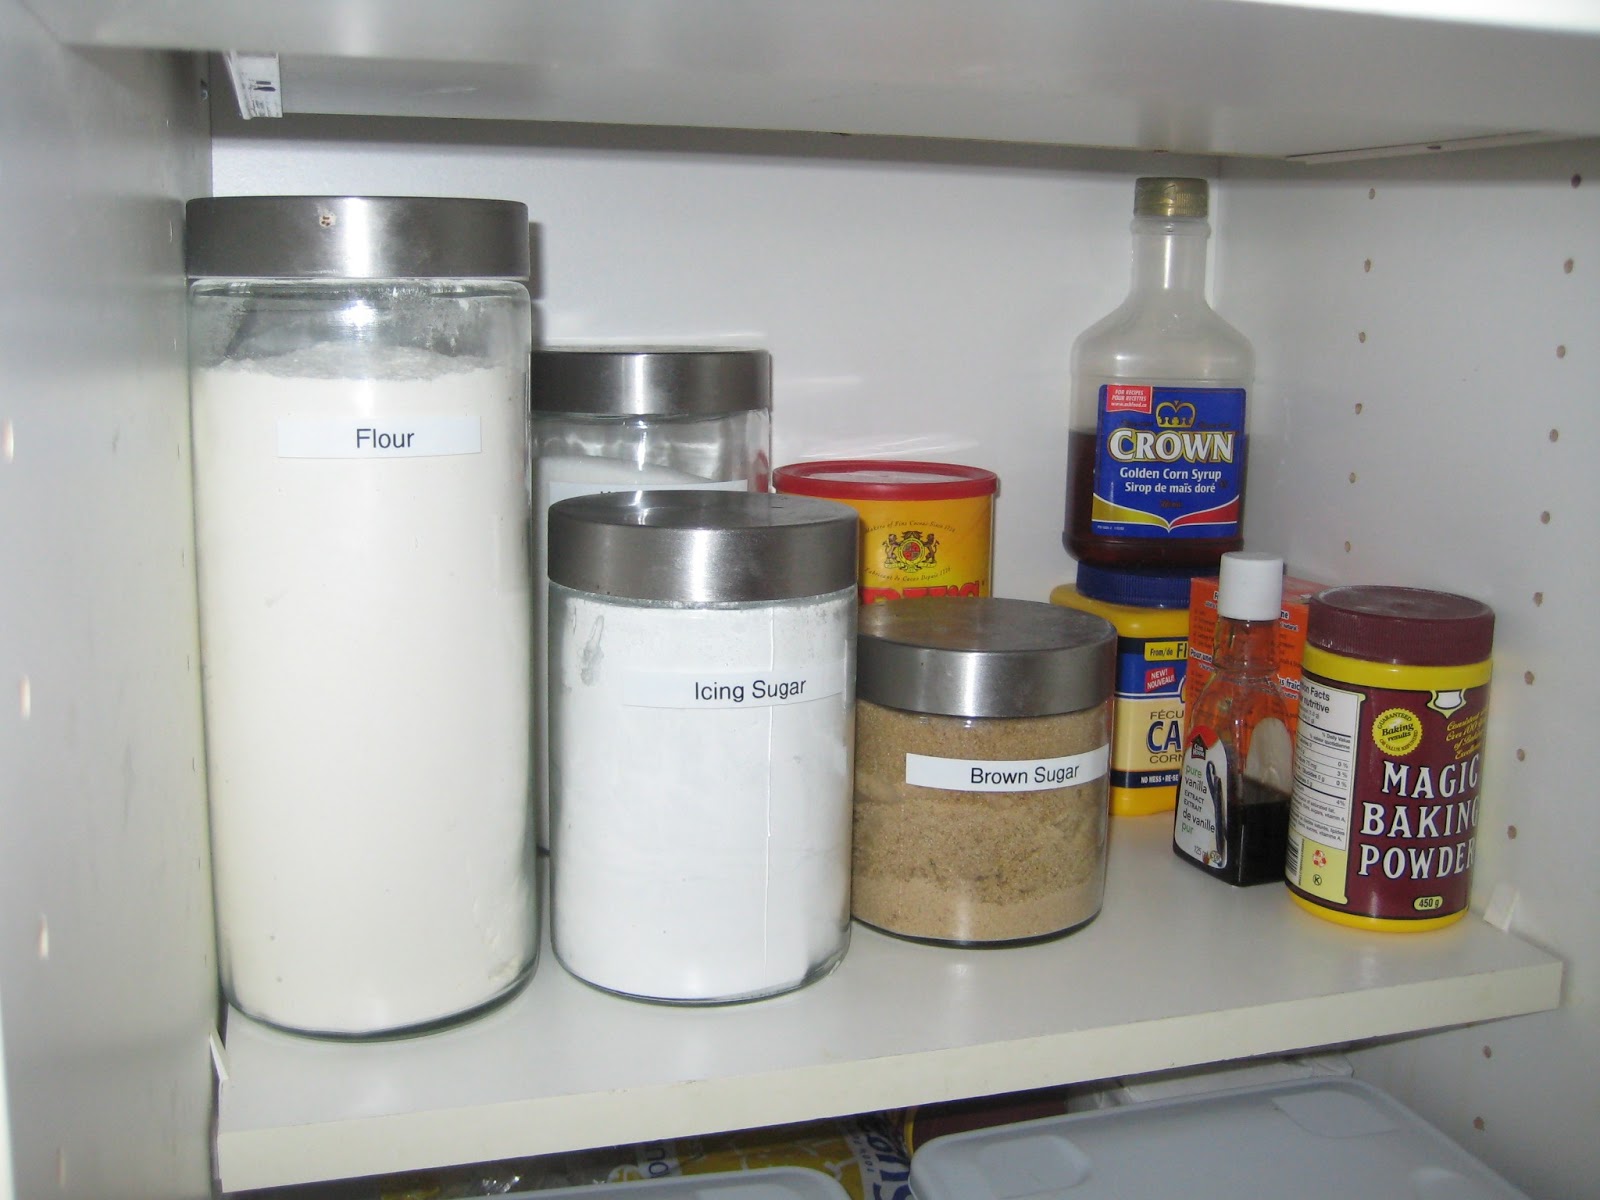
| Oh look! Here’s the rest of my baking supplies, off its own cupboard. But wait — that doesn’t look very tidy … |
 |
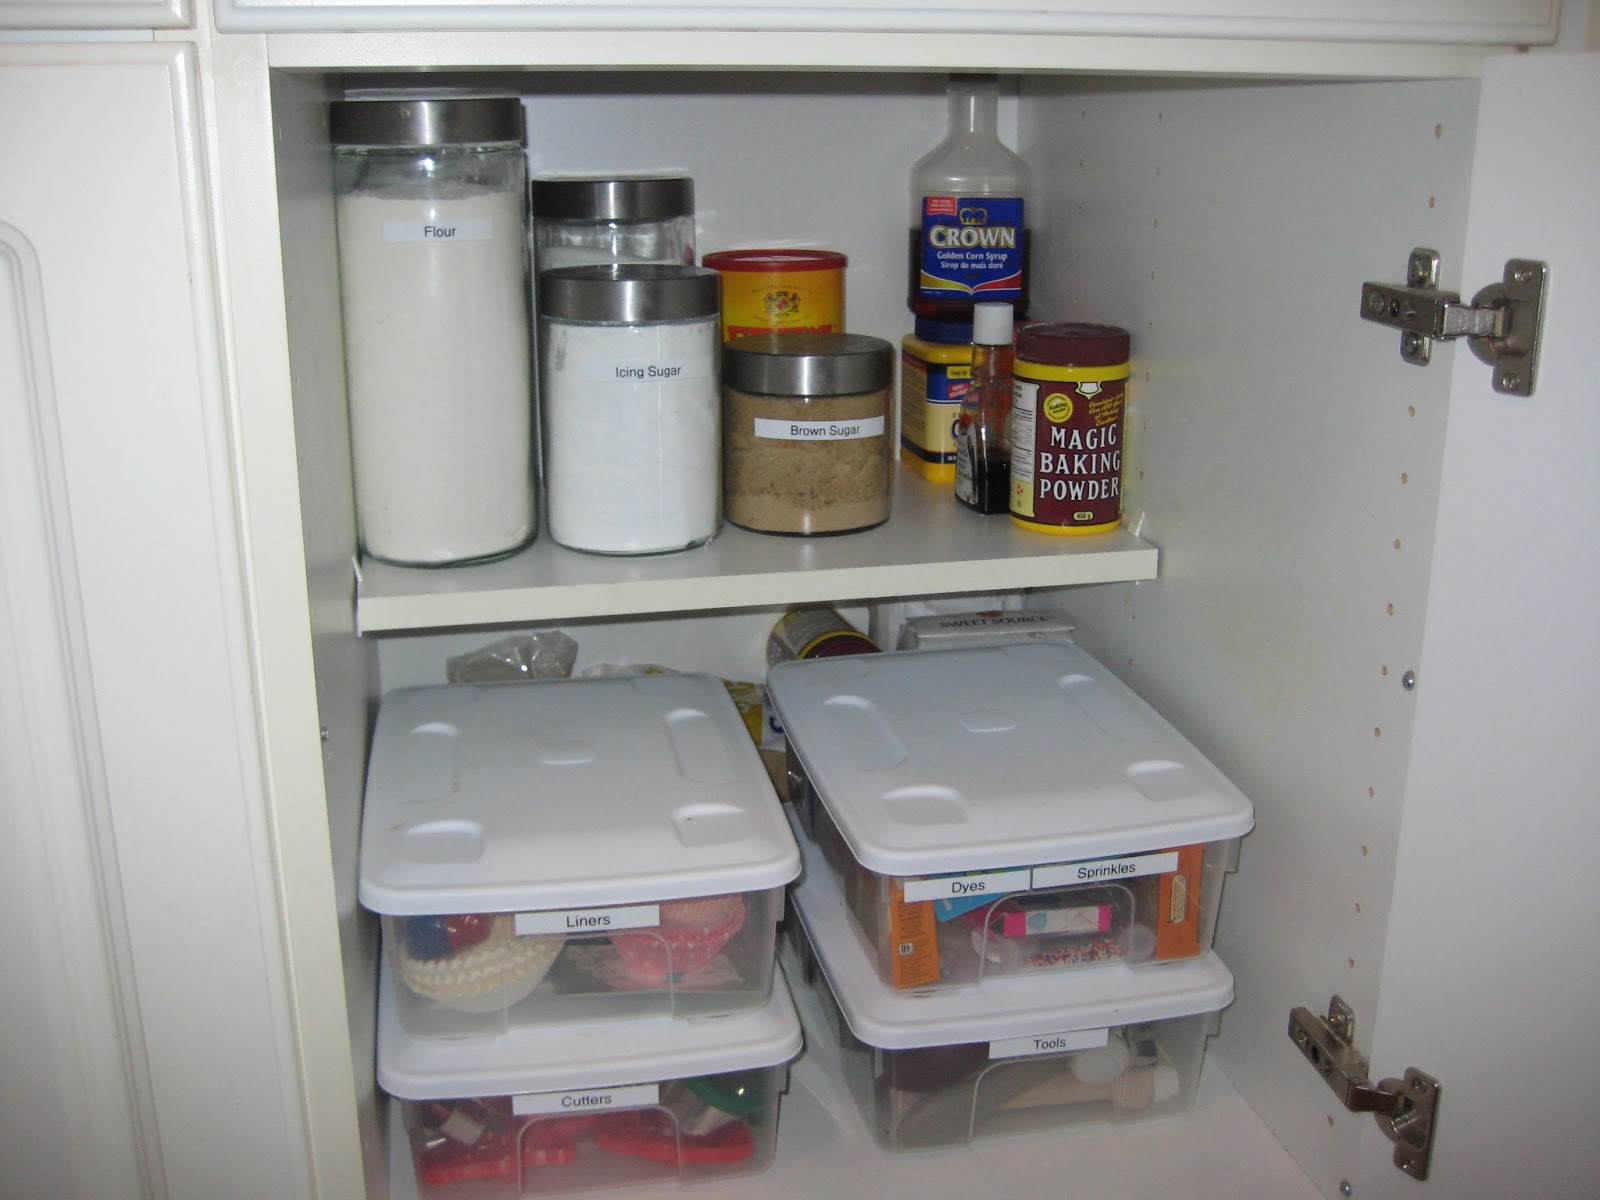
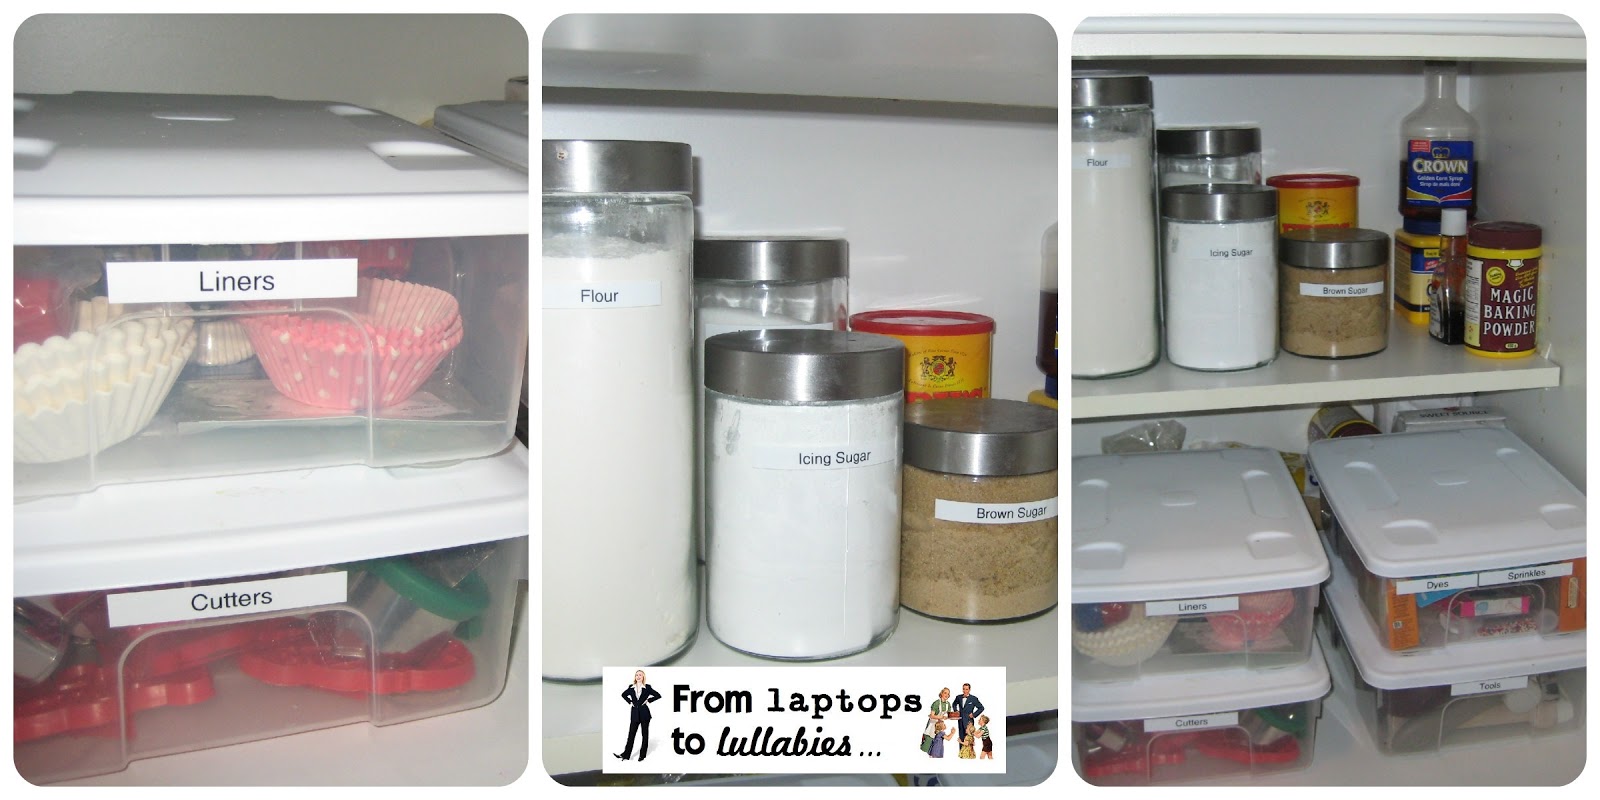
| I know! Let’s hide my “extras” (extra bags of sugar) behind these awesomely-labeled containers of baking supplies! |
 |
| Ta-da! New and improved baking cupboard in a new home. See how the extra bags are hidden behind the bins? Ahhh. |
 |
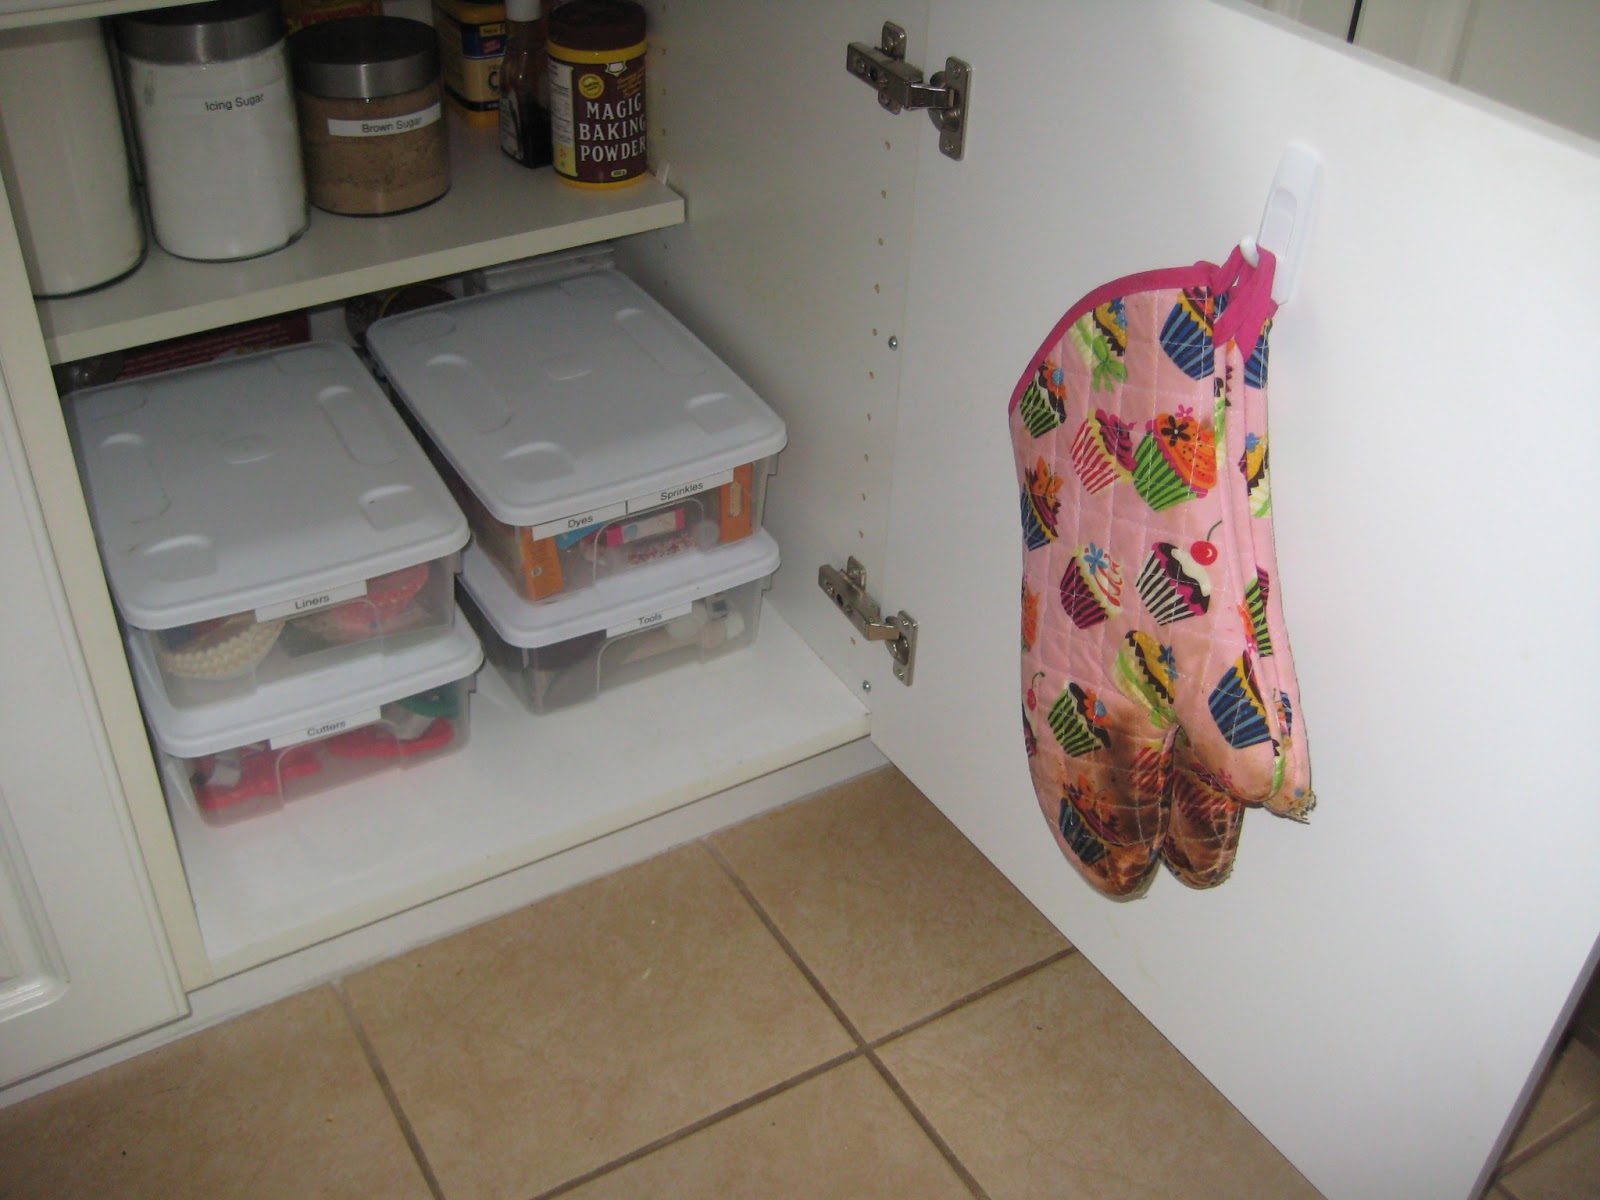
| My “everyday” ingredients are now stored here, so I can easily grab everything. |
 |
| I also added a Command Hook to the door for my (dirty) oven mitts, which used to always get lost inside the appliance garage. What’s an appliance garage? … |
 |
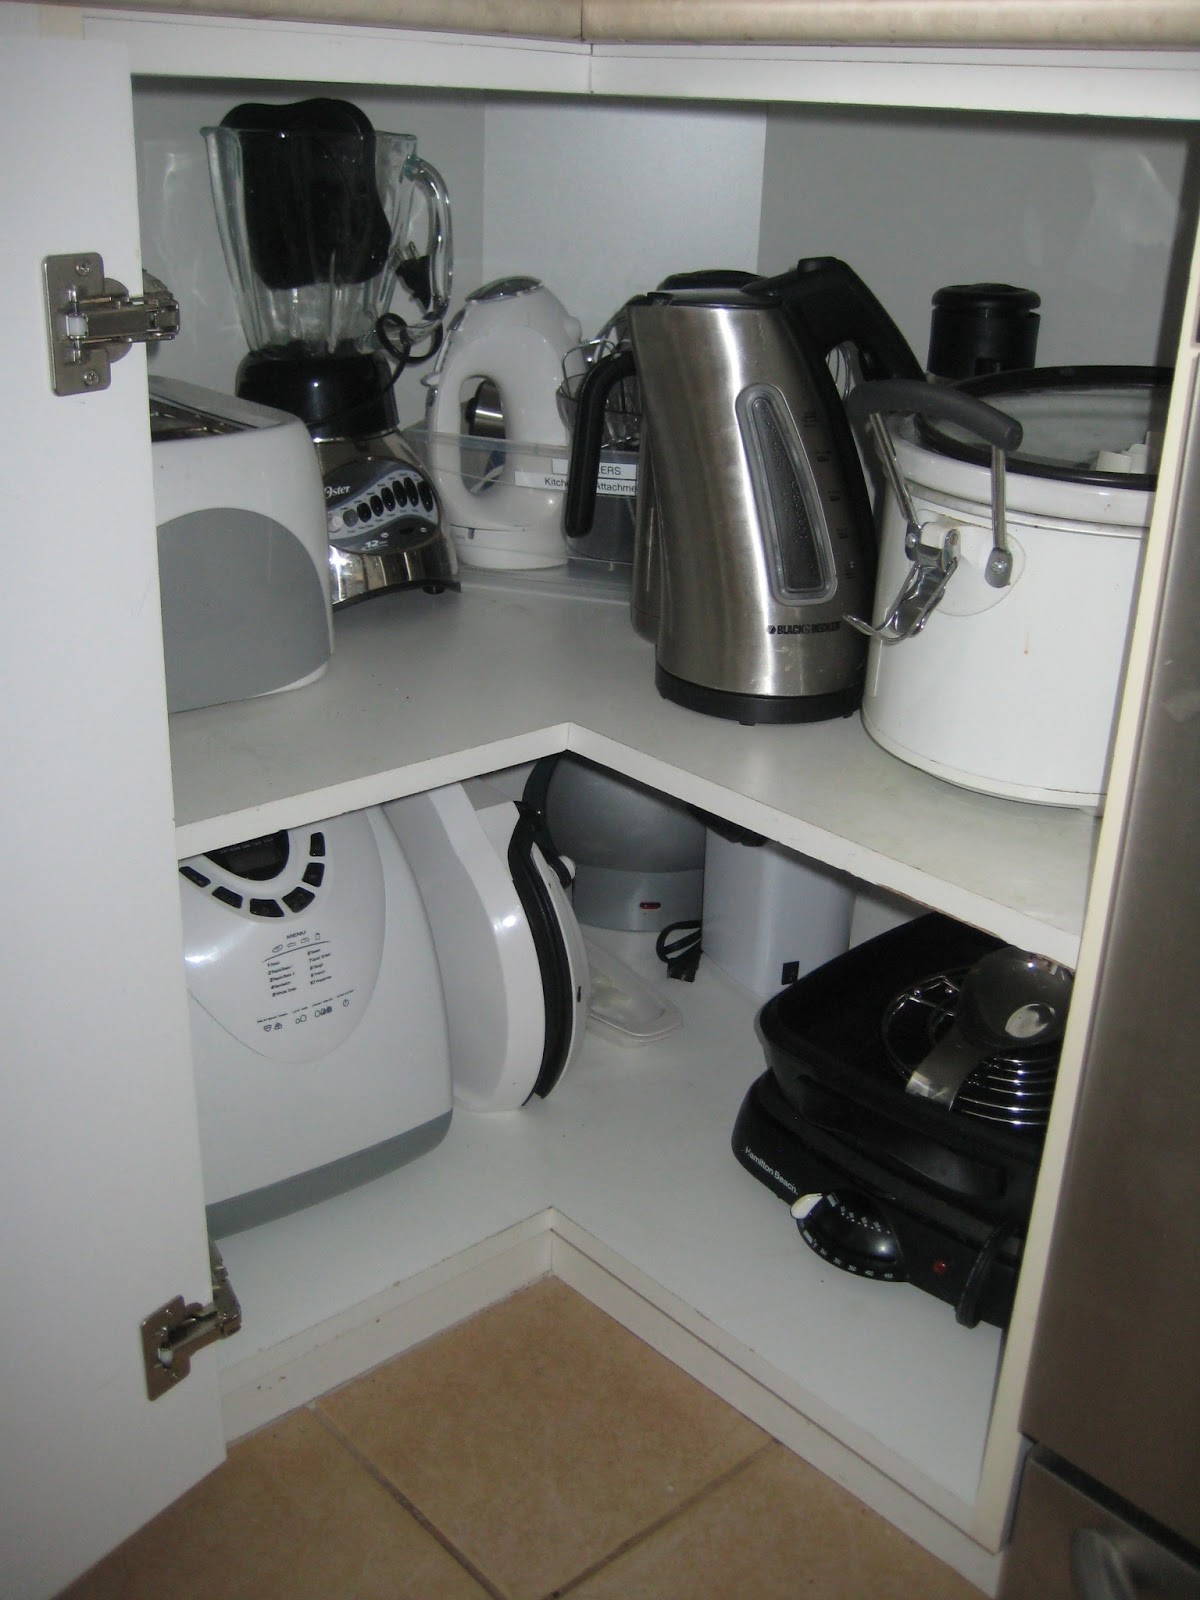
| This is an appliance garage! Here’s how it looked before — kind of jumbly, and my poor oven mitts were always difficult to find (and often crushed by the toaster or crockpot). |
 |
| I cleaned out the whole thing. Maaaaan, there were a LOT of toast crumbs! |
 |
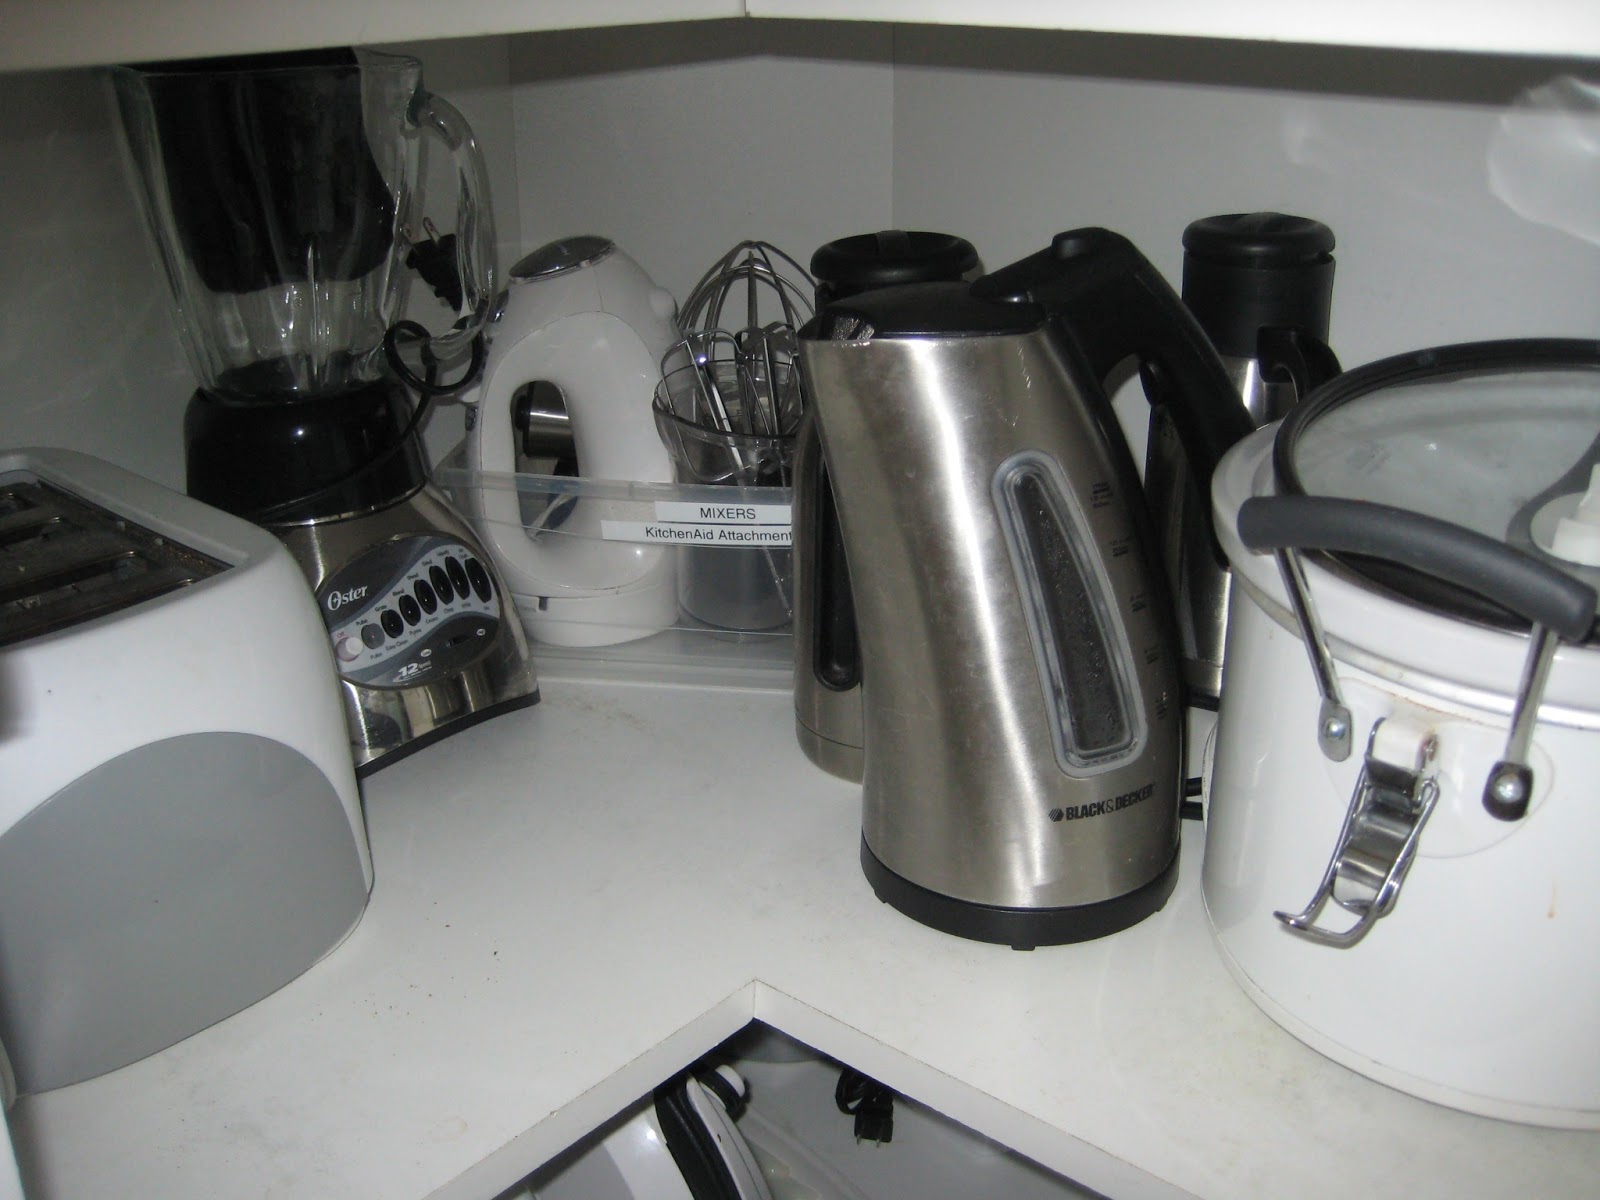
| Here’s the new and improved appliance garage. I put my frequently-used items on the top (toaster, tea kettle, crockpot) and my less-used items on the bottom (breadmaker, electric frying pan, George Foreman grill). |
 |
| This is my favourite part — see the plastic bin just for KitchenAid attachments and handheld mixers? SO MUCH EASIER to locate these things now, and decide which mixer I should use. |
 |
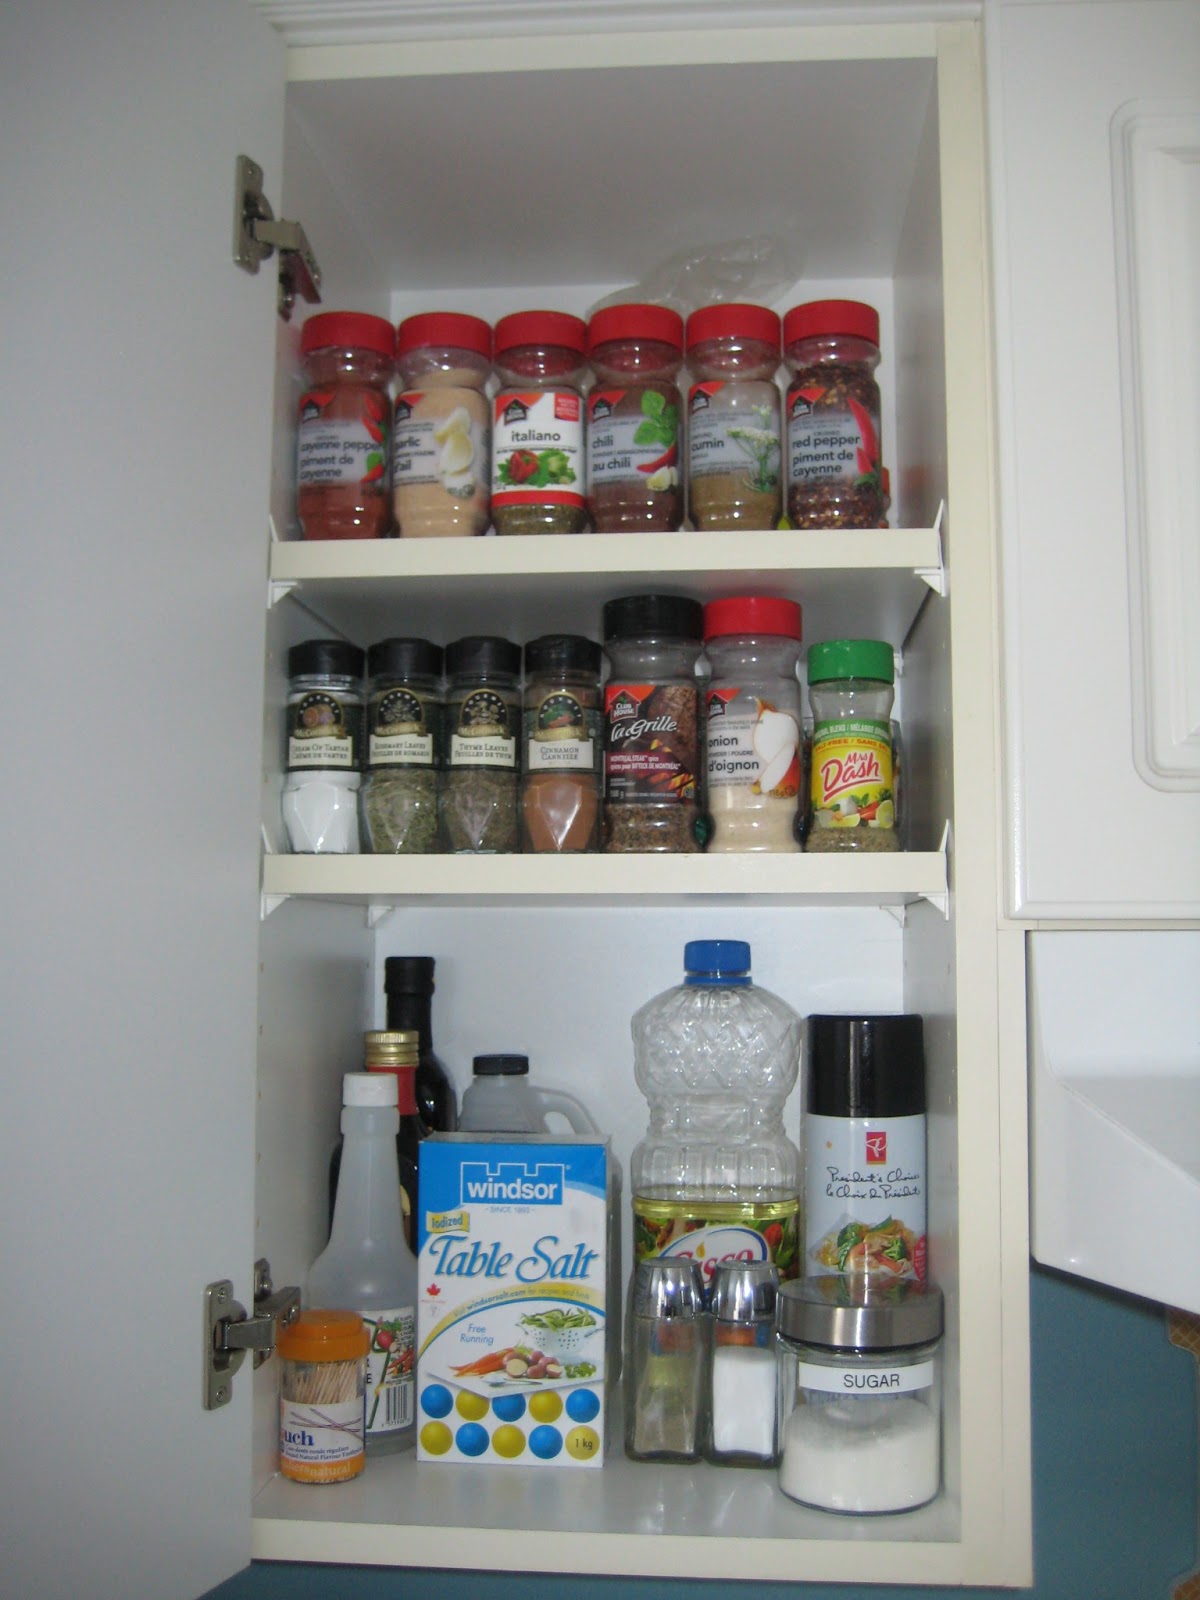
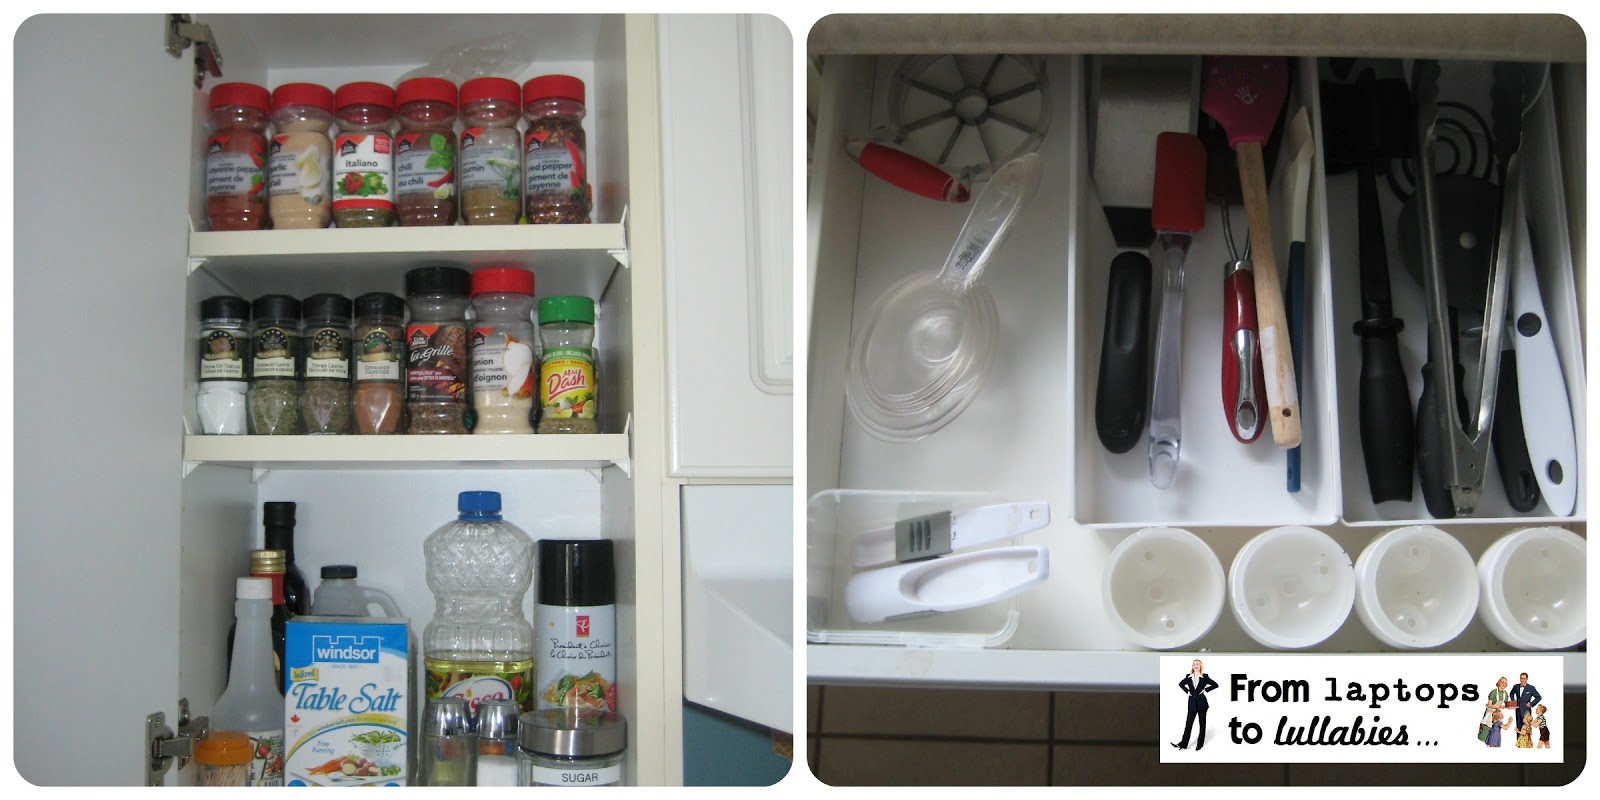
| My spice cabinet was organized a few months ago, so I didn’t change anything here. Just added a label to the sugar jar! |
 |
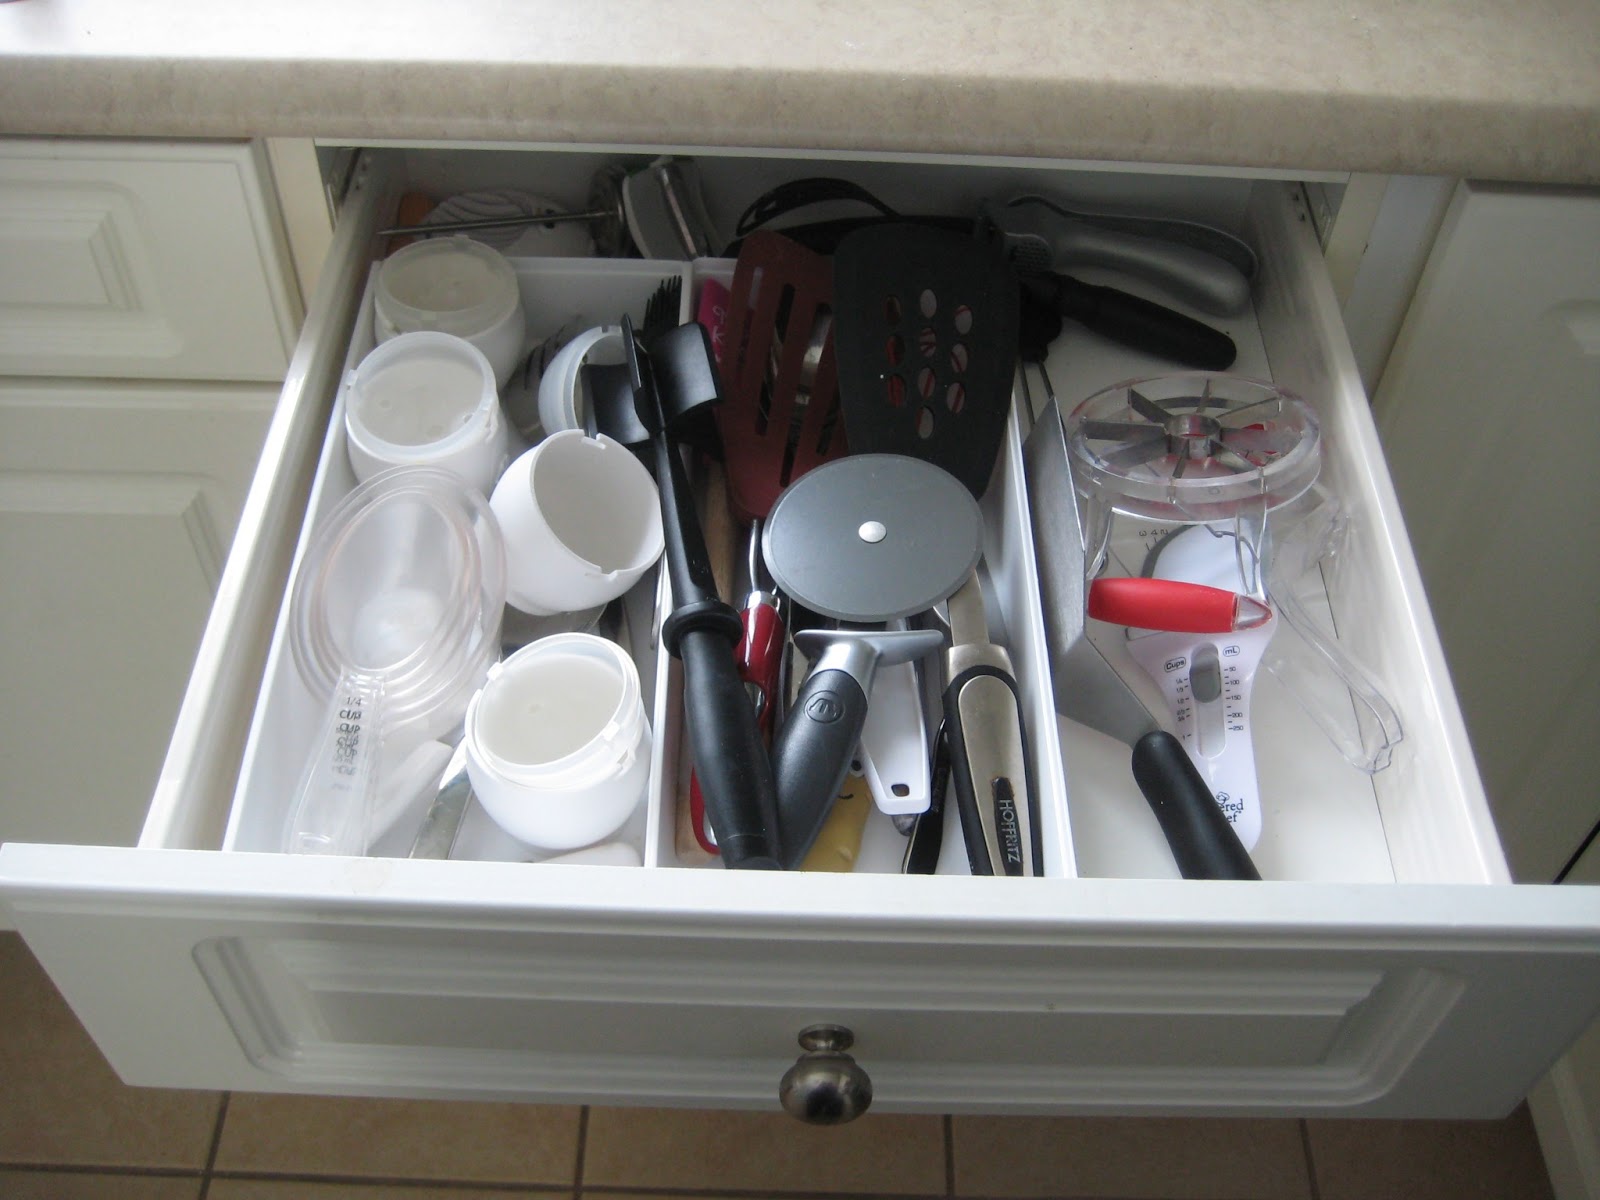
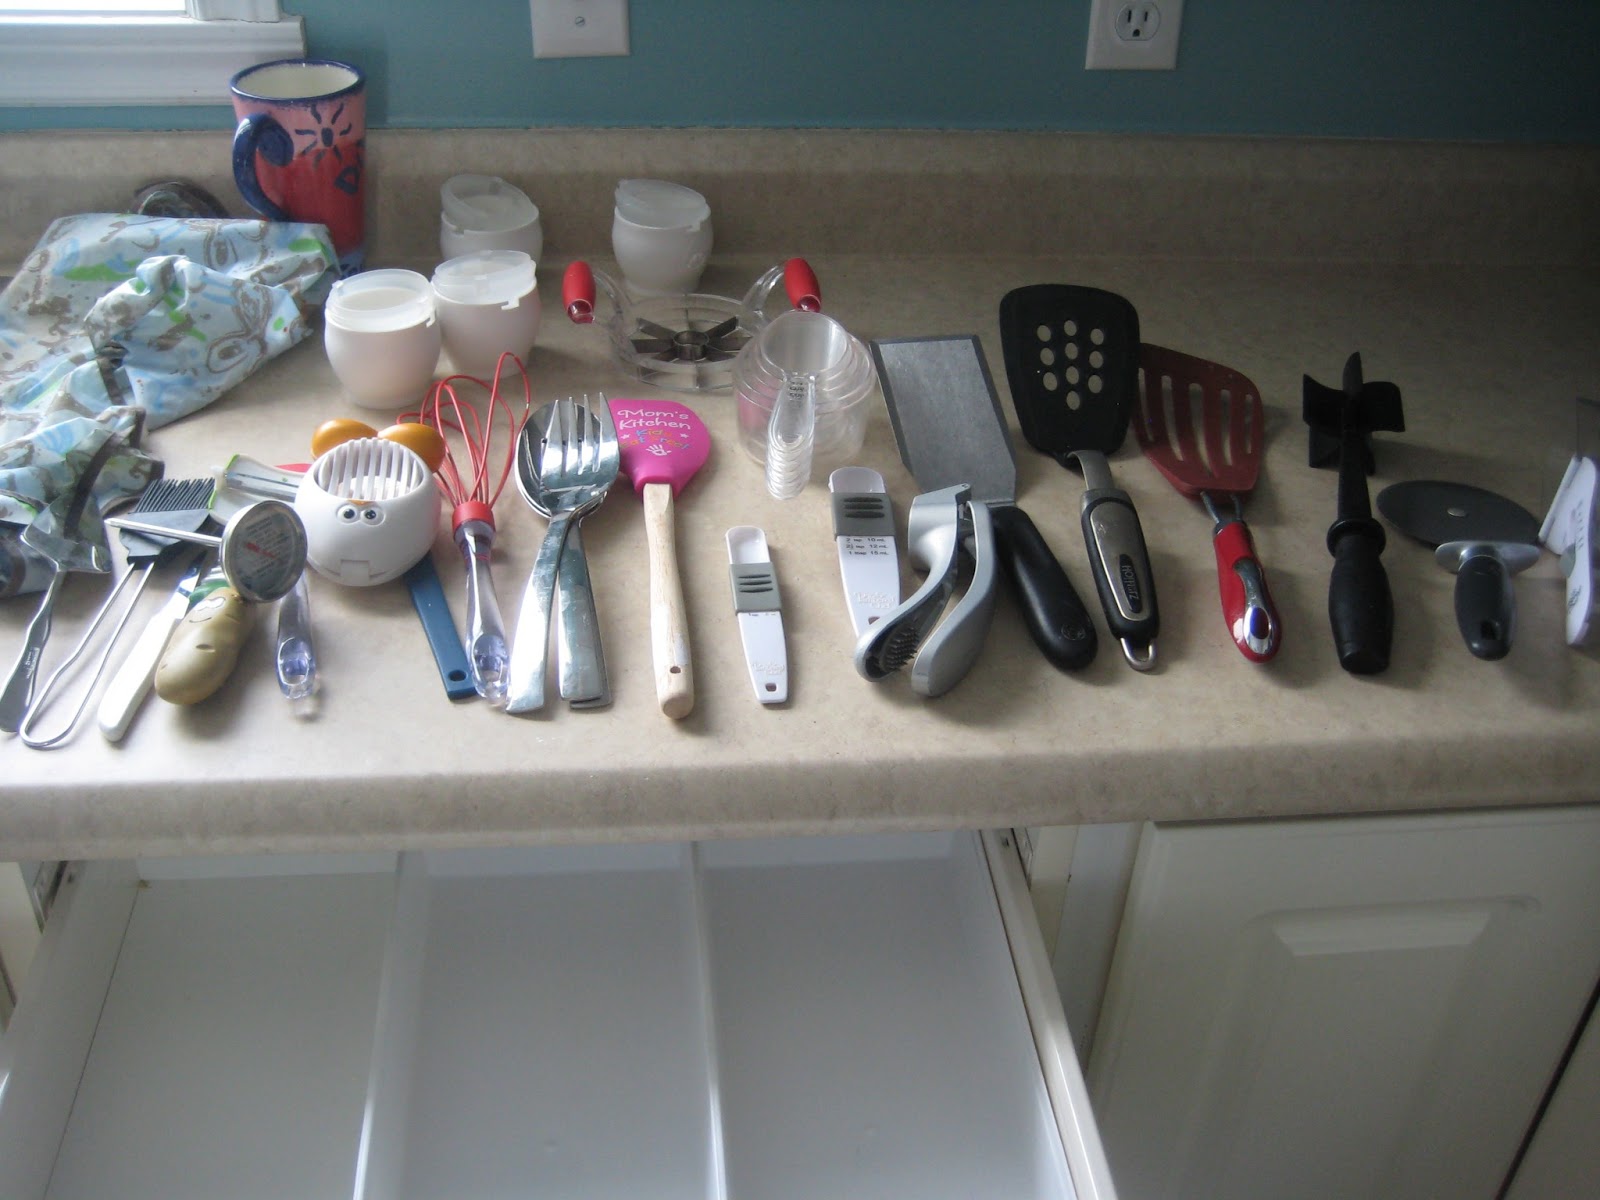
| Our utensil drawer was very jumbly — even though it had two dividers — so I took everything out, cleaned it, tossed a few things in the donate box, and put everything back. |
 |
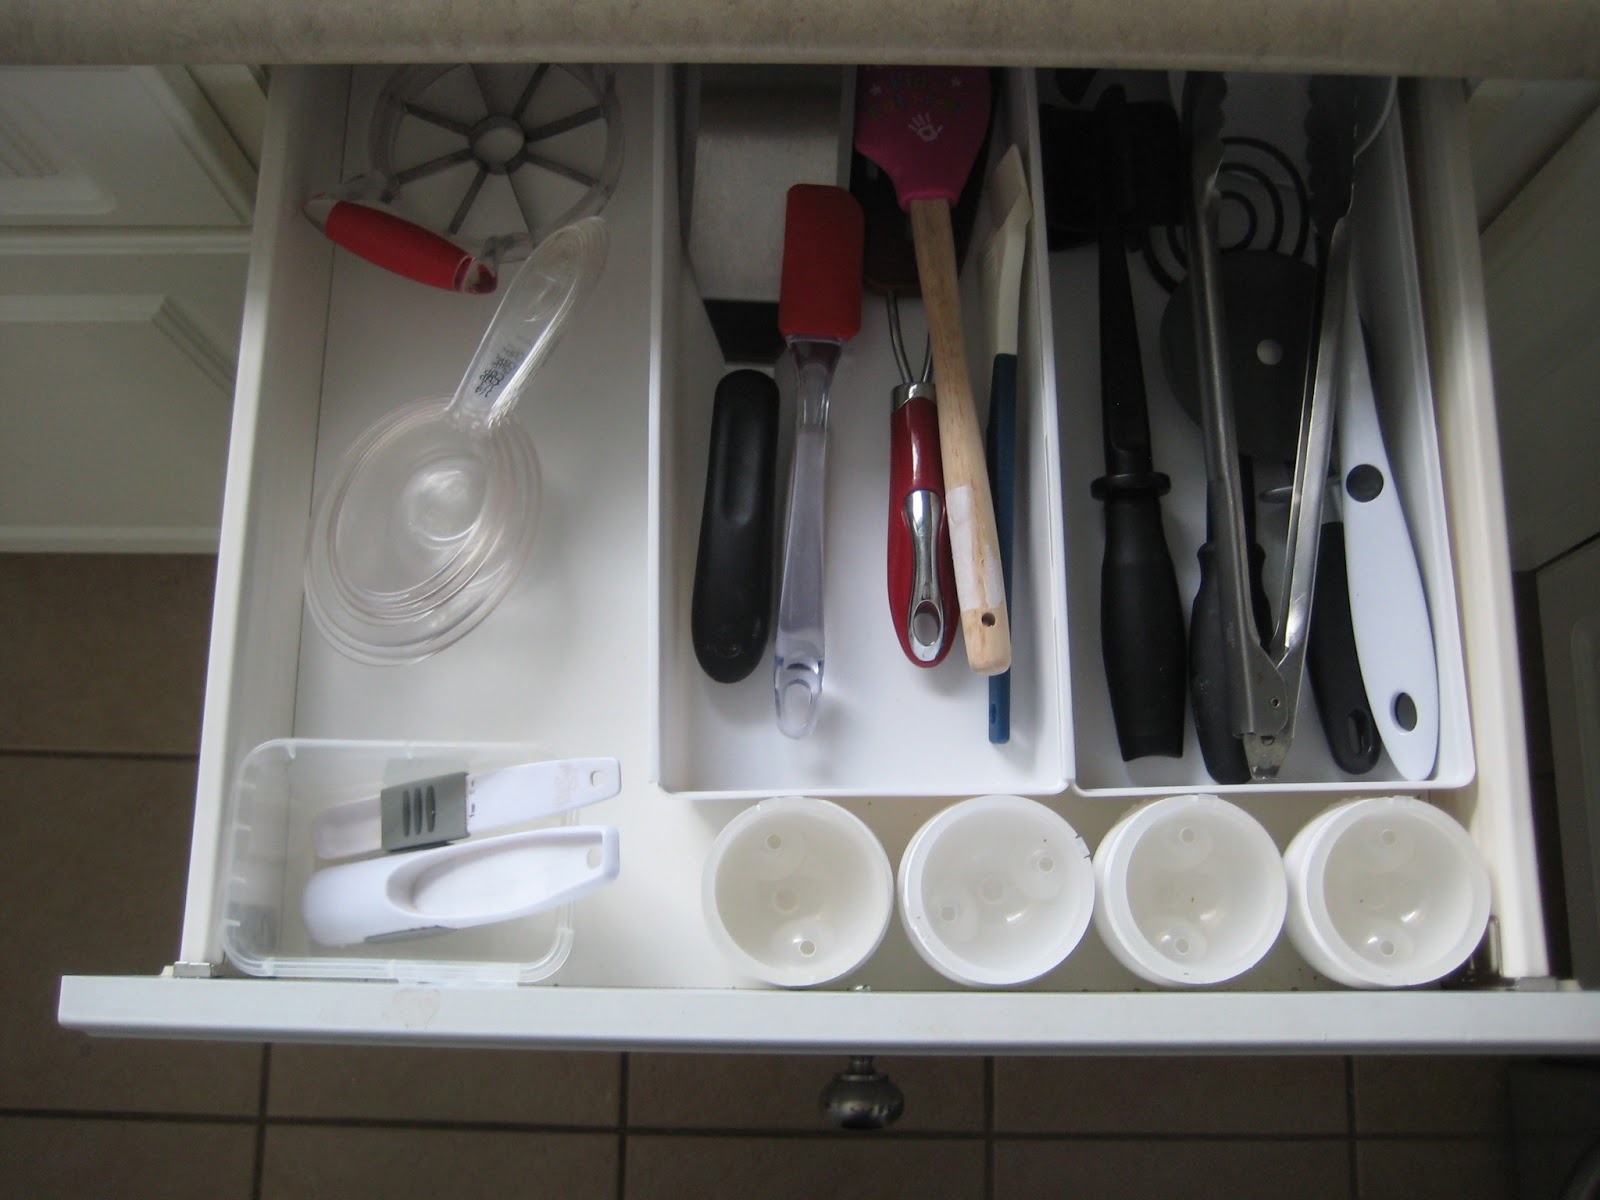
| I swear, putting my little measuring spoons in their own section has been awesome. I was always sorting through the drawer looking for them before! |
 |
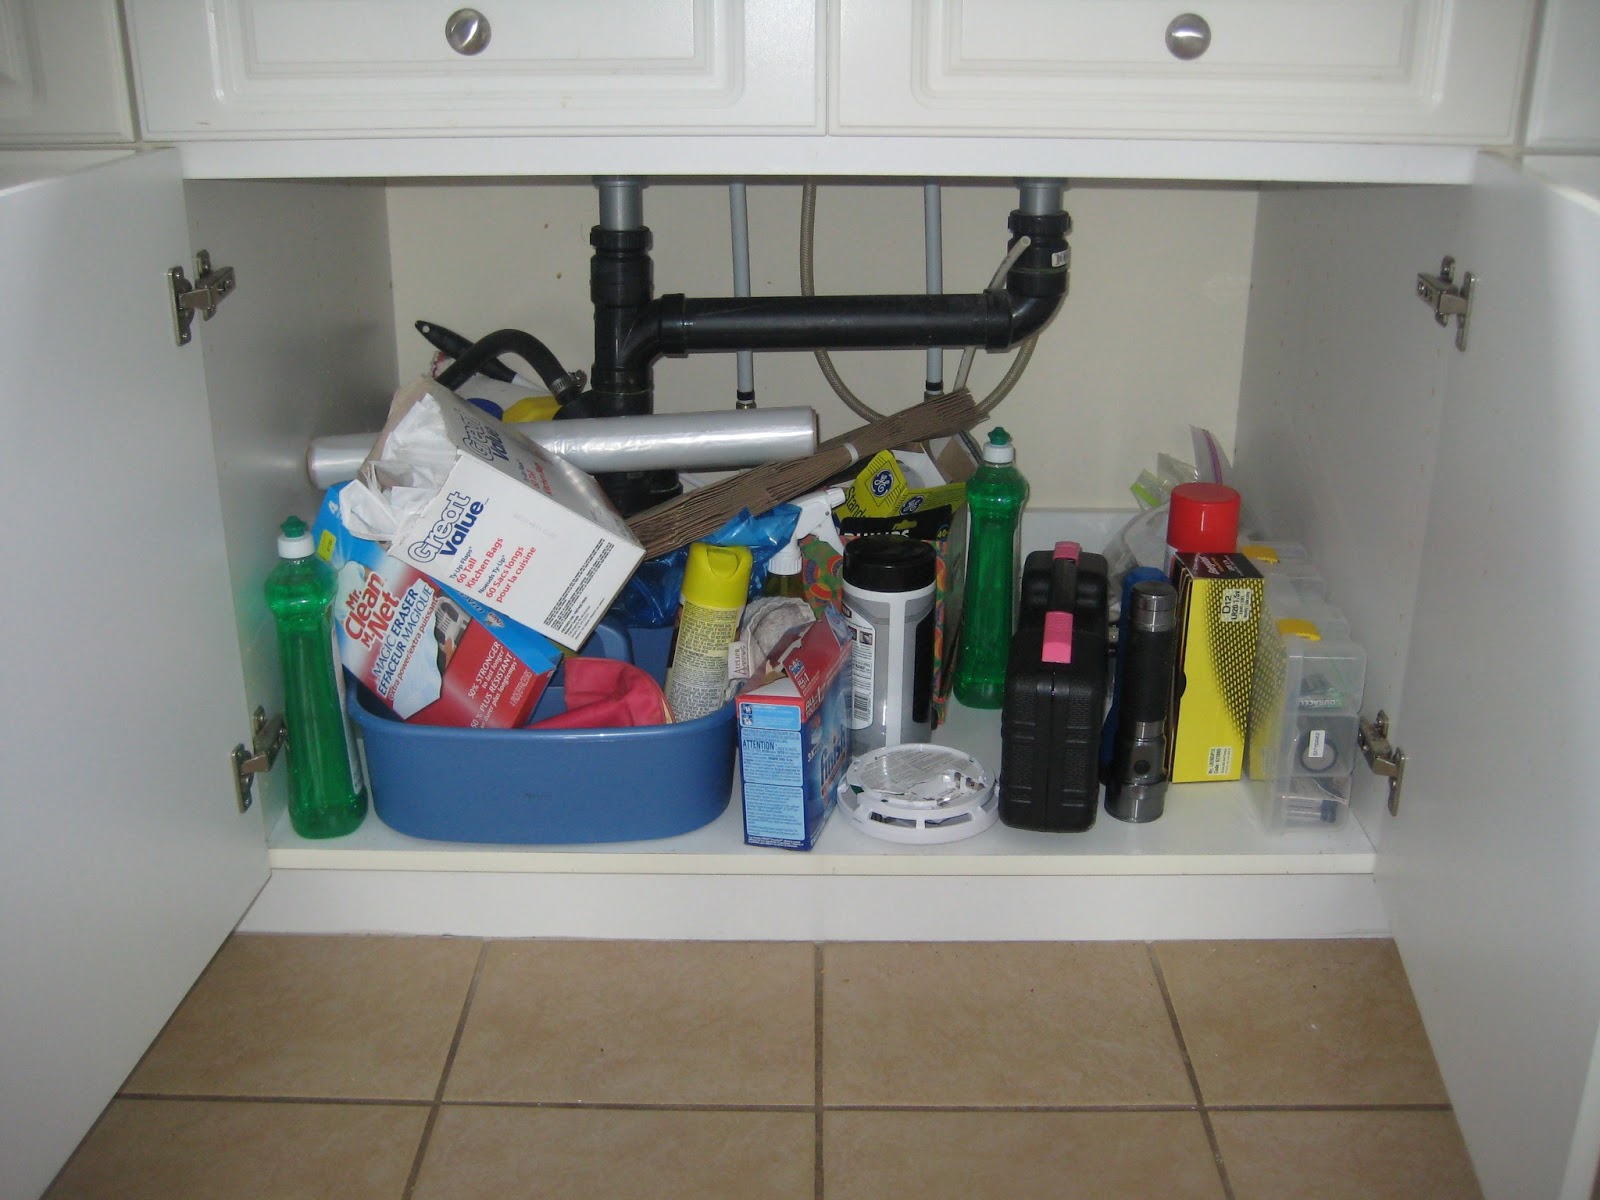
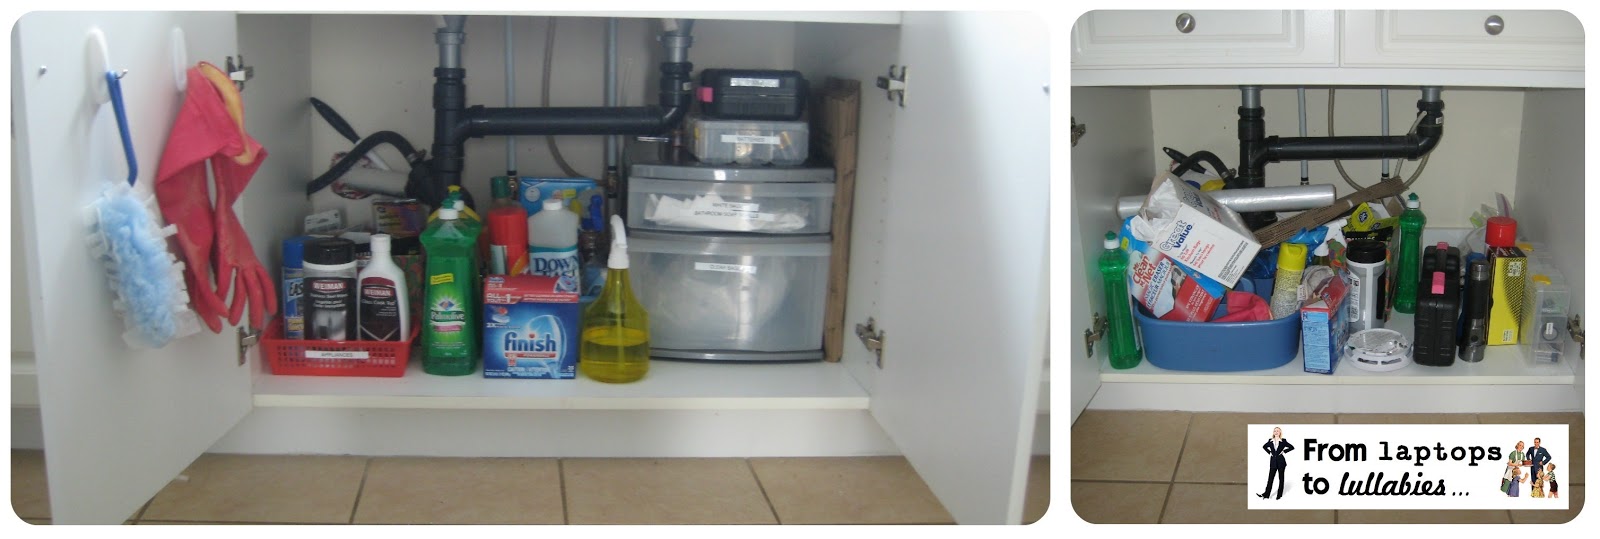
| Ready for under-the-sink grossness? I used to dread going under here for anything. |
 |
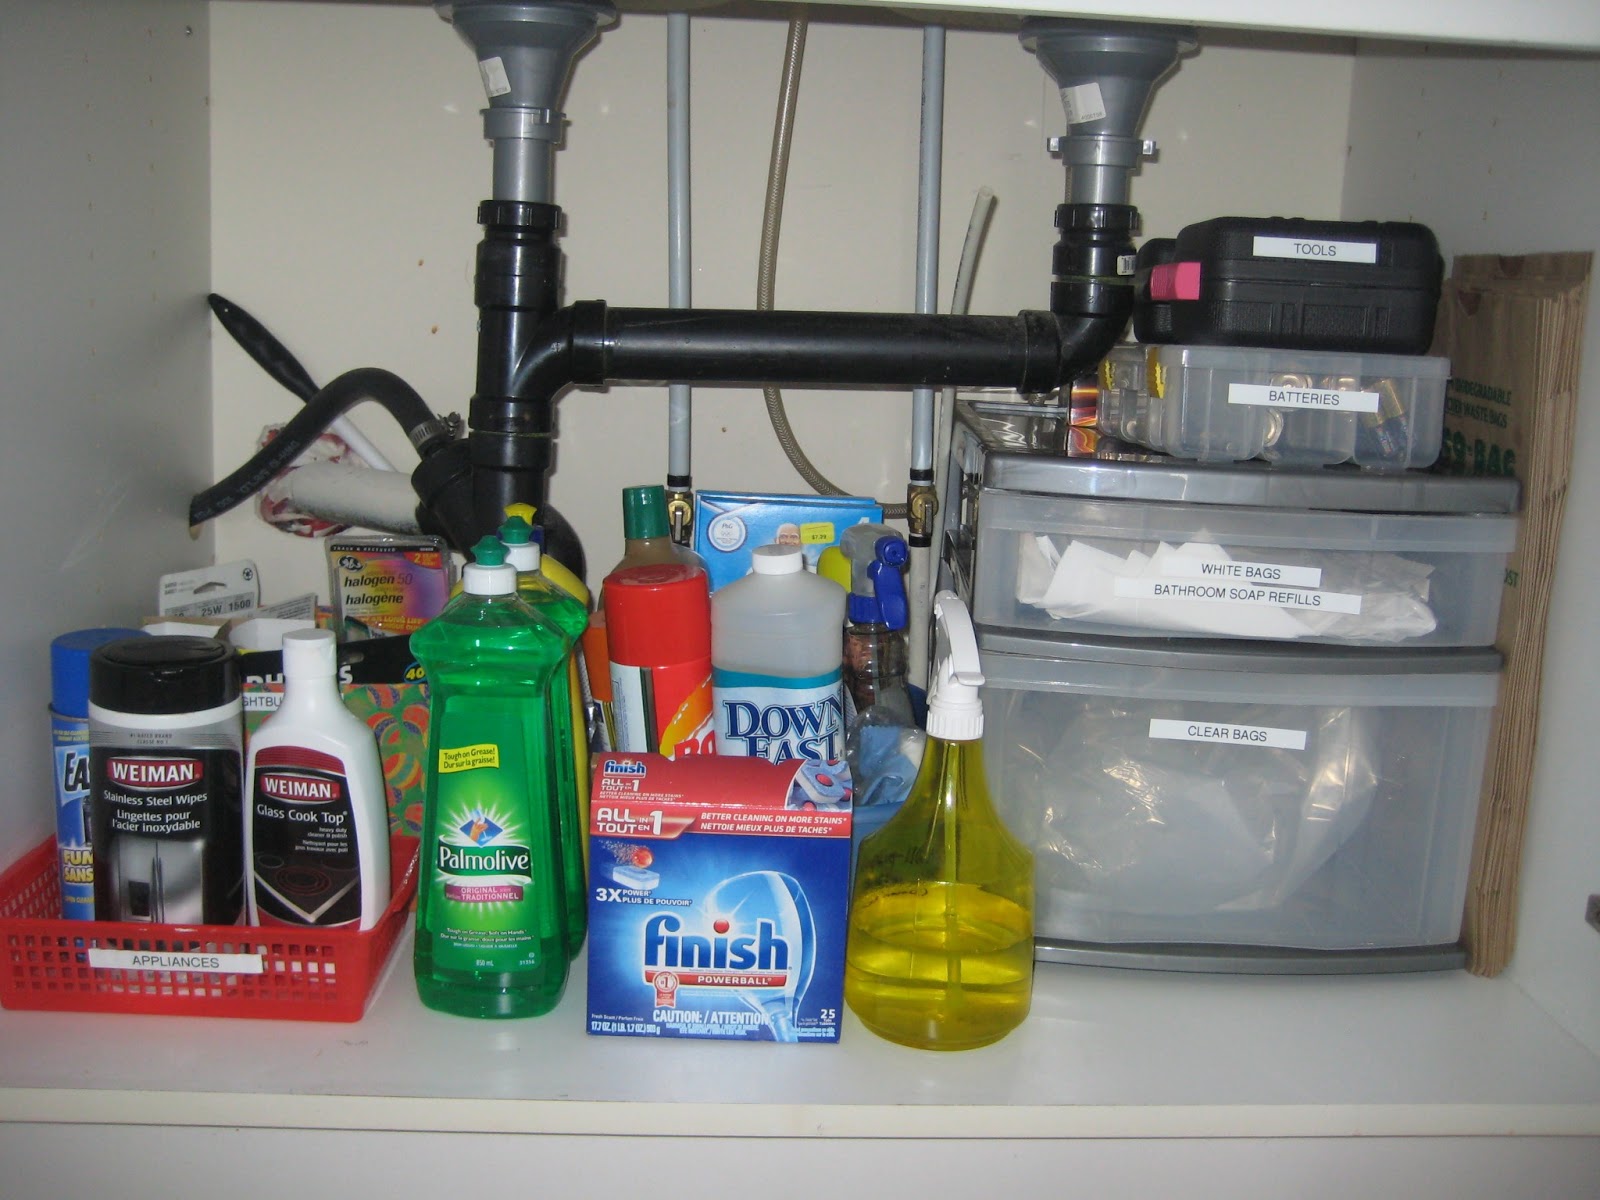
| Ta-da! I’d love to build shelves in here or something, but for now, this is working well. |
 |
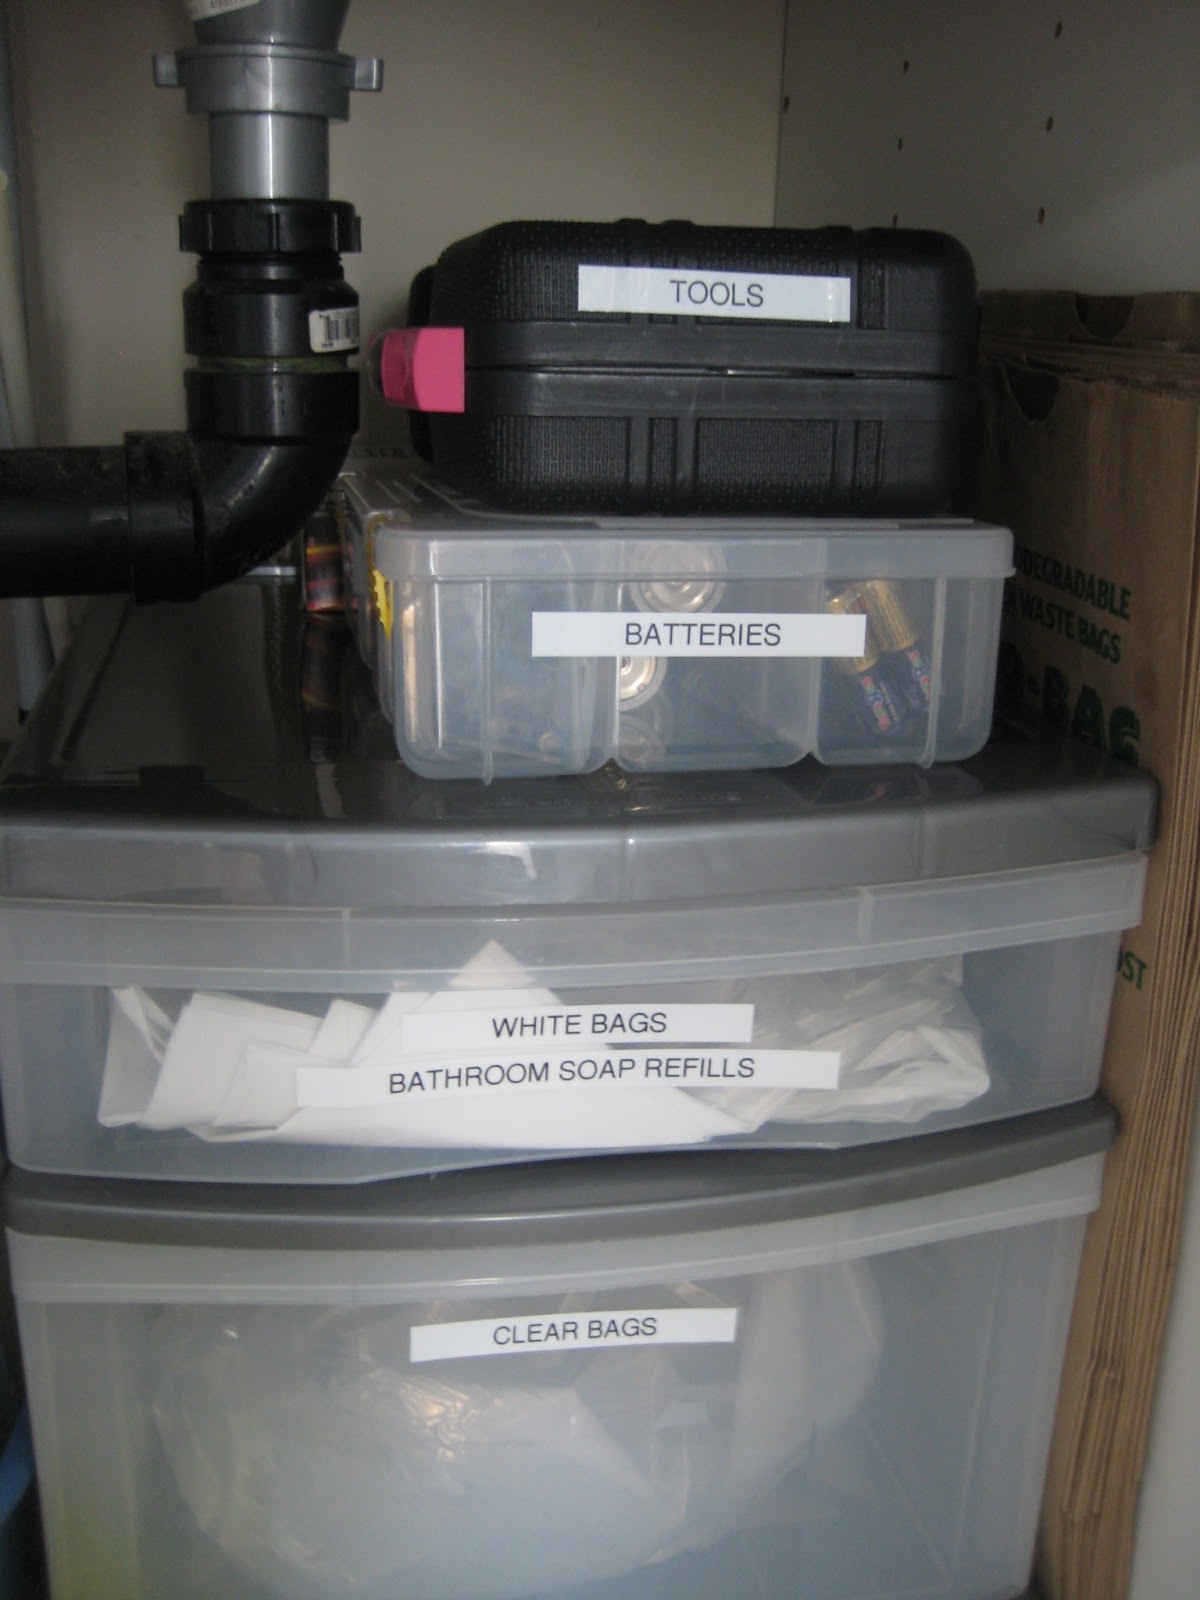
| This section is my favourite. The bathroom garbage bags and soap refills are stored all together now, because we were always misplacing the soap refills and running from bathroom to bathroom trying to find bags). And having our garbage bags all together in a drawer makes it easier to see when we’re running low. |
 |
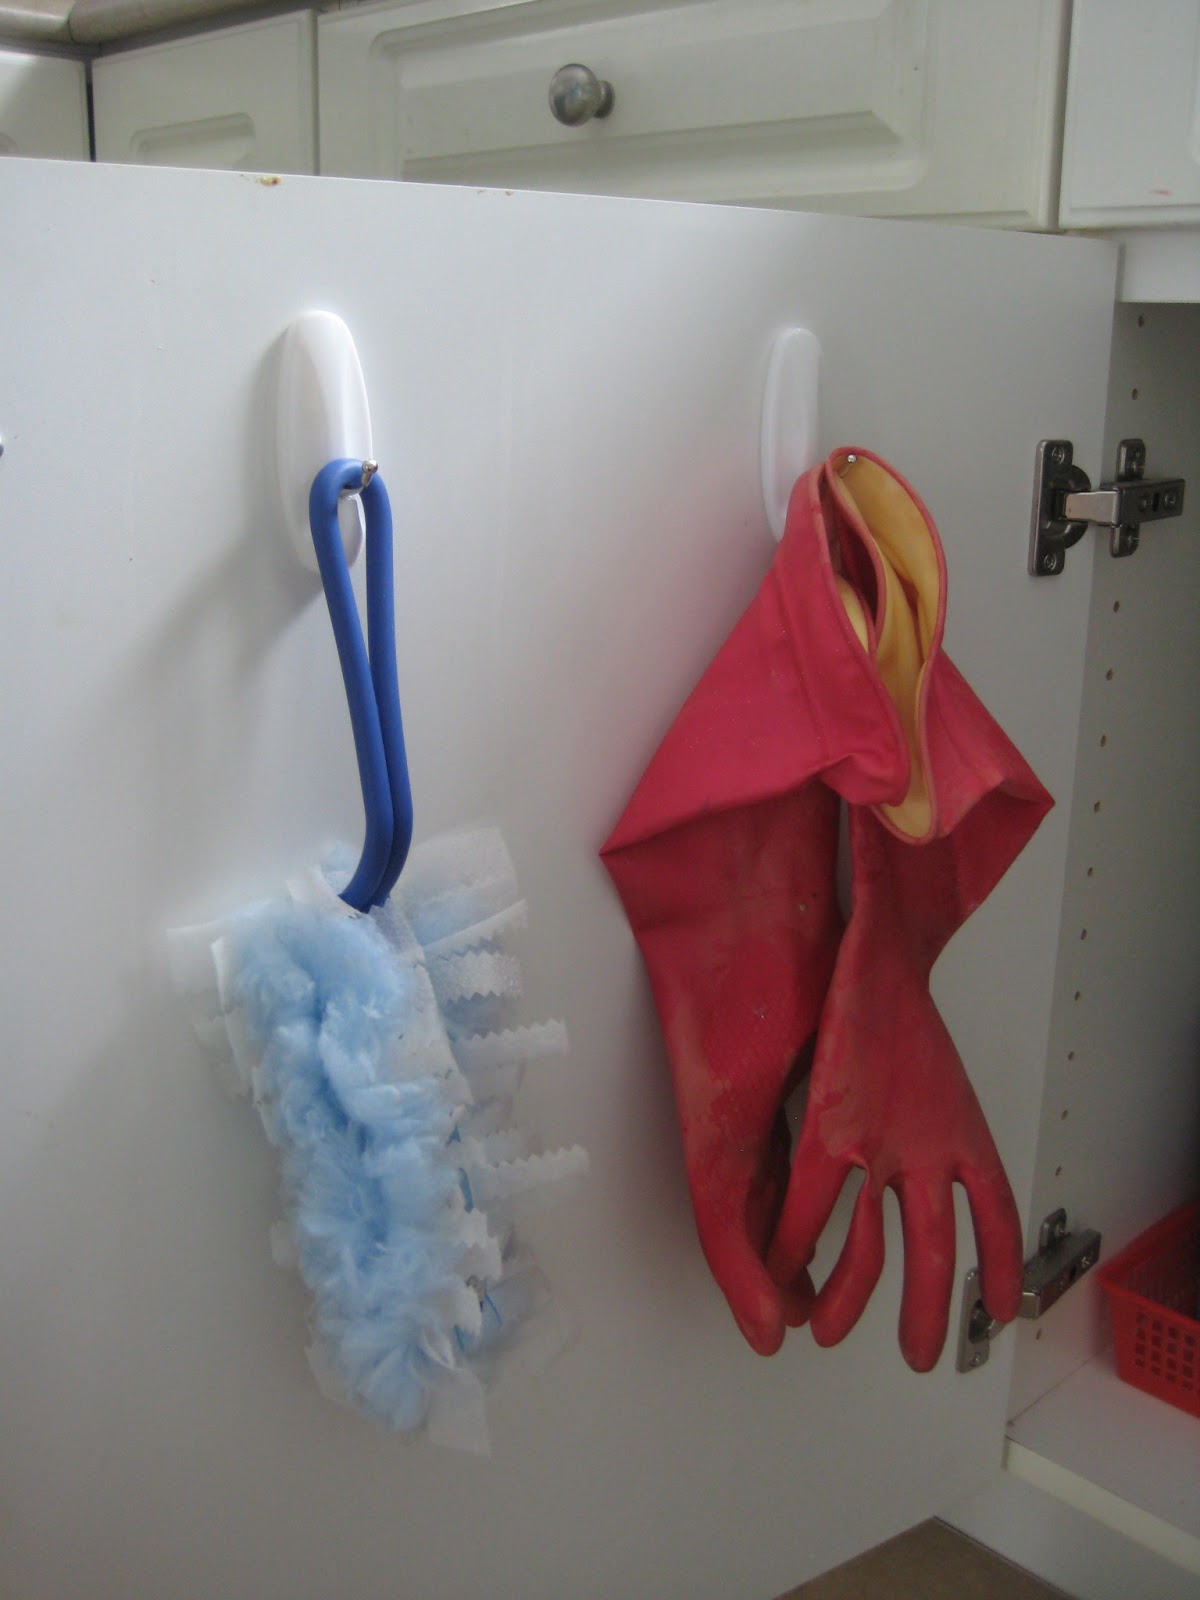
| I kind of love Command Hooks. LOVE LOVE LOVE. |
 |
| A much happier under-the-sink space. |
 |
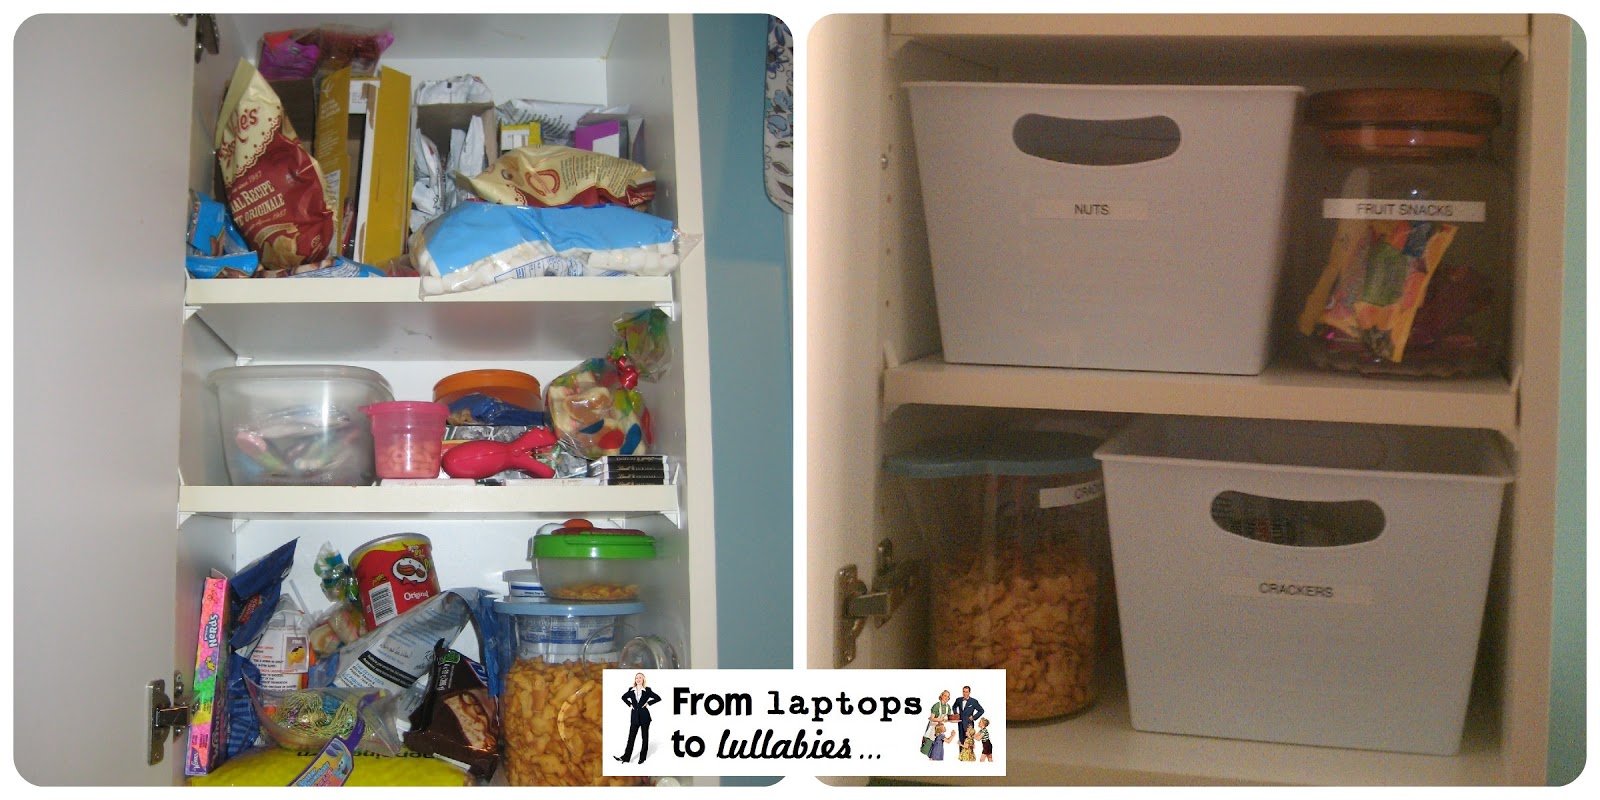
| This final cupboard — our snack cupboard — was always a HUGE embarrassment to me when a guest would accidentally open it looking for a glass or something. No matter how often I cleaned it out, it would quickly look just like this. It was a horribly messy jumble of kiddie snacks, adult snacks, half-empty chip bags, and even extra baking ingredients like chocolate and marshmallows (which *some people* think of as snacks, ahem, Darling Husband). |
 |
| This is a badly-lit photo, but here’s our new and improved snack cupboard. I bought three Dollar Store bins and used a few existing jars and containers. Now we have “Treats” (at the top, so D can’t see them), “Popcorn,” “Nuts,” “Fruit snacks,” and “Crackers.” It looks a thousand times better! |
Well, that’s what I’ve done on the main floor over the last couple of weeks. Ready for a quick recap?
 |
| Baking cupboard! |
 |
| Hutch storage turned to puzzle storage! |
 |
| Snack cupboard! |
 |
| Spice cupboard and utensil drawer! |
 |
| Baking/junk cupboard to a more functional “junk” cupboard! |
 |
| Under the sink! |
 |
| A pared-down “baby stuff” cupboard! |
Thanks for stopping by to check out my kitchen/dining room organization, and I hope you also check out what Emily at Imperfect and everyone else have overhauled this week.
Make sure to come back next Wednesday, after I’ve improved the organization in our three bathrooms.
Happy Organizing!
xoxo


This is very inspiring! Love all the bins and labels. My kitchen could use the same treatment 😉
LikeLike
Thanks, Janet! I do love my label-maker, and I'm a certified Bin-a-holic 🙂
LikeLike
You have inspired me on how to handle all the baking supplies – those things just swim around my cabinets. As usual, awesome job!!!
LikeLike
Thanks, Emily! I love being able to grab everything I need for cookies, cupcakes, etc. all in one place — especially when I have my two-year-old threatening to empty the bowl every time my back is turned, haha.
LikeLike
You never cease to amaze me, Mama! Looks awesome!
LikeLike
I have only cleaned my study room and did some changes in it like I recently purchased a laptop drawer to protect the laptop from dirt and dust and to increase my productivity.
Laptop drawer
LikeLike